

Facing 0xDEAD039E BSOD on Windows 10 during random intervals?
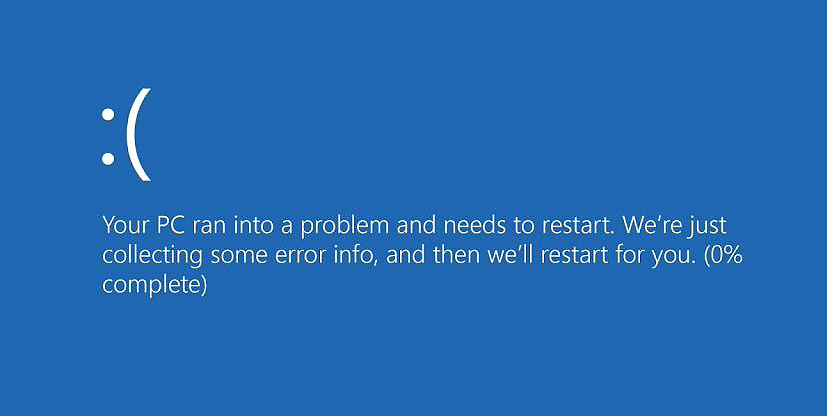
It is no secret that Windows 10 users often experience the ‘Blue Screen of Death’ that occurs when their computer’s hardware malfunctions or a low-level software crashes.
Recently, several users reported that their computer screens have been displaying the Blue Screen of Death with error code 0xDEAD039E out of the blue and when we had a look into this issue, we discovered that the error under discussion can be caused by a wide range of reasons.
Some of the most common reasons behind the 0xDEAD039E BSOD on Windows 10 are outdated drivers, corrupt system files, and unstable Windows 10 build.
If you are facing a similar issue on your PC, you are in the right place because this guide is going to walk you through all the troubleshooting steps in detail.
Let’s jump right in!
1. Install Pending Updates.
One of the most common reasons behind the error code 0xDEAD039E BSOD on Windows 10 is partially incompatible wireless drivers.
This issue can be resolved by installing all the pending updates on your operating system since doing so forces the operating system to install the latest version of wireless drivers too. Several users managed to resolve the issue by doing so, which is why we encourage you to give it a shot.
Here is how you can install the pending updates on your PC:
- Open a Run dialogue box by pressing Windows + R keys simultaneously.
- Type ‘ms-settings:windowsupdate’ in the text field of the dialogue box and hit Enter. Doing so will launch the Windows Update tab.
- In the right pane, click on Check for updates and wait for the Windows to complete scanning. In case Windows identifies pending updates, follow the on-screen instructions to install them.
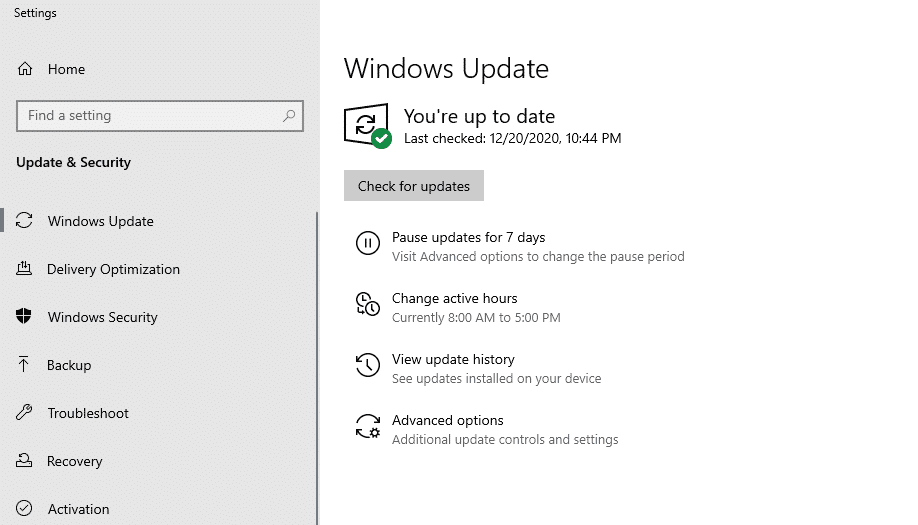
- Once all the pending updates have been installed, restart your PC and check if the issue is resolved.
If incompatible drivers were causing the issue at hand, installing the pending updates will resolve it. You should now be able to use your computer without any issues.
2. Update/Uninstall the Intel Wi-Fi Wireless Driver.
In case you are using the Intel dual-band wireless driver on your laptop for your wireless connections, try updating it.
There are times when a buggy Intel wireless driver attempts to access a memory area inside the operating system that has an incorrect address, causing the error at hand. If this scenario is applicable, then the first thing you should try doing is updating the Intel wireless driver.
Updates are packed with the latest features and bug fixes, which will help you resolve the issue. However, if updating the driver does not work, then you must uninstall it to get rid of the corruption error and install it again.
Here is how you can do that:
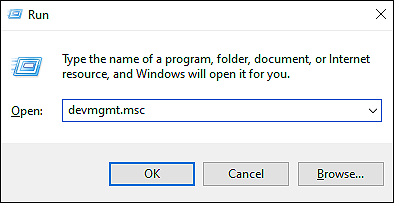
- Press Windows + R keys simultaneously on your keyboard to open a Run dialogue box.
- Inside the text field of the dialogue box, type ‘devmgmt.msc’ and hit Enter. Doing so will launch the Device Manager window on your laptop.
- Now in the newly launched window, scroll down and locate Network Adapters.
- Expand Network Adapters and right-click on your Intel Wireless driver from your list.
- Choose Update driver from the list of options available.

- In the update screen, select Search Automatically for updated driver software and wait for the process to complete.
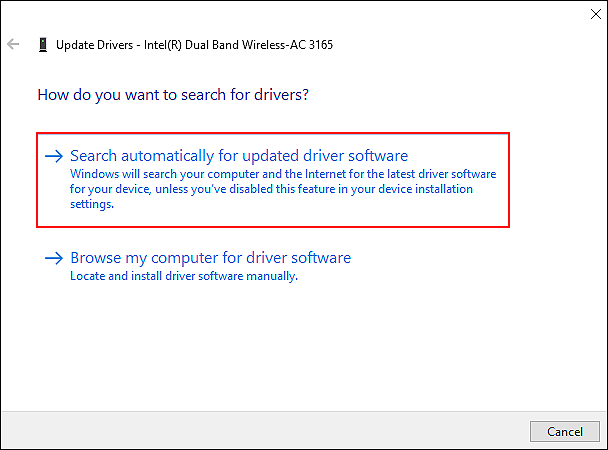
- If Windows displays any pending updates, proceed with the on-screen instructions to install them.
- However, if there are no pending updates, then follow the first 4 steps again and this time, click on Uninstall driver.
- Once the driver is uninstalled, you can reinstall it.
This should eliminate the corruption error and fix the 0xDEAD039E BSOD on Windows 10.
3. Run SFC Scan.
A high percentage of Windows users have encountered issues due to corruption errors within the operating system and this may be one of those instances.
Luckily, Windows comes with several built-in troubleshooting utilities that are built to scan the system for such errors and fix them with little to no user input. One such utility is the System File Checker (SFC), which checks the system’s protected files for issues and then resolves them automatically.
Here is how you can run an SFC scan on your operating system to eliminate errors:
- Type cmd in the search bar and click on Run as administrator. Doing so will launch Command Prompt with administrative privileges.
- Inside the Command Prompt window, type the command mentioned below and hit Enter to execute it.
sfc /scannow
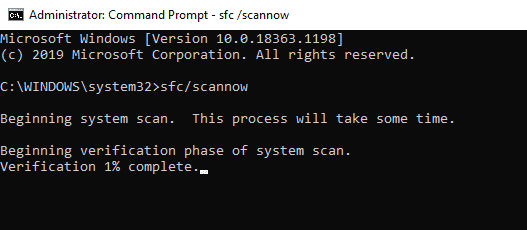
- Once the process is complete, restart your PC.
Doing so will eliminate the corruption errors, thus resolving the issue at hand in the process.
4. Try Using CleanMyPC.
When was the last time you thoroughly cleaned your PC? It’s a good time to remove the corrupt files if you haven’t had the chance to do so in a long time, as they can cause serious damage to your system. Further, it is also likely that the junk files are causing the issues at hand.
The best way to get rid of these files and the problems they cause is to use a reliable PC cleaner.
Online cleaners tend to be more effective and can complete their work faster and more effectively. We tested some of the best online cleaners and found CleanMyPC to be the best.

With CleanMyPC’s system maintenance tools, you can remove all types of junk files and speeds up the performance of your computer. Running a scan using CleanMyPC is quite straightforward as well. Once you run a scan, CleanMyPC will identify the issues within minutes and attempt to repair them without requiring much input from the user.
Install CleanMyPC now and give your PC a much-needed performance boost!
5. Perform a Repair Upgrade.
If none of the methods mentioned above works for you, then this implies that the error code 0xDEAD039E on Windows 10 cannot be resolved using conventional troubleshooting methods.
In this case, we recommend performing a repair upgrade on your PC. Doing so will repair all the corruption errors within the system, without damaging your personal data and files.
Here is how you can do that:
- Download Media Creation Tool.
- After successful installation, open the app and click on Upgrade this PC now.
- Follow the instructions on the screen.
- In the Ready to Install window, select the items you want to keep on your PC after installation.
- Click Next and follow the instructions visible on the screen to start Windows installation.
That’s it.
This should resolve the issue once and for all.
This brings us to the end of our guide on fixing 0xDEAD039E BSOD on Windows 10. We hope that one of the methods mentioned in this guide did the trick for you and the issue is resolved by now. If you have any questions about the troubleshooting steps, please let us know in the comment section below.
If this guide helped you, please share it. 🙂
