

Are you trying to figure out how to add or remove a SIM card on the iPhone 12?
In October of 2020, Apple announced its latest and greatest mobile device, the iPhone 12. The new iPhone has four models, the iPhone 12, 12 mini, 12 Pro, and 12 Pro Max.
The latest iPhones are using the next-generation A14 Bionic chip with four cores and 30% faster compared to A12. Aside from the new processor, the iPhone 12 also features a new set of cameras with Dolby Vision capabilities and HDR video recording.
In terms of design, the new iPhone has slimmer bezels but still has a big notch, which is kind of outdated compared to its competition.
Nonetheless, the latest iPhone is still selling like pancakes, and Apple is still superior when it comes to mobile video recording.
Now, if you are reading this right now, you probably got yourself an upgrade and now trying to figure out how to put the SIM card.
Although most mobile phones today use SIM trays to install SIM cards, some people can still confuse the installation process. Given that your device is still new, you don’t want to mess it up immediately and waste your hard-earned money, right?
So, we’ve decided to make a simple guide to walk you through the process of adding or removing the SIM card on your iPhone 12.
Let’s get started!
- 1. How to Add a New Sim Card on the iPhone 12.
- 2. Use Dr.Fone.
- 3. How to Remove a Sim Card on the iPhone 12.
How to Add a New Sim Card on the iPhone 12.
If you’ve got your new iPhone from your carrier, you don’t have to install the SIM card by yourself, and they have probably done it for you in the store. However, if you bought your phone directly from Apple, then you’ll have to do the process yourself.
Check out the steps below to guide you.
- First, take out your iPhone 12 from the box and find the SIM ejector pin included in the package. (It is a metal tool that has a pointed end that looks like a paperclip)
- Now, locate the SIM tray of your iPhone 12. (Refer to the image below)
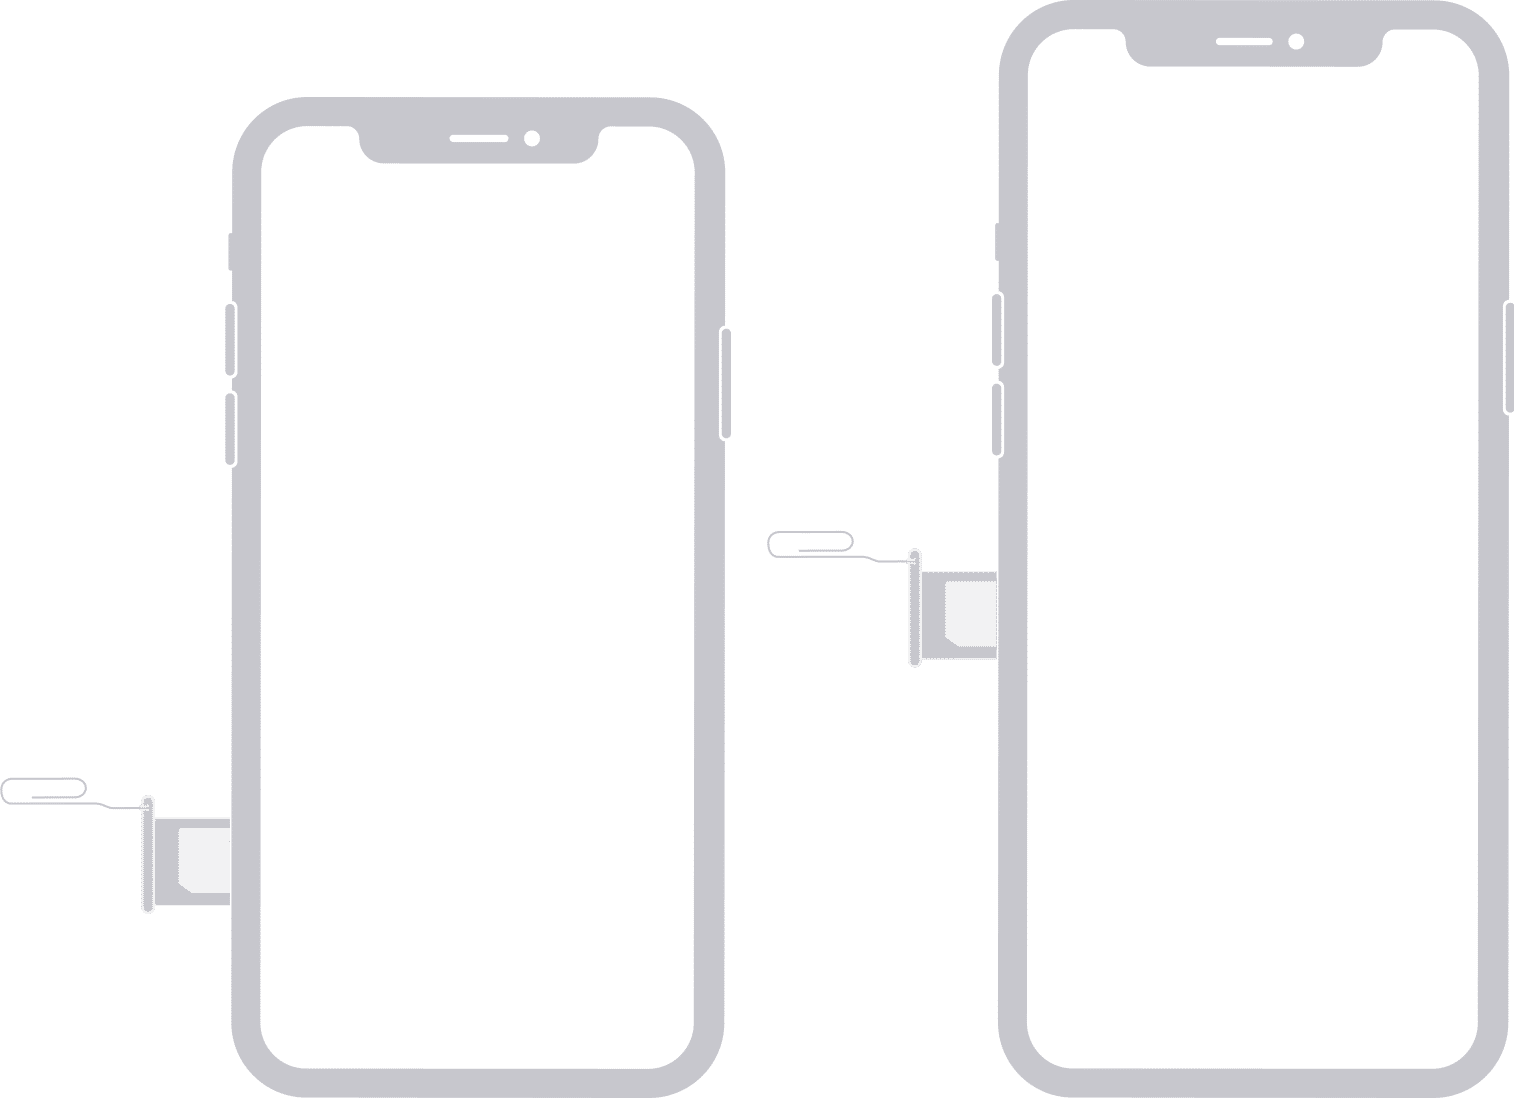
- After that, insert the SIM ejector pin into the hole and push it down by applying force gently until the SIM tray pops out.
- Get your SIM card and place it on the SIM tray. Make sure to align the cutouts of your SIM card to the SIM tray properly.
- Finally, insert the SIM tray back into your iPhone 12. Do take note that if your iPhone is facing up, your SIM card’s contact points should be facing down.
After installing your SIM card, locate your iPhone’s power button and press it to turn it on. Follow the on-screen prompts to complete the setup process, and your iPhone should start activating. Depending on your carrier, activation can take a couple of seconds or finish instantly.
Once done, try to use your cellular data or make some phone calls to check if everything is in order.
Now, some carriers require additional steps when installing their SIM cards. Visit the dedicated pages below to guide you in installing the SIM card for specific carriers on your iPhone12.
- Install SIM Card for Verizon.
- SIM Card Installation for AT&T USers.
- T-Mobile SIM Card Installation Process.
Use Dr.Fone.
To fix software related issues on your iPhone, try using Dr.Fone.
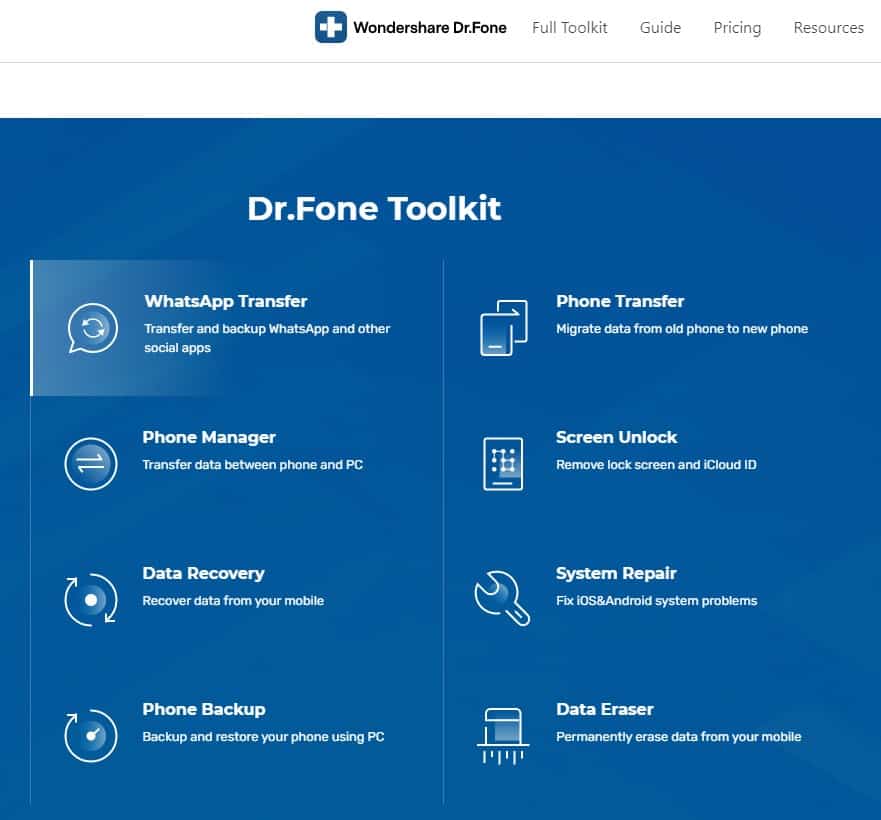
Dr.Fone is an all in one utility software for iPhones that allows you to perform a system recovery, bypass lock screens, transfer data, repair software,iTunes errors, and more!
Depending on your needs, you can avail of the full toolkit for $99.95 or select the features you need and pay less. Dr.Fone toolkit is available for both Windows and macOS computers.
If you need to remove or change your SIM card, refer to the steps below to guide you in the process.
How to Remove a SIM Card on the iPhone 12.
If you want to change your current SIM card or just need to take it out, the process is very similar and should only take you a couple of seconds.
Follow the steps below to remove your SIM card from your iPhone 12.
- First, get your SIM ejector pin and locate the SIM tray of your iPhone 12.
- Now, insert the ejector pin on the SIM tray and press it down until the SIM tray pops out.
- After that, pull the SIM tray out of your iPhone 12 and remove the SIM card.
- Once done, reinsert the SIM tray to your iPhone 12. You can clean the SIM tray before putting it back on your device to remove dirt build-up.
In case the SIM tray won’t pop-out even after using the ejector pin, we suggest that you bring your device to the nearest Apple Store and ask them to check for physical damages.
Keep in mind to avoid exerting too much force when pressing down the ejector pin to prevent damages to your iPhone’s internal parts.
This wraps up our guide on how to add or remove a SIM card on the iPhone 12. If you have other questions or concerns, please leave a comment below, and we’ll do our best to answer them.
If this guide helped you, please share it. 🙂
