

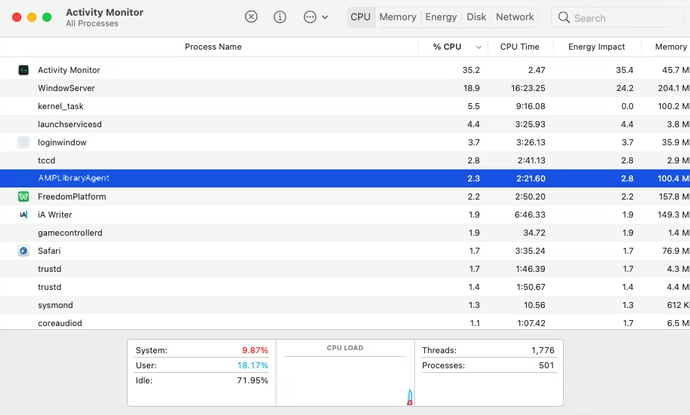
Can’t figure out why the AMPLibraryAgent process is taking up 100% of your CPU resources?
If you’re experiencing slow performance and unresponsiveness on your Mac, one potential culprit is the AMPLibraryAgent process.
The AMPLibraryAgent is related to Apple Music and is responsible for managing your library and metadata. If the AMPLibraryAgent uses too many CPU resources, it can slow down your entire system.
One common reason for this issue is that the process is stuck in a loop, causing it to consume excessive resources.
It is also possible that your music library has become corrupted, and the AMPLibraryAgent is having a hard time managing it.
Today, we’ll show you how to fix the AMPLibraryAgent if it’s taking up 100% of your CPU.
Let’s begin!
1. Restart Your Mac.
If you encounter performance issues on your Mac, the first thing you should do is restart it.
This will stop unnecessary processes on your system. Restarting your Mac should also resolve temporary bugs and errors that may have occurred during use.
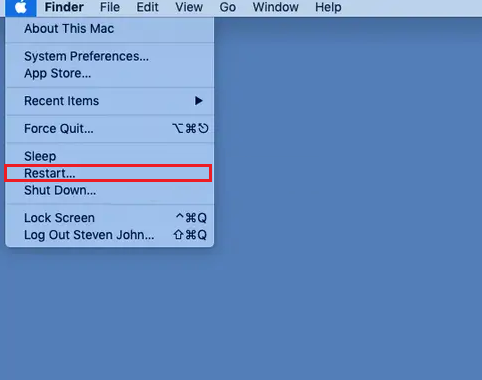
Here’s how you can restart your Mac:
- In the upper left corner of your screen, click the Apple logo to access the Apple Menu.
- Now, choose the Restart option from the drop-down menu.
- Confirm your action by clicking Restart on the dialog box.
Wait for your computer to reboot and check if the problem is solved.
2. Force Restart Apple Music.
As mentioned earlier, the AMPLibraryAgent process is related to Apple Music.
If AMPLibraryAgent is using excessive resources, try restarting Apple Music to reload its resources.
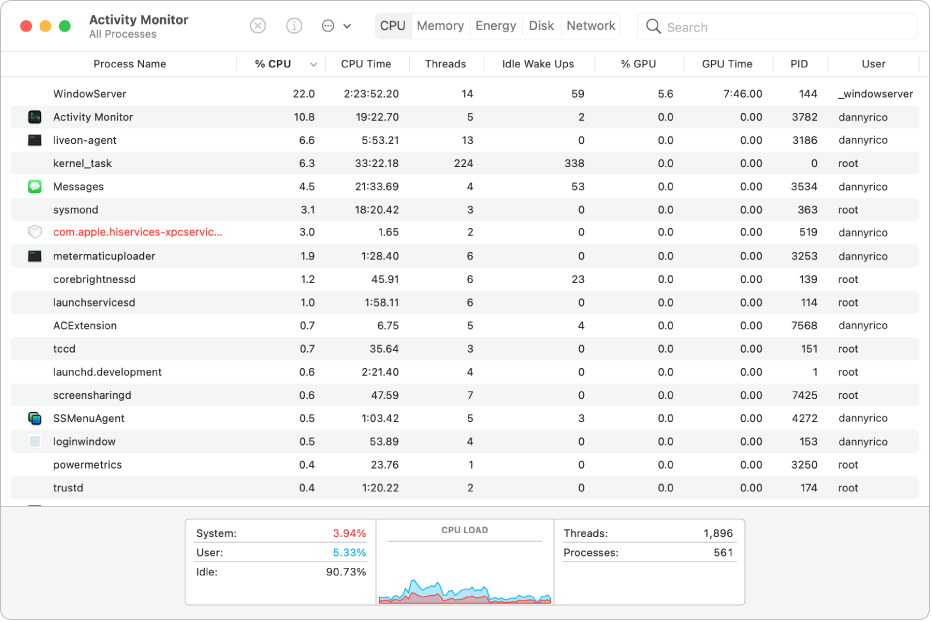
See the steps below to guide you through the process:
- Press Command + Space on your keyboard to open Finder.
- Look for Activity Monitor and launch it.
- Now, find Apple Music from the list of processes.
- Select the app and click the Stop (X) icon in the upper portion of the window.
Once done, close the Activity Monitor and relaunch Apple Music.
3. Wait It Out.
If you recently made changes to your music library, like adding or deleting a large number of songs, this can cause the AMPLibraryAgent to use more resources than usual as it updates your library to iCloud.
Give the library agent to process the changes for a couple of hours and see if its usage will return to normal.
4. Update macOS.
If you are using an older version of macOS, it’s possible that it has underlying issues that cause slow performance and unusual CPU usage.
To rule this out, follow the steps below to update your Mac:
- First, click on the Apple icon in the upper left corner of your screen.
- Click on System Preferences and go to Software Update.
- If there’s a new version available, click on Update Now or Upgrade Now.

Wait for the download to complete and follow the prompts to install the update on your computer.
Use your Mac normally afterward and observe if you’ll still encounter performance issues.
5. Disable iCloud Music Library.
If you are using iCloud Music Library, try disabling it if you encounter high CPU usage.
The AMPLibraryAgent is also responsible for syncing your library to iCloud, which can cause it to consume more resources than usual.
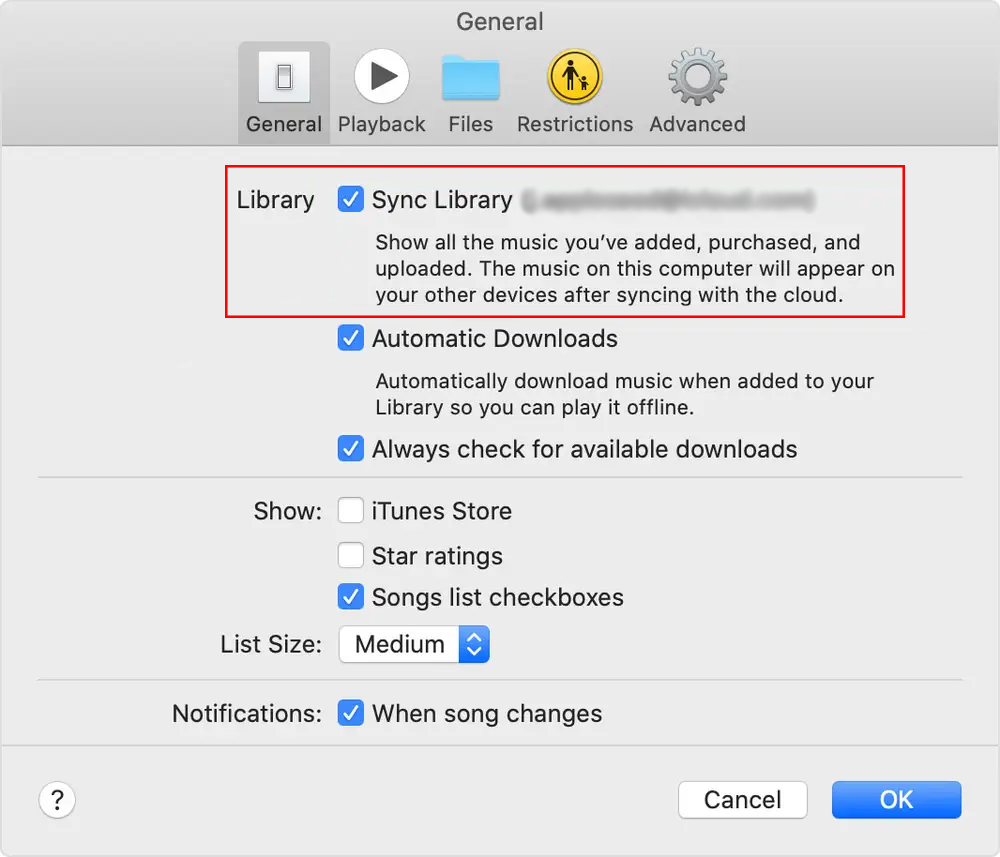
Follow the steps below to disable iCloud Music Library:
- Launch the Music app on your Mac.
- On the top menu bar, click on Music and choose Preferences.
- Head over to the General tab and uncheck the box next to Sync Library.
- Click OK to apply the changes.
Restart your system and see if the AMPLibraryAgent is still taking up 100% of your CPU.
6. Rebuild Music Library.
If the issue persists, you might need to rebuild your music library.
Rebuilding your library in Apple Music will force the app to create a new database of your files and metadata. This should solve any errors and issues in your library.
Before anything, make sure that Apple Music is not running.
To quit the app, click on its icon in the Dock and choose Quit from the menu. You can also press Command + Q on your keyboard.
Now, follow the steps below:
- Using Finder, navigate to your Music folder and locate the ‘Music Library’ folder.
- Move the ‘Music Library’ folder to your desktop by dragging it while holding the Command key.
- Open Apple Music and click on File > Import.

- Navigate to the folder where your music files are stored and add them to your library. Depending on the size of your music library, importing your files can take some time.
After importing your library, you should see all your music files and metadata in the Apple Music app.
Observe the AMPLibraryAgent process if it will still use excessive CPU resources.
7. Reset System Management Controller.
SMC or System Management Controller is responsible for managing the power of your Mac. Resetting your SMC can resolve problems related to power and system management.
If you encounter unusual performance drops on your Mac, try resetting its system management controller.
MacBook w/ Apple Silicon:
- Make sure that your MacBook is plugged into a charger.
- Now, shut down the device by holding the Power button for a few seconds.
- Turn on your MacBook normally.
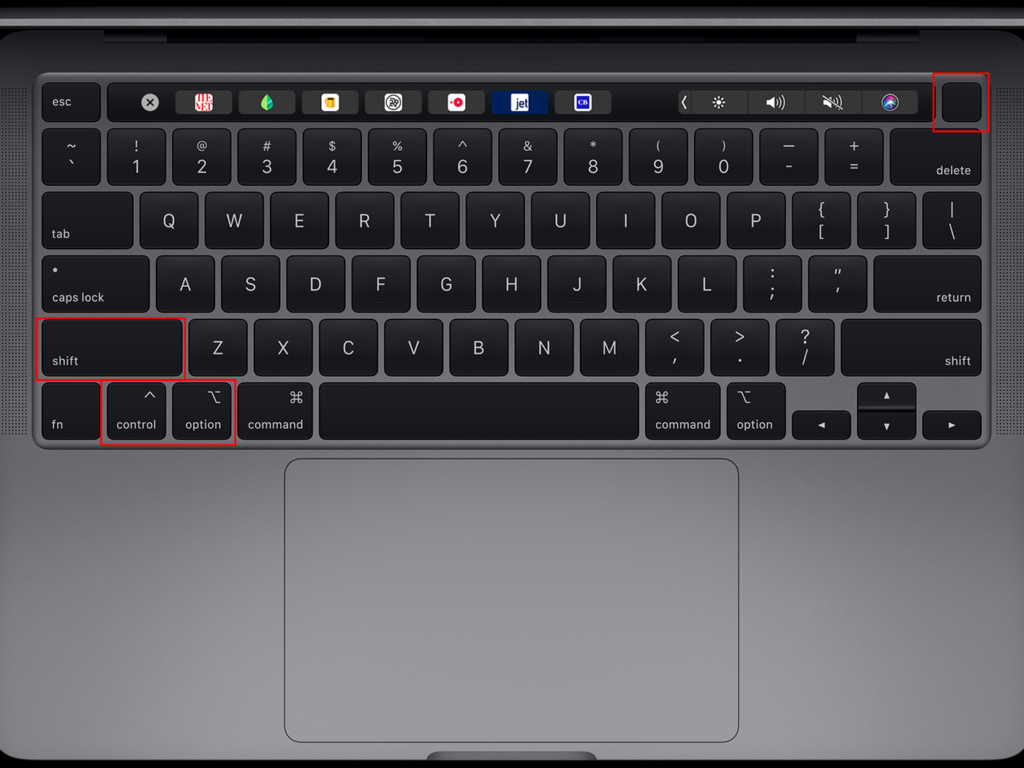
MacBook w/ T2 Chip:
- Turn off your MacBook.
- On the keyboard, press and hold Control + Option + Shift keys together with the Power button.
- Keep holding all keys for another 7 seconds and release them. Turn on your Mac normally.
MacBook w/o T2 Chip:
- Make sure that your MacBook is turned off.
- On your keyboard, press the Shift + Control + Option keys together with the Power button.
- Continue holding all keys for 10 seconds. Release the keys afterward and turn on your Mac normally.
Once done, observe if the AMPLibraryAgent will still consume 100% of your CPU.
8. Contact Apple Support.
If none of the solutions above worked, the last thing you can do is report the issue to Apple.
Head to Apple’s support page and find the ‘Get Support’ section. From there, click Start Now and tell Apple about the problem you’re experiencing with the AMPLibraryAgent.
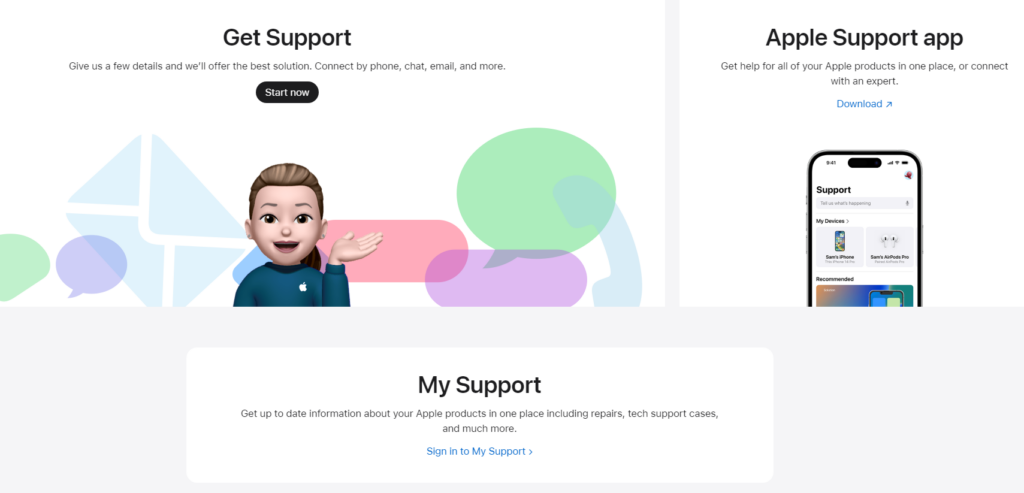
You should see possible fixes to the issue and some articles related to your query.
If you want live support, look for the ‘Contact’ section and choose whether you want to call or chat for support.

That ends our guide on how to fix the AMPLibraryAgent if it’s taking up 100% of your CPU resources. If you have questions or other concerns, don’t hesitate to leave a comment below, and we’ll do our best to respond.