

Can’t figure out why the autofill formula function is not working on Microsoft Excel?
Microsoft Excel is one of the best spreadsheet tools in the world. It has various functions like pivot tables, charts, and computation formulas, which can help you organize and manage data faster.
With over a billion copies sold, Microsoft Excel has become a staple in most Windows computers.
Despite its status, this doesn’t keep Excel safe from issues and errors.
Like any app or software, users can also encounter various problems while using Microsoft Excel. If you are here, we can safely assume that the autofill formula function is not working correctly on your end.
Most of the time, this issue occurs due to improper usage of the autofill function. However, it can also be due to application errors, outdated software, or wrong user configurations.
Today, we will show you how to fix the autofill formula function if it’s not working on Microsoft Excel.
Let’s dive right in!
1. Restart Your Computer.
Before tweaking your configurations, we recommend restarting your device first if you encounter issues with Microsoft Excel. This should reload your system resources and eliminate temporary errors in the process.
Check out the steps below to restart your PC:
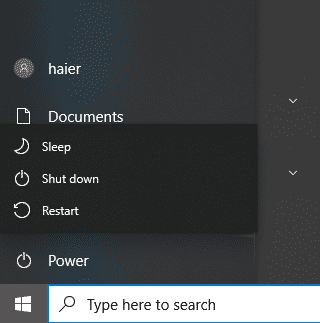
- First, press the Windows key on your keyboard to open the Start Menu.
- After that, access the Power Options tab.
- Lastly, choose Restart and wait for your system to reboot.
Go back to Microsoft Excel afterward and check if the feature works.
2. Change AutoCorrect Options.
Microsoft Excel has an auto-correct feature that automatically checks your worksheet for misspelled words. However, this feature can also check if you’ve called out formulas the wrong way and automatically corrects them.
If the autofill formula function is not working, see the steps below to check your autocorrect options:
- In Microsoft Excel, go to the File tab and click on Options.
- Now, access the Proofing tab.
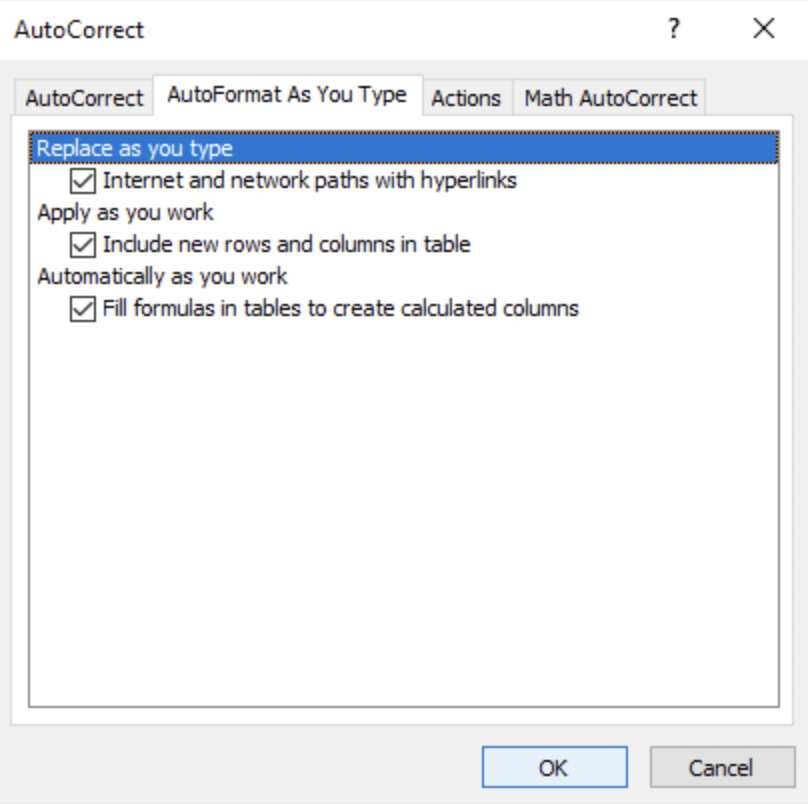
- After that, click on AutoCorrect Options and open the AutoFormat As You Type tab.
- Finally, enable the ‘Fill formulas in tables to create calculated columns’ option and save the changes.
Once done, go back to Microsoft Excel and see if the problem is solved.
3. Use Smart Tag Function.
If the autofill feature is not working correctly on your worksheet, you can try using smart tag instead. This is another Excel feature that allows you to copy your formula from one cell to another.
Here’s what you need to do:
- First, select the cell that you want to put a formula on.
- After that, input your formula and hit Enter.
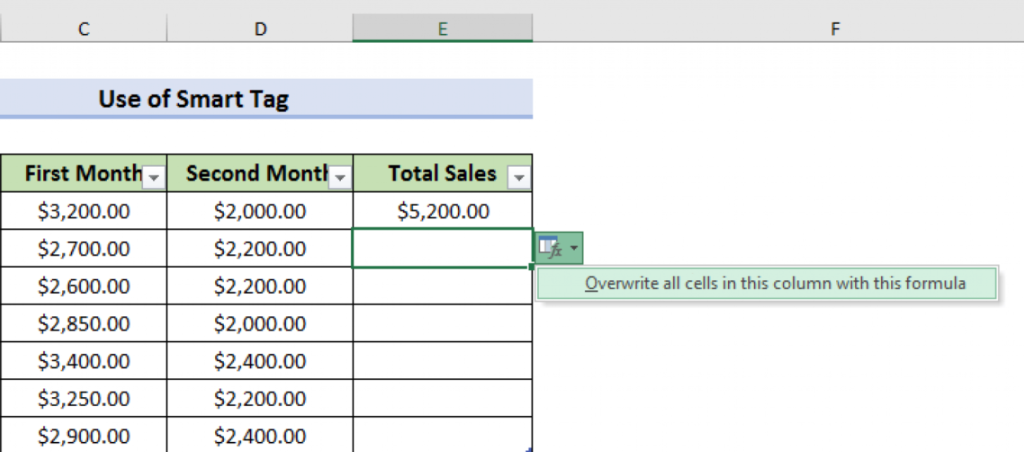
- Now, you should see a small box beside the cell under the initial cell you’ve placed your formula on.
- Lastly, click on the box and choose ‘Overwrite all cells in this column with this formula’.
You should see the results of the formula you’ve entered afterward.
4. Update Microsoft Excel.
The version of Microsoft Excel you are using might have an underlying issue that causes the autofill formula function not to work. To rule this out, see the steps below to update your software to the latest version.
Follow the guide below to update Excel:
- First, launch Microsoft Excel on your computer.
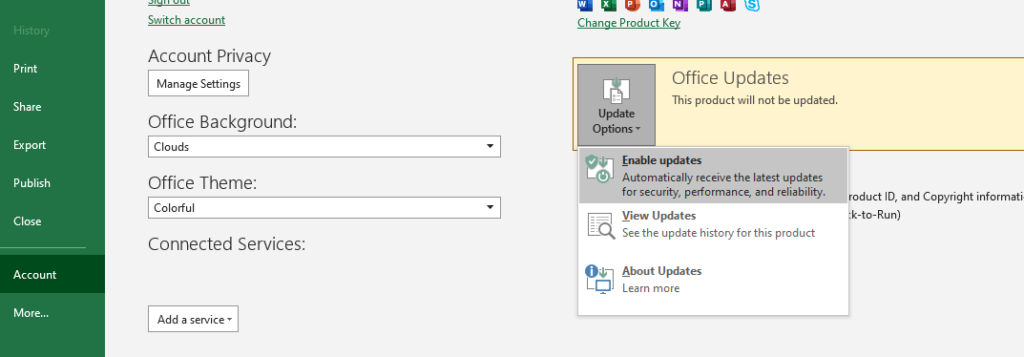
- After that, click on File > Accounts.
- Lastly, access the Update Options tab and click on Update Now or Enable Updates.
Once done, go back to Excel and check if the problem is solved.
5. Use the Fill Handle.
If you are still having difficulty using the autofill formula function, we suggest using the fill handle to copy your formulas from one cell to another. This works similarly with the Smart Tag function but requires fewer steps.
To use it, point your cursor at the lower right corner of the cell you want to copy. You should see your cursor switch to a ‘+’ icon. Now, make a left click on your mouse and drag the fill handle to the cells you want to copy the formula.
You can also use the fill handle to copy other values like numberings, dates, and text values.
6. Reinstall Microsoft Excel.
If none of the solutions above worked, you could try reinstalling Microsoft Excel on your computer. This way, you can ensure that there are no missing resources on your system and that the app is installed correctly.
See the steps below to delete Excel:
- On your computer, access the Start Menu and look for the Control Panel.
- Now, open the Control Panel and click on Uninstall a Program.
- Right-click on Microsoft Excel and choose Uninstall. Follow the on-screen prompts to continue.
Download the latest version of Excel afterward and see if the autofill formula function works.
That ends our guide for fixing the autofill formula function if it’s not working on Microsoft Excel. If you have questions, please don’t hesitate to leave a comment below, and we’ll do our best to help.
If this guide helped you, please share it. 🙂
