Want to know how to clean install macOS 12 Monterey?
You’ve probably heard about macOS 12 Monterey. It’s the next big thing after Big Sur. It is expected to be packed with app upgrades, enhanced privacy, and innovative features. As of this writing, macOS 12 Monterey is only available in the Beta version.
Ready to try it out? We recommend a “clean install” process. This means installing the system on an erased drive. It is ideal if your Mac has been slow and cluttered with apps. Your machine will run a bit faster. You can also get rid of some persistent issues.
A clean installation can be tricky. But we’re here to guide you. In this article, we’ll flesh out every step needed to complete the process. Here’s how to clean install macOS 12 Monterey Public Beta version.
Let’s get started!
1. Prep and See If Your Mac is Compatible.
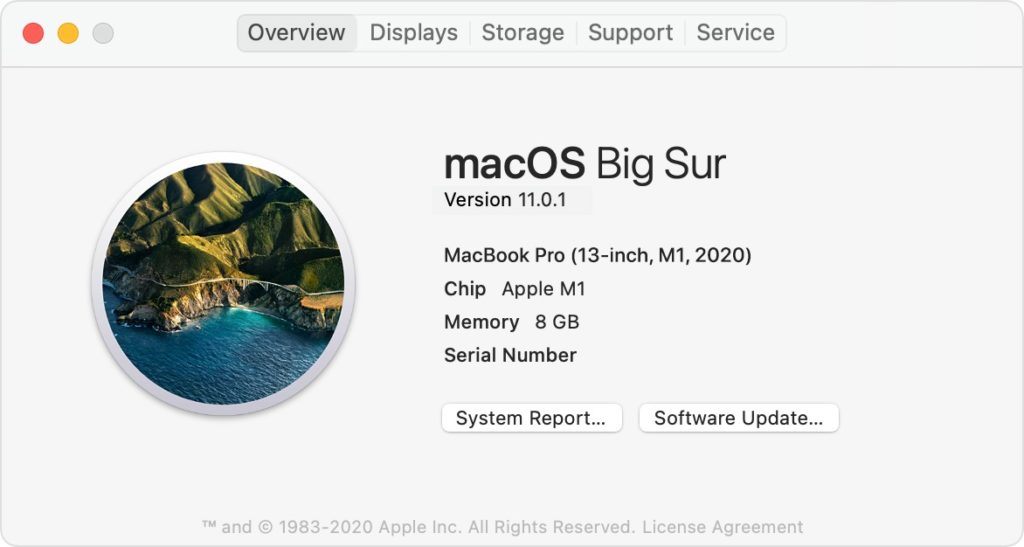
Before we dive into the actual clean installation, check if your Mac is compatible. MacBook models from 2015 and later can support macOS 12 Monterey. Unsure about your Mac model? Check it by going to the Apple menu > About This Mac > Overview.
After that, prep for the clean installation. Make sure you have two external drives. One is for backup, while the other one is for the installer. Also, ensure a stable internet connection. Lastly, note that the entire clean install process can take one to two hours.
2. Clean up and Free up Some Space.
You might feel the urge to skip this step but don’t. Deleting unnecessary apps and other junk can help speed up the clean install process. Plus, if you will back up data with Time Machine, you need more storage space as this app creates lots of copies.
It’s easy to clean up your Mac. You can even do it in one scan by using CleanMyMac X. Authorized by Apple, CleanMyMac X can find and clean up at least 10GB of junk.
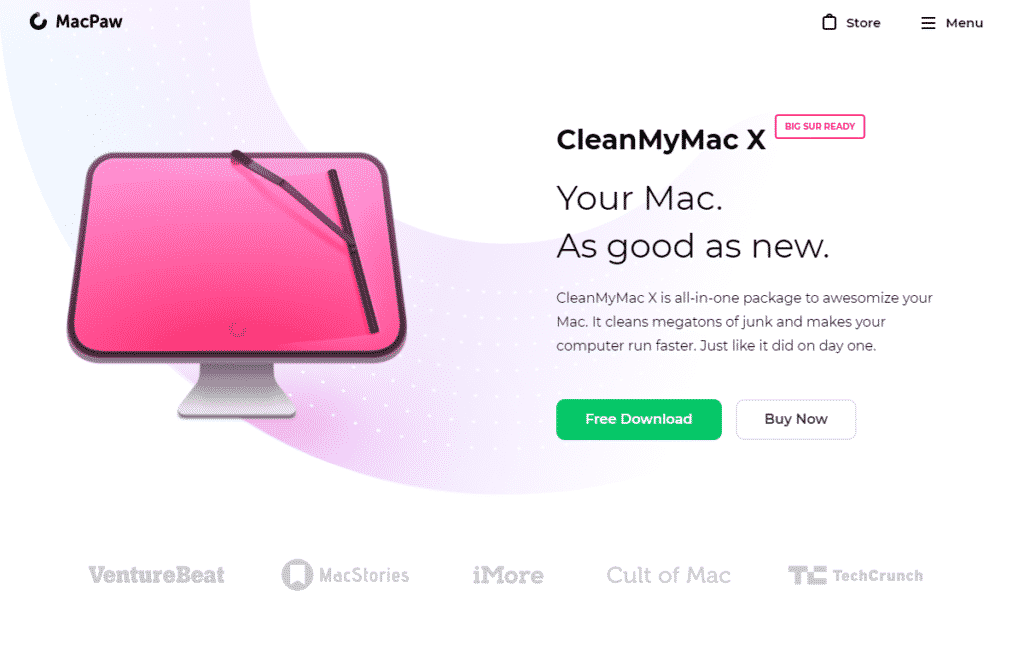
Here’s how to clean up your Mac with CleanMyMac X:
- Download CleanMyMac X.
- Once it’s installed, open CleanMyMac X.
- Click Smart Scan. Wait for the app to inspect your Mac.
- The results will show up. Review the files you can delete. Click Remove to eliminate them from your system.
With a clean system, your machine is ready for the next step: backing up data.
3. Back up Your Data.
Again, a clean installation is installing a new macOS on an erased drive. That’s different from a regular installation wherein you install Monterey on top of a current macOS. So with a clean installation, it’s crucial that you back up your important files first.
You can easily back up your data by using Time Machine. But first, check how much storage space you need. Go to the Apple menu > About this Mac > Storage. Then, grab a clean, formatted external drive (USB or Thunderbolt) with that much space.
Here’s how to back up using Time Machine:
- First, plug your external drive into your Mac.
- Then, go to System Preferences.
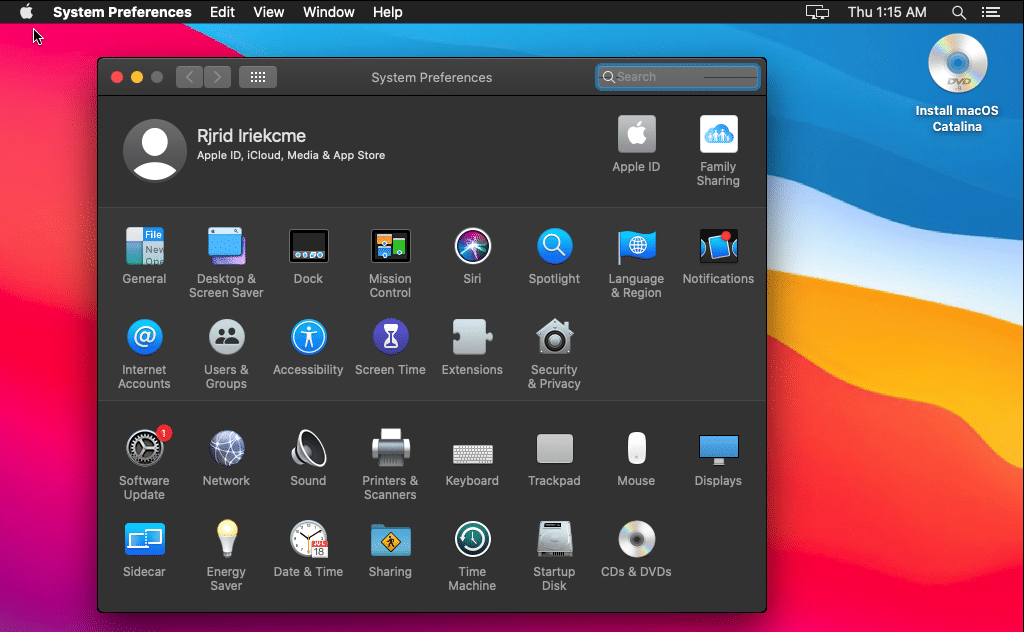
- Select Time Machine.
- Choose the drive you want to use to back up your data.
- Then, click Use Disk. This action will prompt the start of the backup process.
If you encounter issues, check our guide on how to fix Time Machine not backing up. Another alternative is backing up your data folder by folder. Copy all important data and save it to your external drive. Later, you can transfer it back to your new macOS.
4. Download Monterey Public Beta Installer.
After backing up your important files, it’s time to download the installer for macOS 12 Monterey. Since Monterey is only available in the Beta version, you have to enroll in Apple Beta Software Program to get the installer. We also know another workaround.
Also, keep in mind that for this step, you only have to download the installer. If it prompts for installation, you need to cancel it immediately. Make sure to let the installer sit in your Applications as this is a crucial part of doing a clean installation.
Here’s how to download the macOS Monterey Public Beta installer:
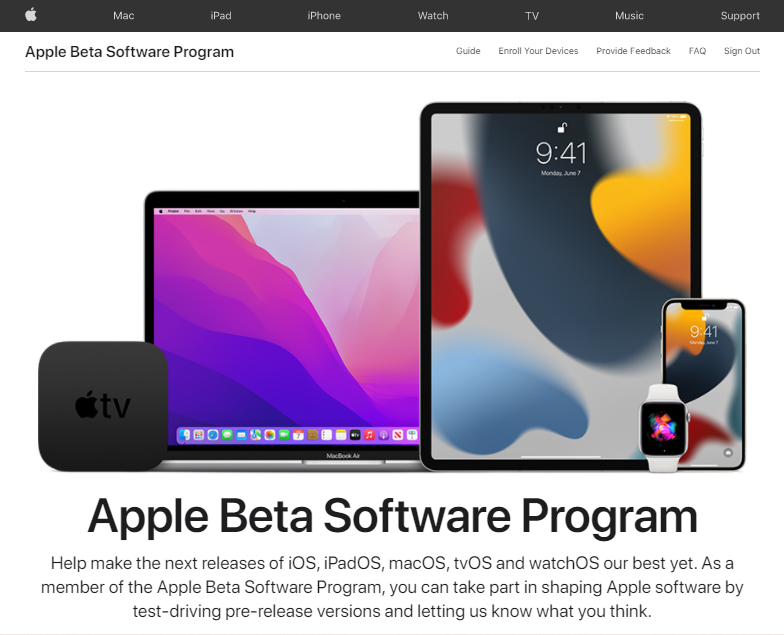
- Launch Safari.
- Go to the Apple Beta Software Program page.
- Sign in with your Apple ID.
- Click the Enroll your devices button in the upper right corner.
- Select the macOS tab.
- Scroll down to click the Download the macOS Public Beta Access Utility button. (Alternatively: you can use this direct download link.)
- Run the installer. The Software Update window will open automatically.
- Then, click Upgrade Now.
- Once the installation starts, cancel it immediately. This is the crucial step we’re talking about. Instead of installing, let the installer sit in your Applications.
5. Create a Bootable USB Drive Using Terminal.
As mentioned in Step 4, you need to quit the installation once it starts after you’ve downloaded the Monterey installer. Otherwise, the process will continue as a regular installation. Remember, we’re doing a clean install here.
The guide on how to clean install macOS 12 Monterey isn’t complete without creating a bootable USB installer disk. This might be tricky. So we’ll divide this crucial step into two phases. Phase 1: format the drive. Phase 2: Use the Terminal to create the installer disk.
Here’s how to format the bootable drive:
- Plug your external drive (with at least 16GB storage space) into your Mac.
- Launch Finder to select Applications.
- Then, click Utilities. Select Disk Utility.
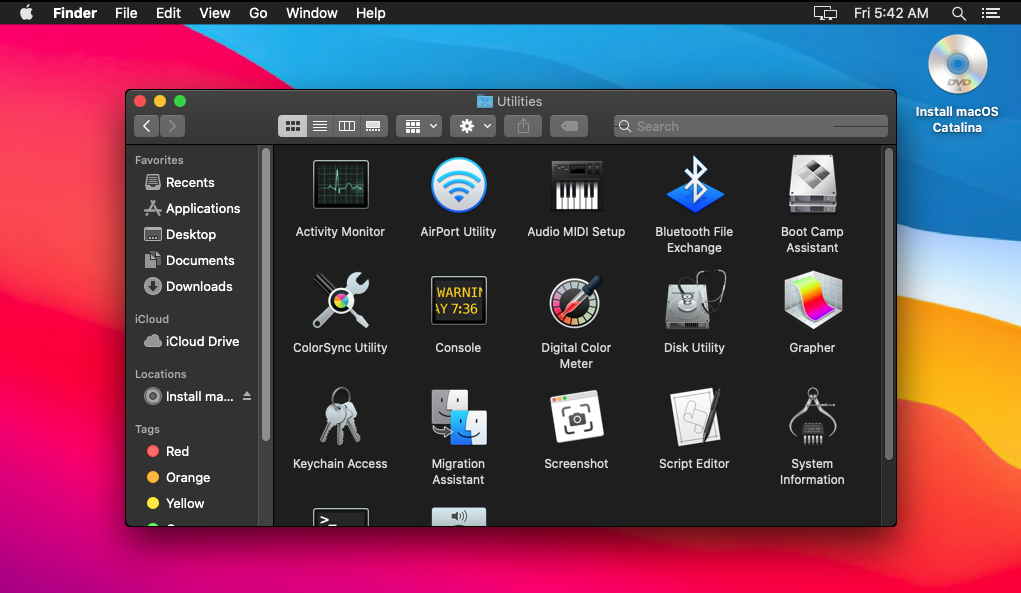
- In the next window, find and click your external drive from the list on the left.
- Hit Erase on the top of the window.
- A pop-up window will show up. Rename the drive to “Untitled.” Make sure the format is macOS Extended (Journaled). Lastly, click Erase.
Here’s how to use the Terminal to create a bootable USB installer:
- First, keep the formatted USB drive named Untitled plugged into your Mac.
- Next, check your Applications. Locate the macOS Monterey Installer you’ve downloaded. Make sure it’s there before moving to the next steps.
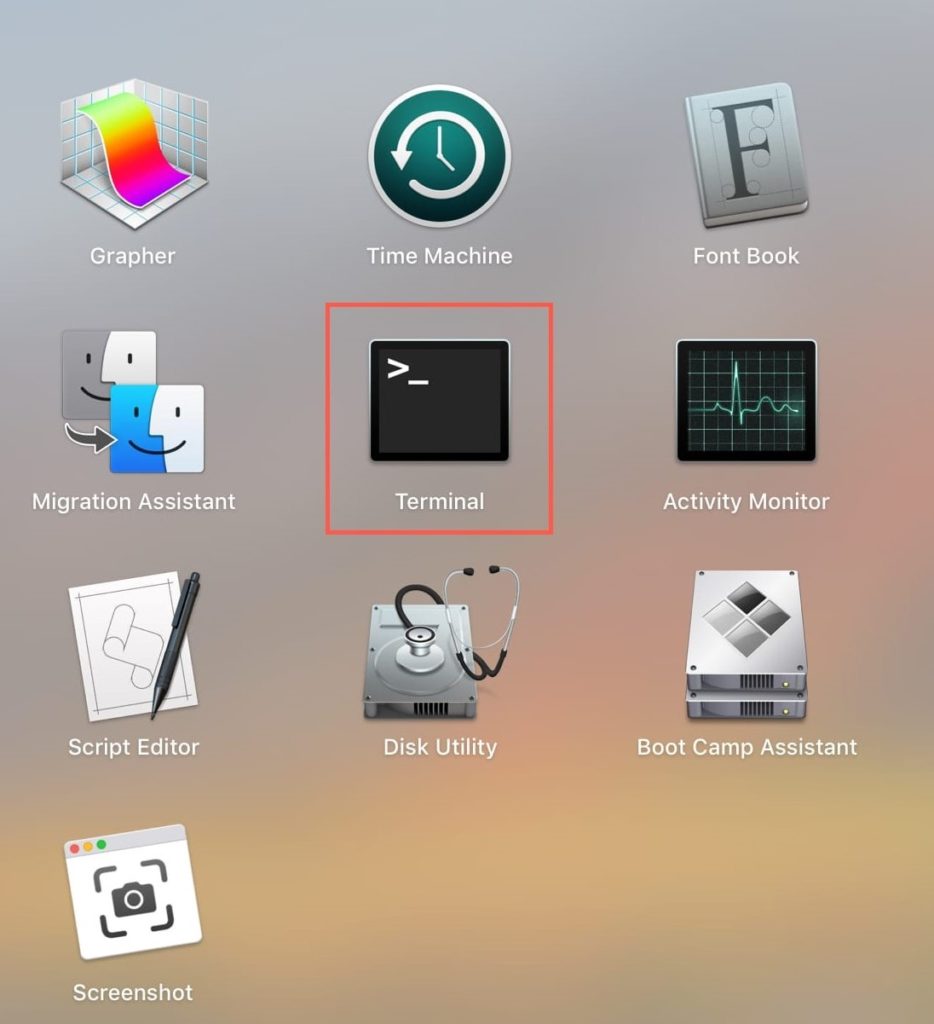
- Launch Launchpad or Spotlight. Type “Terminal,” and then click the result.
- Once the Terminal window shows up, copy and paste the following command: sudo /Applications/Install\ macOS\ 12\ Beta.app/Contents/Resources/createinstallmedia –volume /Volumes/Untitled
- You’ll be prompt to enter your admin password. Do it and wait for the Terminal to complete the process. With this command, we’re telling your Mac to grab the Monterey file installer from Applications and put it onto the drive named “Untitled” to make it a bootable installer drive.
After that, disconnect the USB named “Untitled” from your Mac. Then, move on to the last step in this guide on how to clean install macOS 12 Monterey Public Beta version.
6. Erase Current macOS and Install macOS Monterey.
It’s time to erase the current macOS and install the Monterey Public Beta version. But how do you exactly do that? We’ve divided this step into three phases. Phase 1: update the startup security settings. You need to do this if you have a newer Mac.
The second phase is erasing the current macOS. Along with that is installing macOS 12 Monterey Public Beta from the bootable you’ve created in the previous step.
Here’s how to update the startup security settings to activate booting Mac from USB:
- First, shut down your Mac.
- Next, press the Power button and hold Command + R until the Apple logo shows up on the screen.
- Eventually, your Mac will enter the Recovery Mode.
- Enter your password.
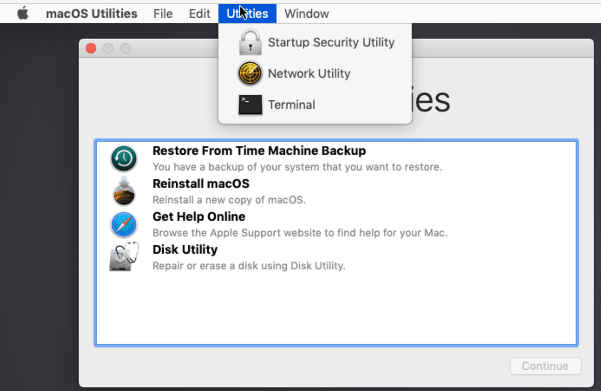
- At this point, you’ll see the macOS Utilities window.
- Look at the menu on top of that window. Click Utilities. Then, select Startup Security Utility.
- Next, choose Medium security under Secure boot.
- Then, under Allowed boot media, click Allow to boot from removable media.
- Lastly, click the Apple menu to shut down your Mac.
After that, you will enter Phase 2: erase the current macOS. Here’s how to do it:
- Connect your USB drive named “Untitled” (the bootable installer) to your Mac.
- Open your Mac. Press and hold the Option key.
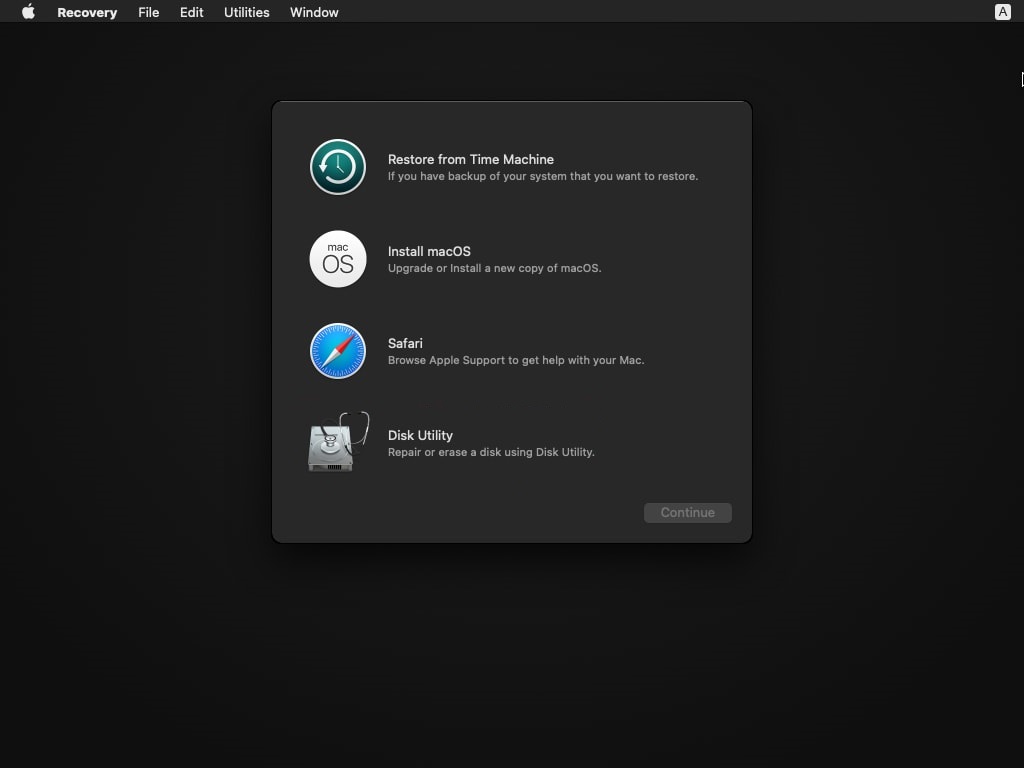
- You’ll see the Recovery window showing different boot options. Select booting from installer disk.
- Next, the Disk Utility window will show up. Choose your main HD drive and click Erase. Make sure to keep the format as APFS.
- At this point, your current macOS is deleted. Close the Disk Utility window to go back to the Recovery window.
- With your bootable installer drive still connected, you can now click Install macOS. Then click Continue.
- The installation process will start. Your macOS Monterey will do the rest of the process on its own.
Note that your Mac will restart on its own a few times during installation. Just be patient. The installation may also take 30 minutes or more. But after that, you can enjoy using your fast computer with the latest features from macOS Monterey.
This wraps up this guide on how to clean install macOS 12 Monterey Public Beta. We hope this article was helpful. Got more Mac-related tech issues? Don’t hesitate to share them with us. Leave a comment below. We’ll try our best to address them.