

Wondering how to convert a basic disk to a dynamic disk on Windows?
Hard drives in Windows Computers are divided into two different types: basic disks and dynamic disks. Windows usually uses basic disks as its storage medium. In general, these are partitions that are often formatted with a file system, such as primary partitions and logical disks.
In contrast, Dynamic disk doesn’t track all dynamic volumes via a partition table. It instead tracks the information about dynamic volumes on the hard drive using a hidden database, Logical Disk Manager.
For the most part, home computers are configured with Basic disks. Dynamic disks, however, are often preferred by professionals due to their enhanced performance and fast speed. Dynamic disks are great for:
- Creating spanned volumes
- Combining unallocated space into volumes that span multiple disks
- Creating striped or mirrored volumes for better performance
- Creating striped volumes for data protection with dynamic disks.
In this guide, we will walk you through the methods of converting a Basic disk to a Dynamic disk on Windows. All the methods are easy to execute, and should not take much of your time.
Let’s get started!
1. Use Disk Management.
Disk Management is a built-in utility in Windows 10 that allows you to view and manage external and internal hard drives. This tool allows you to format/reformat hard drives, create partitions, change the size of partitions, and much more.
If you do not want to rely on third-party programs for the conversion of basic disks to dynamic disks on Windows, then this method is the best.
Here is what you need to do:
- Press Windows + R keys simultaneously on your keyboard to open a Run dialogue box.
- In the text field of the dialogue box, type diskmgmt.msc in the search bar and hit Enter. This will launch the Disk Management window on your PC.
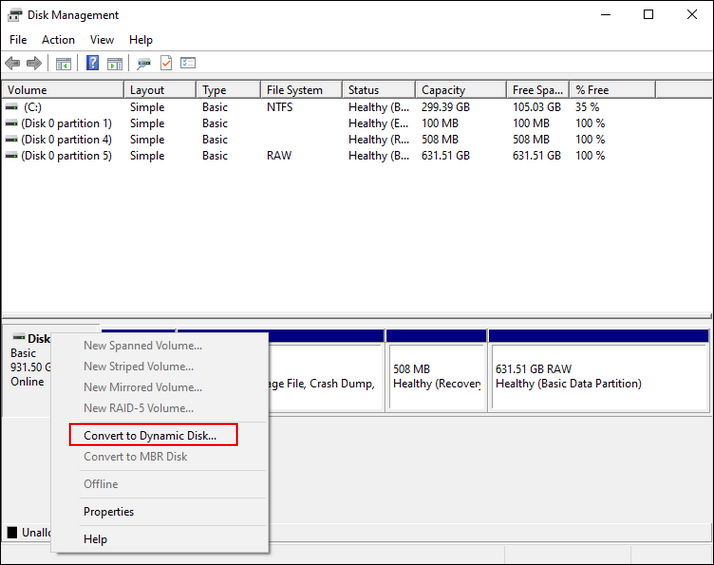
- Inside the Disk Management window, right-click on the basic disk that you want to convert.
- Select Convert to Dynamic and then hit OK to proceed.
In case you do not want to use Windows built-in utility, proceed to the next method below.
2. Use Command Prompt.
Another way of converting a basic disk to a dynamic disk on Windows is by using Command Prompt.
Command Prompt is a command-line interpreter utility available in Windows operating systems. It is used by administrators to control the working of their operating system better by executing commands.
Here is how you can use Command Prompt to make the desired changes:
- Type cmd in the search bar and click on Run as administrator to launch elevated Command Prompt.
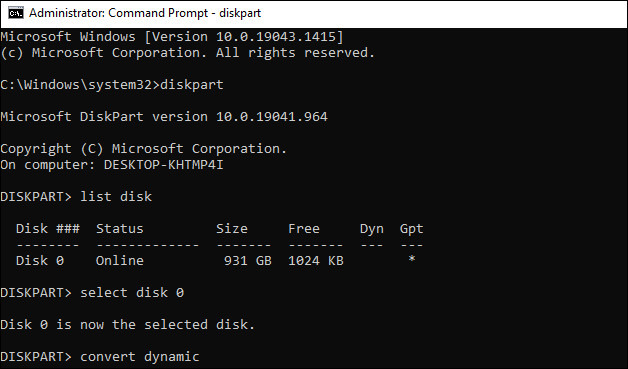
- Inside the Command Prompt window, type the commands mentioned below one by one and hit Enter to execute it. Don’t forget to replace the ‘X’ in the third command with the name of your targeted disk.
diskpart
list disk
select disk X
convert dynamic
- Once all the commands are executed, type exit in Command Prompt and hit Enter.
Finally, close Command Prompt and check if the issue is resolved.
3. Try Using CleanMyPC.
Are you having issues executing the methods mentioned in this guide? Well, it might be because you haven’t removed these corrupt junk files recently.
The simplest way to remove these junk files is by using an efficient PC cleaner. If you’re looking for a recommendation, we recommend CleanMyPC.

A simple yet effective cleaner, CleanMyPC will scan your operating system and fix any issues on its own. It comes with a wide range of system maintenance tools like a Multi-Uninstaller, Registry Cleaner, and Speed Booster that can take care of all your PC-related issues in no time.
Install CleanMyPC now and get your PC up and running like new in no time!
4. Use a Third-Party Tool.
If none of the methods mentioned above worked for you, then you can try using a third-party tool to convert a basic disk to a dynamic disk on Windows.
There are quite a few third-party tools that you can look into:
- Partition Wizard
- DiskGenius
- EaseUS Partition Master
In this method, we will show you how you can perform the desired task using EaseUse. The steps for other tools might slightly vary, but the basic principle remains the same.
Here is what you need to do:
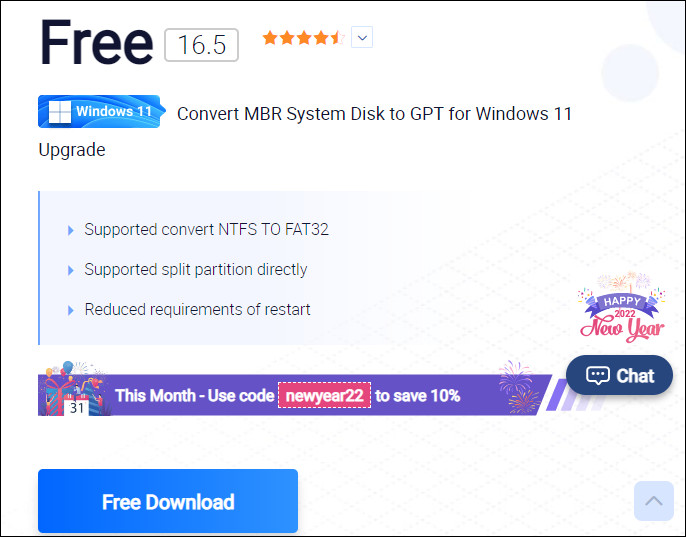
- Launch your browser and navigate to the official download page of EaseUS.
- Click on the Free Download button and wait for the download to complete.
- Once done, open the installer and give it admin access at the UAC.
- Now click on Install Free at the second prompt and wait for the process to finish.
- After the installation is complete, click on Start Now.
- Next, right-click on the basic disk that you wish to convert and choose Convert to Dynamic.
- Finally, click on Execute Operation to convert the disk.
- Wait until the process is completed and then reboot your PC.
This brings us to the end of our guide on ways to convert a basic disk to a dynamic disk on Windows. We tried walking you through all the steps in detail and hope that one of the methods mentioned in this post did the trick for you. In case you still have any confusion about the steps, please let us know in the comment section below!
If this guide helped you, please share it. 🙂
