Want to know how to delete location history on iPhone?
Your iPhone has tons of features that boost user experience. The problem, however, is some of these features record information that you otherwise prefer not to be stored. One example is the automated location feature buried deep in your privacy settings.
That feature records every place you’ve ever visited—every time you’ve been there. It does that to offer personalized services. Say you usually visit a coffee shop. The next time you ask Siri for suggestions, Siri will recommend places similar to that coffee shop.
Though that feature’s intentions are good, we understand if you prefer that your iPhone doesn’t record every place you set foot in. Luckily, there’s a way to stop that. Plus, you can clear all the records. Here’s how to delete location history on iPhone.
Let’s get to it!
1. Clear Significant Locations.
Your iPhone has a hidden map of every place you’ve been to. You can see it through the Significant Locations (Frequent Locations in older iOS versions) feature. Again, its initial goal is to offer useful location-related information every time you use Siri and other apps.
The Significant Locations feature is automatically on once you’ve activated Location Services. So if you’ve been using your iPhone for months or years now, you probably have a long list of location history to clear.
Here’s how to check Significant Locations to delete location history on iPhone:
- Start by navigating to Settings.
- Scroll down and tap Privacy.
- Next, select Location Services.
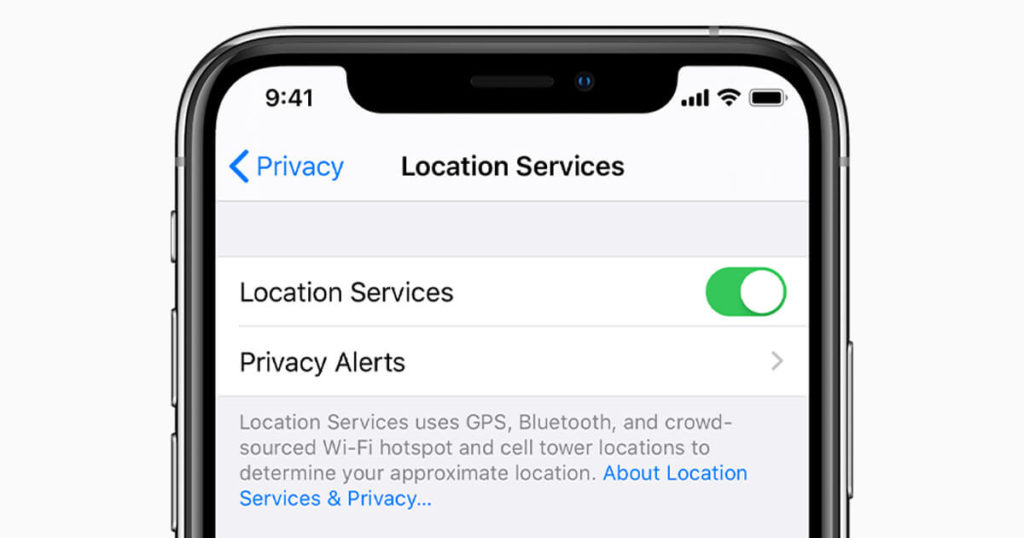
- Scroll down a bit to see Significant Locations. Then, tap it.
- Your iPhone will ask you to enter a passcode or use your Face ID. Proceed to confirm your identity.
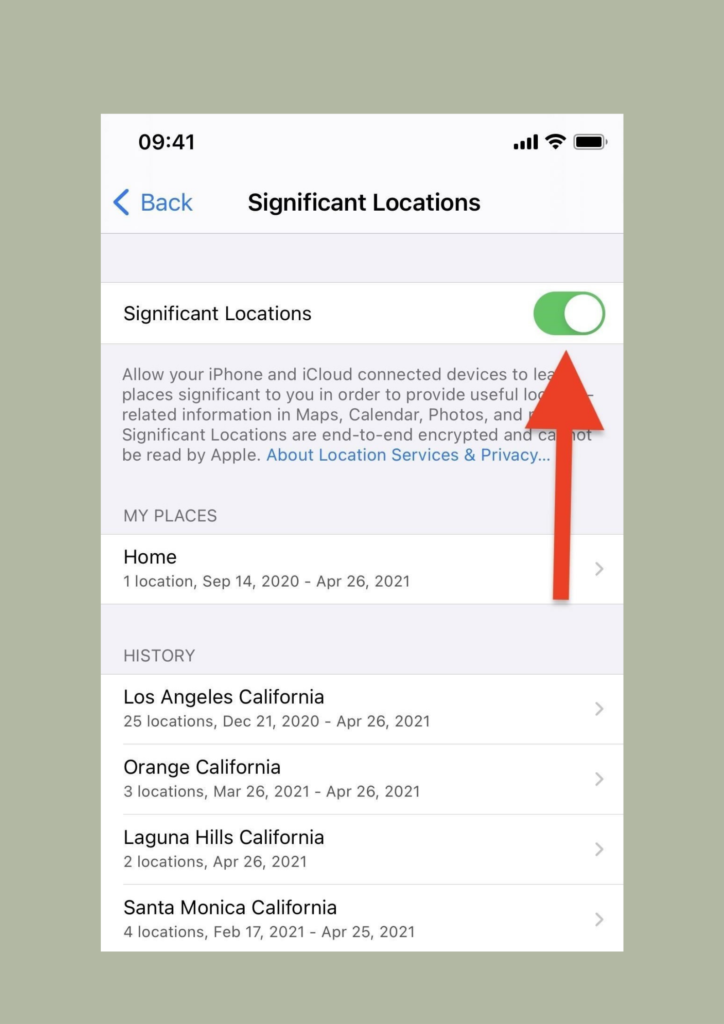
- The next screen will show your location history. Tap on any of these locations to find out more about the stored information and delete it.
- To clear the entire location history, go back to the previous screen. Scroll to the bottom and choose Clear History.
- On the same screen, you can disable the feature. Toggle off the button beside Significant Locations. Make sure the button is gray and inactive. You can re-enable this feature anytime.
Disabling Significant Locations may affect some apps and services. These include Find My, Maps, and Photos. Also, note that clearing your location history on iPhone triggers removing that information on all other devices signed in with your iCloud account.
2. Delete Google Location History on Your iPhone.
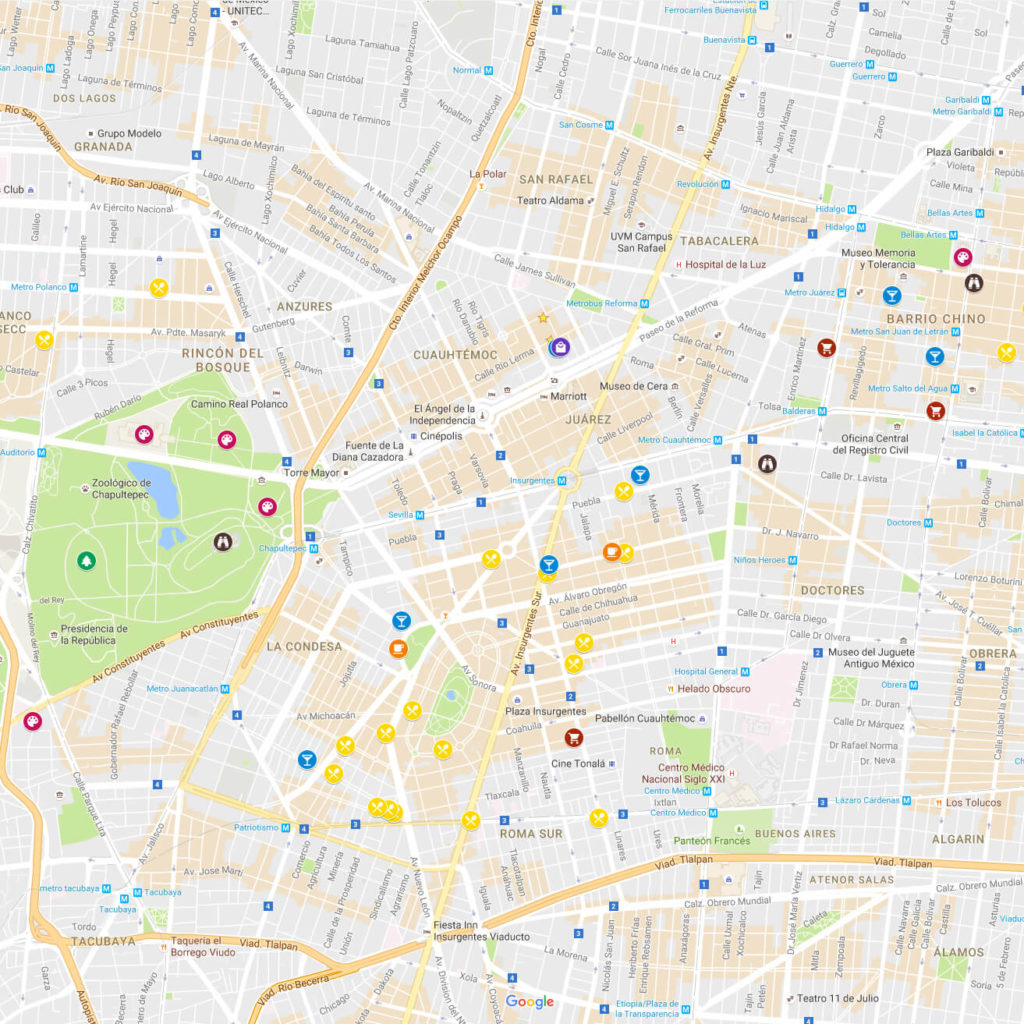
Your iPhone isn’t the only service interested in recording places you visit. Google does it too. If you use Google Maps, you’re unknowingly providing location info to Google. That’s even if you already disabled the Significant Locations feature on your iPhone.
Like Apple, Google tracks your location history to give you a better user experience. As a search engine, Google’s job is to satisfy your queries. If it knows where you’ve been, it can provide better search results whenever you look for a new store or service. Still, if you’re bothered by that, you can delete Google location history on your iPhone.
Here’s how to do it:
- On your iPhone, launch Google Maps.
- Tap the Menu (a three-bar) icon at the top-left corner.
- Next, tap the Settings (a gear) icon.
- On the next screen, scroll down and select Personal Content.
- Then, scroll down to Location Settings on the next screen.
- Next, select Delete all Location History.
- A pop-up message will appear. Tap Delete to confirm your action.
To disable further Google location tracking, follow the steps below:
- First, navigate to the Settings app of your iPhone.
- Select Privacy.
- Next, tap Location Services.
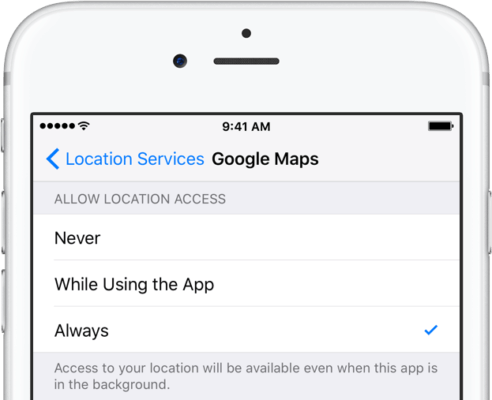
- Find Google Maps on the list of apps that use Location Services. Tap the button beside Google Maps and choose Never.
You can re-enable location tracking for Google Maps whenever you want to use it.
3. Delete Location History on iPhone Through Google’s Timeline.
There were reports that Google collects location data even on iPhones with disabled Location Services. If you use other Google apps besides Maps or Google search, your location will still be time-stamped.
With that time-stamped information, Google will create a timeline that is somewhat similar to the location history you’d see on Google Maps. Luckily, you can delete that stored data on Google’s Timeline. We’ve laid out the steps below.
Here’s how to delete your iPhone’s location history on Google’s Timeline:
- Click this link to go to the My Activity page on Google.
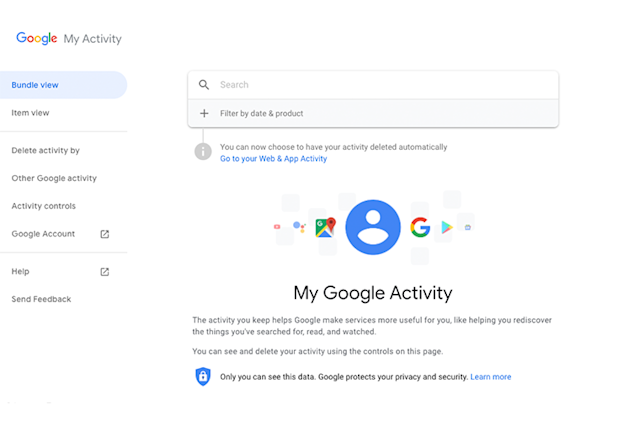
- On the left-bar menu, select Activity Controls.
- Scroll down to find the Location History section.
- Tap the Manage activity to see the location data you want to delete. Alternatively, you can tap Auto-delete to set this function up.
- Next, go back to the main Activity Controls page. Toggle off the button beside Location History to disable this function.
- Scroll up to disable the button beside Web & App Activity as well.
4. Encrypt Your Location Data with VPN.
At this point, you’ve probably already cleared location history on your iPhone. But the risk of your personal data being stored is still there. Google, Apple, and other online services can always create a way to work around the restrictions you’ve put. Plus, whether your location history is disabled or not, your private data can still be at risk.
Whenever you post or do anything online, your private information can be viewed by your internet service provider and, worse, hackers. Fortunately, there’s a quick and efficient way to maintain your privacy: use a VPN.

A VPN or virtual private network masks your IP address and even encrypts your traffic. That way, you can ensure your data is protected. Check out some of the most recommended VPN services, like NordVPN, ExpressVPN, and Surfshark.
This wraps up this guide. Hopefully, this article has helped you! For more iPhone-related issues, don’t hesitate to leave a comment below. Our team is ready to offer more troubleshooting tips and quick how-to guides for you.