

Don’t know how to enable and use desktop stickers on Windows 11?
Remember when you used to put stickers on your notebooks back in school days for a more personalized feeling? Well, even though the times have changed and we’re living in a more digitalized world, some things are meant to stay, albeit in a different format. And Windows 11 is the first to release an option to add Stickers on your desktop background.
The best part is that the Stickers will remain even if you change your background. This new feature allows you to express your creativity and interests, making your experience more personalized. You can move them around on the screen, but they are not clickable.
When the feature was released, not everyone had access to it. Luckily, things have now changed. Currently, the Stickers are available to users on Windows 11 22H2 build 22621 or higher, but it isn’t enabled by default. If you’re new to the Windows OS or don’t know how to use the Stickers, here’s a complete guide.
So, let’s get started!
1. Enable Desktop Stickers on Windows 11.
As mentioned above, Stickers on Windows 11 are not enabled by default. In fact, the feature is almost hidden in the settings. To use them, you’ll need to launch the Registry Editor on your computer and make a few changes.
Here’s what you should do:
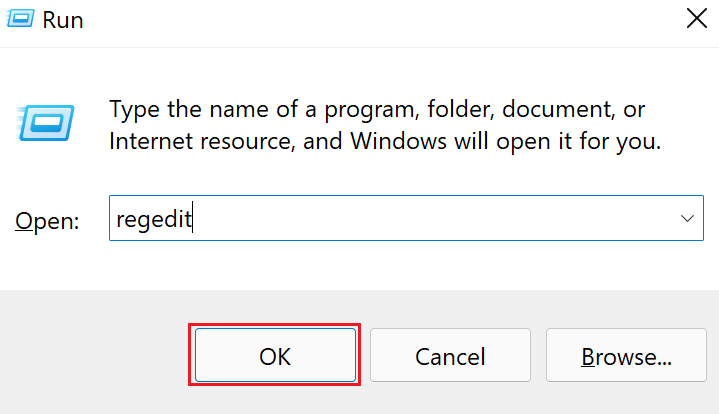
- Launch the Run command box by pressing Win + R keys from your keyboard.
- Next, type in ‘regedit’ and click on OK.
- Now, navigate to the following:
HKEY_LOCAL_MACHINE\SOFTWARE\Microsoft\PolicyManager\current\device- From the left pane, right-click on the device folder.
- Choose New and click on Key.
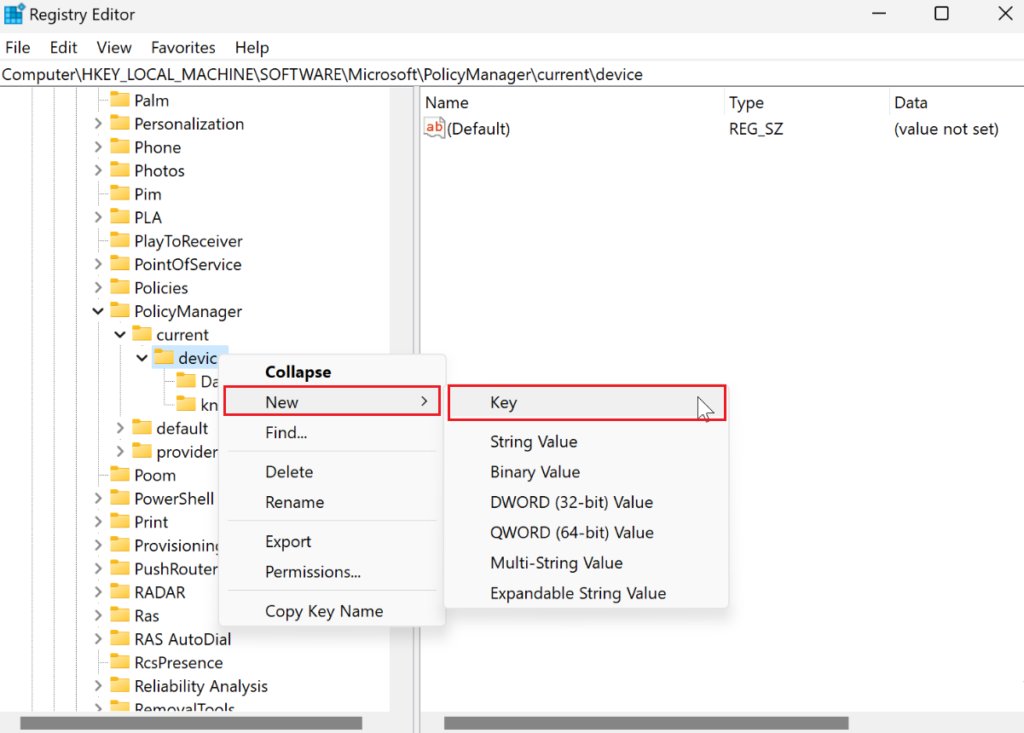
- Then, name the new key as Stickers.
- Right-click on the Stickers folder from the left pane, click on New, and select DWORD (32-bit) Value.
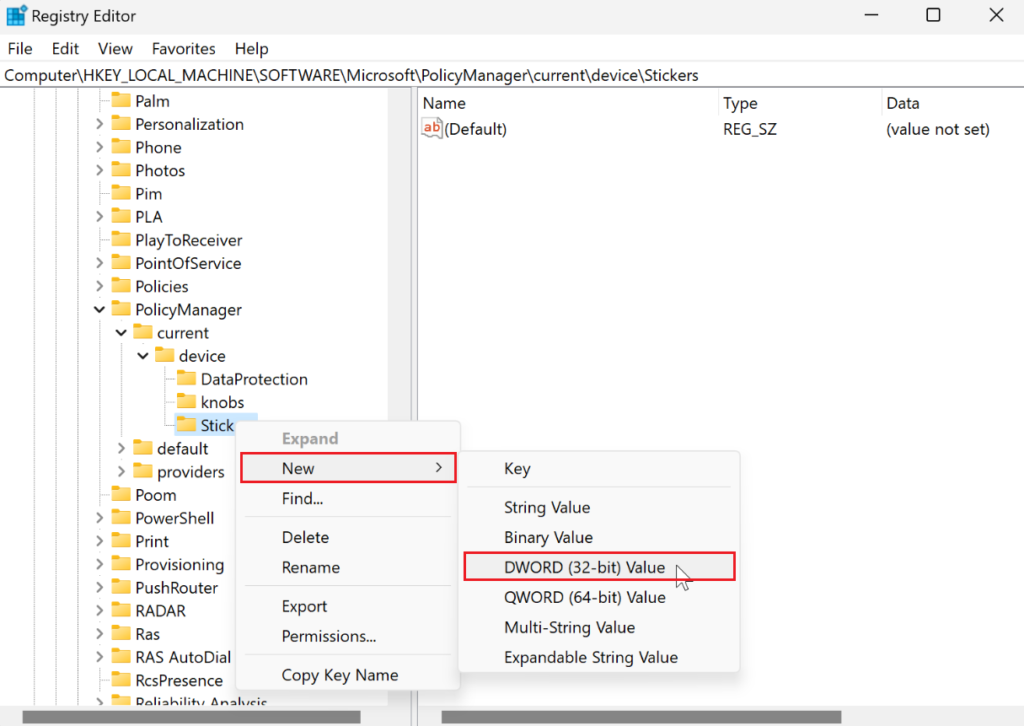
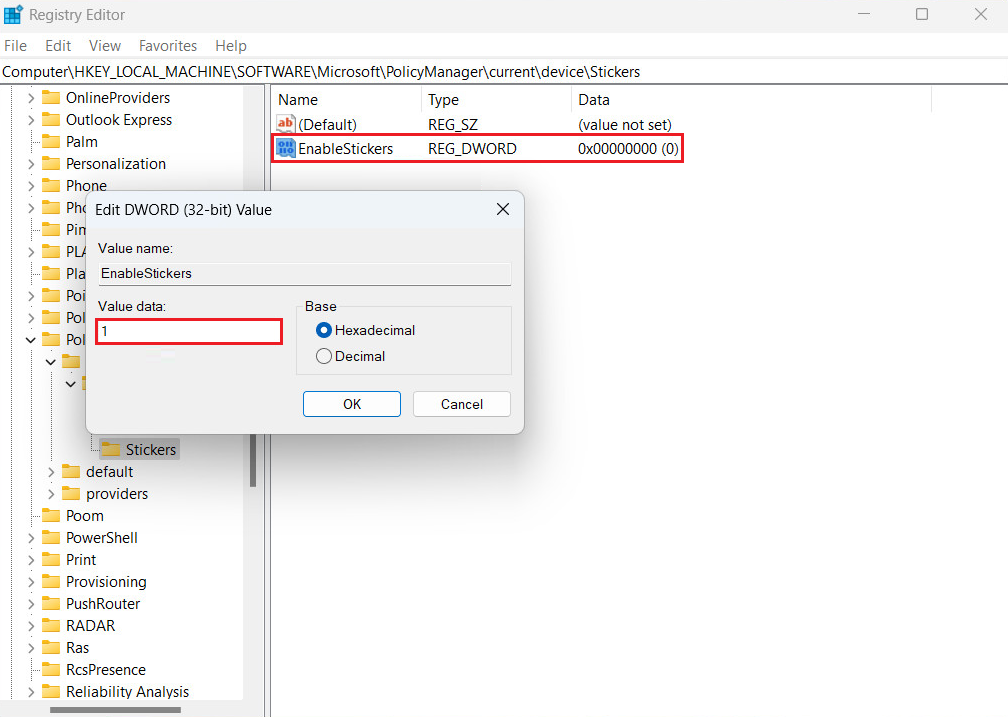
- After that, name this new value as EnableStickers. Then, click on it once done.
- Put 1 in the Value data box.
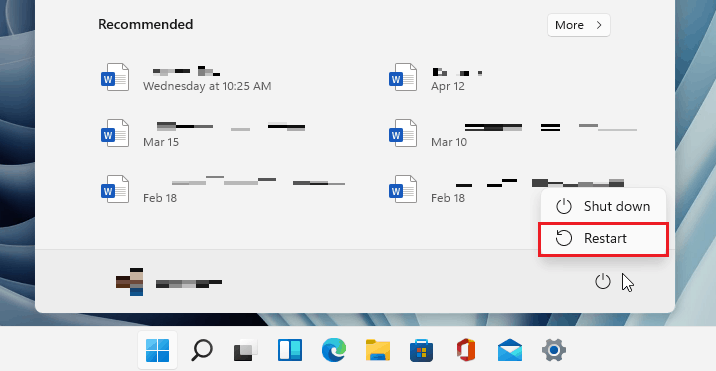
- To apply these changes, restart your device by clicking on the Start Menu, selecting the Power icon, and choosing Restart.
Once you’ve enabled Desktop Stickers on Windows 11, you can place them anywhere on the wallpaper.
2. Add A Desktop Sticker.
When the Stickers are activated, you wouldn’t want to waste a single second bringing them to your wallpaper. And we’re here to help you with that as well. The good part is that it’s not too difficult to carry on from here.
What got users immediately addicted to Stickers is that they are in no way related to Microsoft or Windows. Whether you’re into memes, animal graphics, anime characters, random emojis, and so on, there’s a collection for all.
Below are a few easy steps you’ll need to follow:
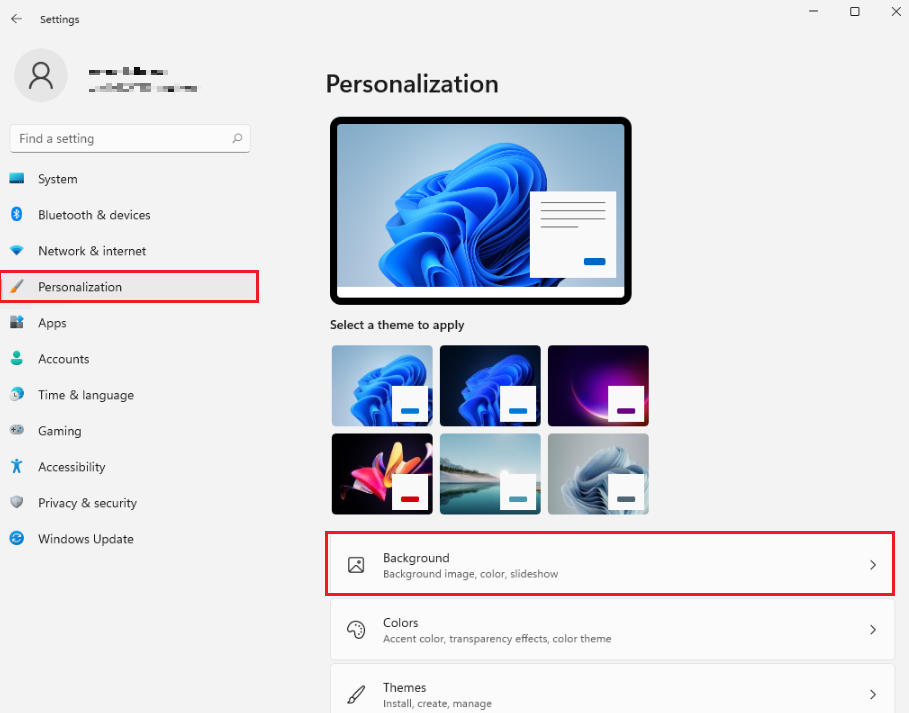
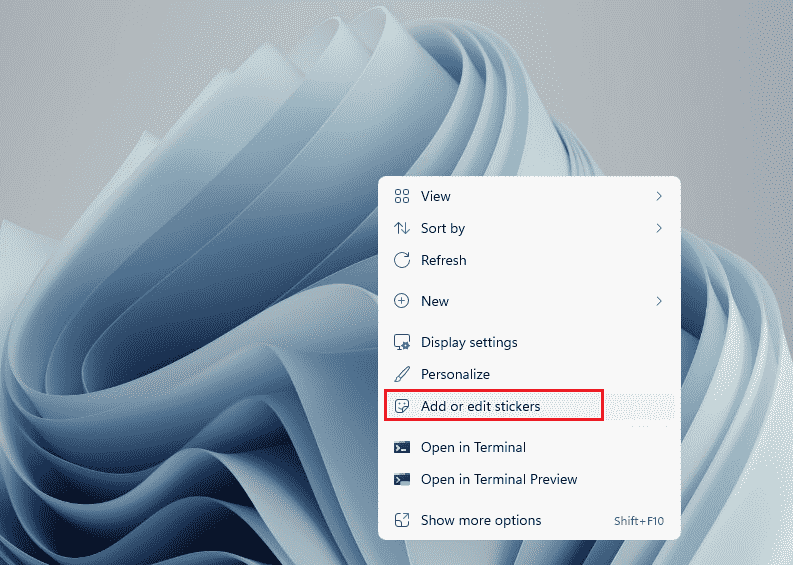
- From the Desktop screen, right-click and choose Add or edit stickers. You may also do this by launching Settings by pressing Win + i keys. Then, click on Personalization from the left pane and Background from the right.
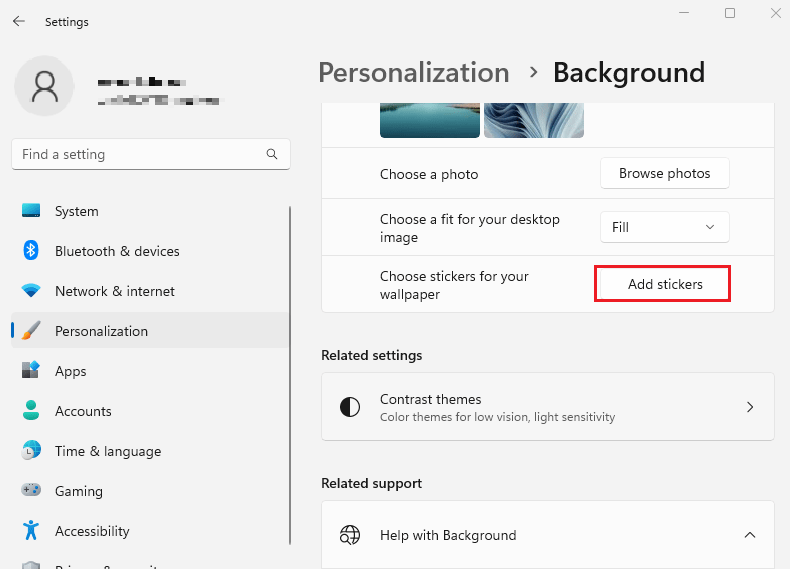
- Click on the Add Sticker button next to Choose stickers for your wallpaper.
- The Sticker editor will show up. From there, you may use the search bar or scroll down to look for a sticker.
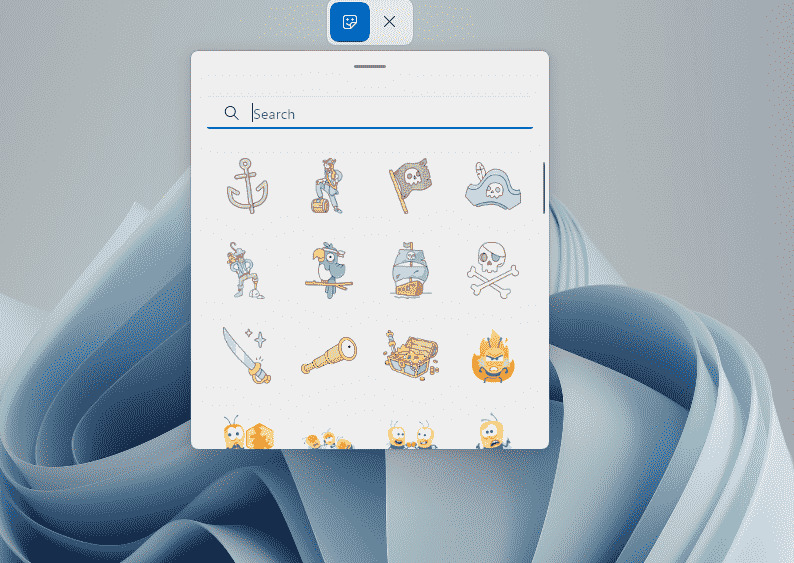
- As you click on a sticker, it will be added to your desktop.
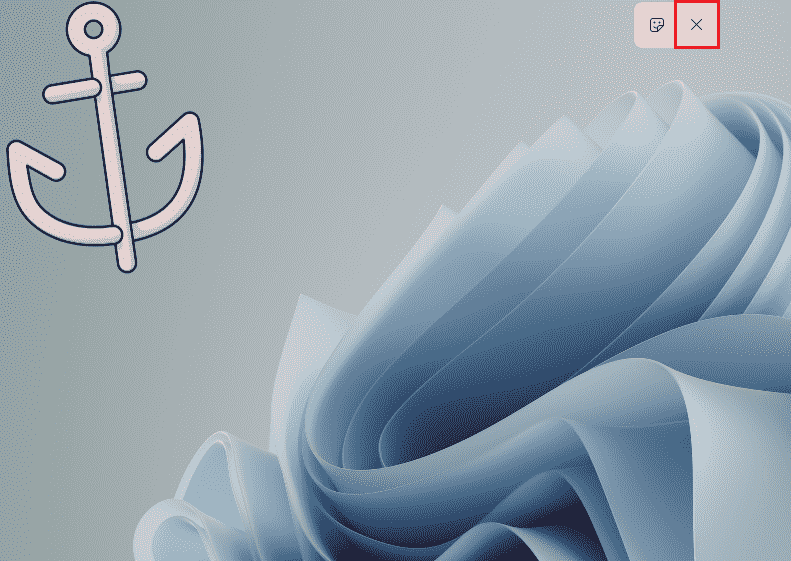
- Once done, click on the X button to close the Sticker editor.
3. Resize or Move A Desktop Sticker.
We know how change has almost become our need, which means different for each person. For some, it’s getting a new hair color, while for others, a different desktop look. And what better way to achieve the latter than resizing or moving the Desktop Stickers.
Since the Stickers are not clickable, you can’t just click on them to transform or drag them or change their position on your screen. Instead, you’ll need to enter the Stickers editor tool. Here’s how to do it:
- Start by right-clicking on the Desktop screen and selecting Add or edit stickers.
- As the Sticker editor appears, click on the already present sticker on the desktop.
- Now, resize the sticker as you may like.
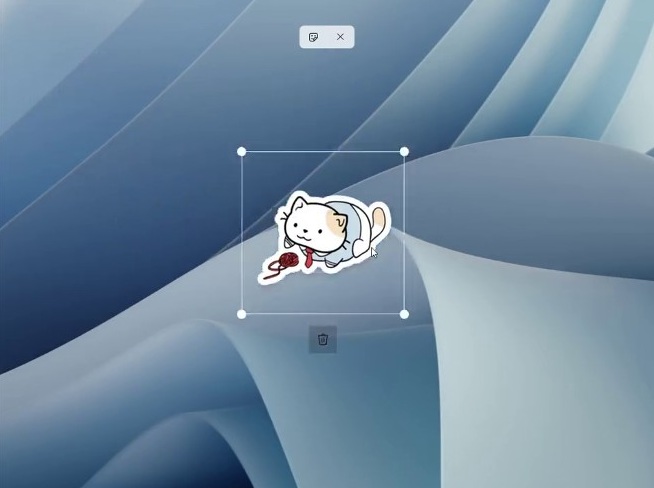
- To move the sticker, simply select it and move it to another location on your desktop screen.
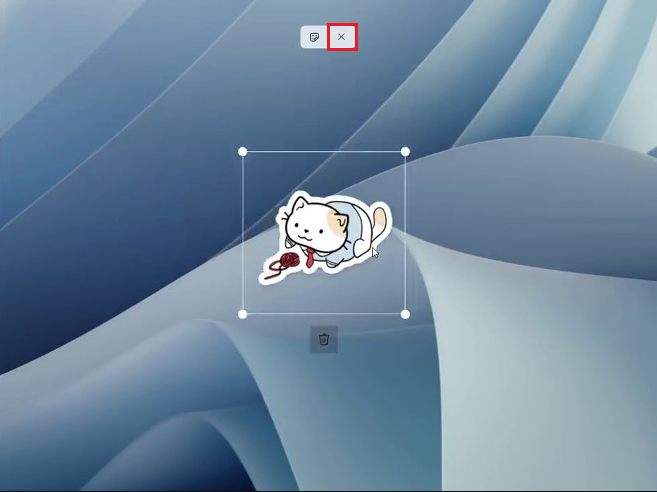
- Once done, select the X button to exit the Sticker editor.
4. Delete Stickers From Desktop.
Because the interests of a human being change from time to time, you may want to add and remove the Stickers from your Desktop occasionally. There are various types of Desktop Stickers on Windows 11 to choose from, so you don’t need to hesitate while deleting them.
Follow these steps to delete a sticker from your desktop:
- To begin, right-click on your Desktop and select Add or edit stickers.
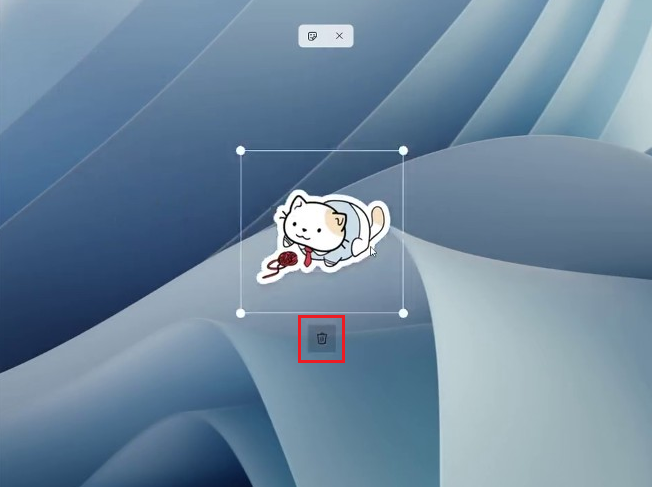
- Now, choose the sticker that you want to delete.
- Then, click on the Trash icon below the sticker to delete it.
- After you’re done, select X from the top of your screen to close the Sticker editor.
6. How to Disable Desktop Stickers on Windows 11.
In case you don’t want to keep the Stickers on your desktop, you can disable them at any time. The procedure is similar to how you turn on the feature. It’s also advisable to Create a Backup for the Registry on Windows 11, as any mistake will cause it to get corrupted.
Here’s how to disable the Desktop Stickers:
- Begin by deleting all the existing stickers from your desktop, as explained in the section above.
- After that, open the Run command box, type in ‘regedit’, and choose OK.
- Head to the following path:
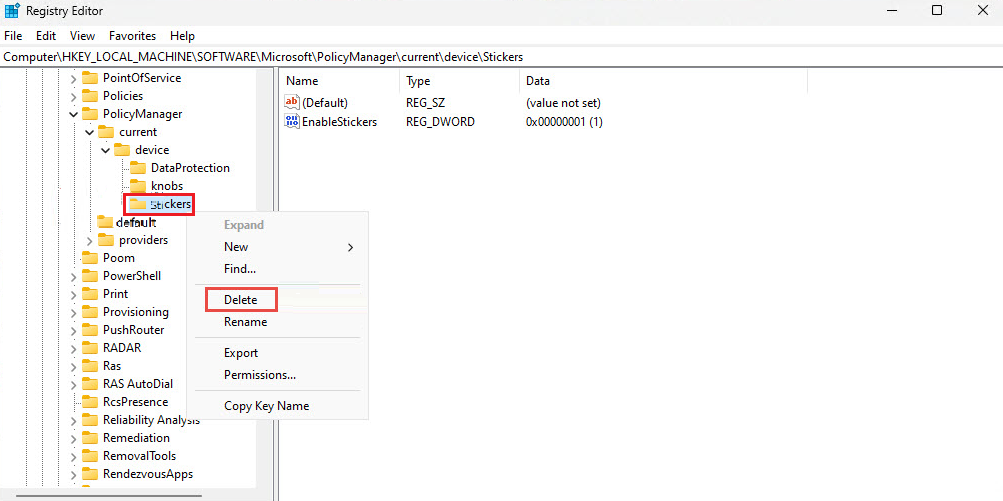
HKEY_LOCAL_MACHINE\SOFTWARE\Microsoft\PolicyManager\current\device\Stickers- From the right side, double click on EnableStickers.
- In the Value data box, type in 0, and click on OK. Alternatively, you may right-click on EnableStickers and select Delete.
- Finally, head to the Start menu, click on the Power icon, and select Restart from there.
That was all! You’ve made it to the end of our guide on how to enable and use Desktop Stickers on Windows 11. If you have more questions, use the comment section below to deliver them to us. We’ll get back to you as soon as possible.
If this guide helped you, please share it. 😊
