

Looking for easy ways to enable or disable Core Isolation Memory Integrity in Windows 10?
It may be a new year but in terms of viruses and malicious software, not a lot has changed. It is something we all hope to avoid but the sad truth is that we cannot dodge it forever.
Fortunately, keeping your Windows virus-free today is easier than ever before. Microsoft has been stepping up efforts to improve the security levels in Windows and Core Isolation is a relatively recent entry to its security features. Core Isolation shields the core operating system processes from potential tampering using virtualization-based security.
In this guide, we will walk you through a few easy methods of enabling Core Isolation Memory Integrity the right way or disabling it if you’re running into issues.
Let’s get started.
1. Modify Windows Settings.
Windows is a highly customizable operating system, and while there are several tools and programs that allow you to customize the operating system according to your own preferences, Windows Settings is the easiest one to use.
The first method to enable or disable Core Isolation Memory Integrity in Windows is by modifying Windows settings.
Here is what you need to do:
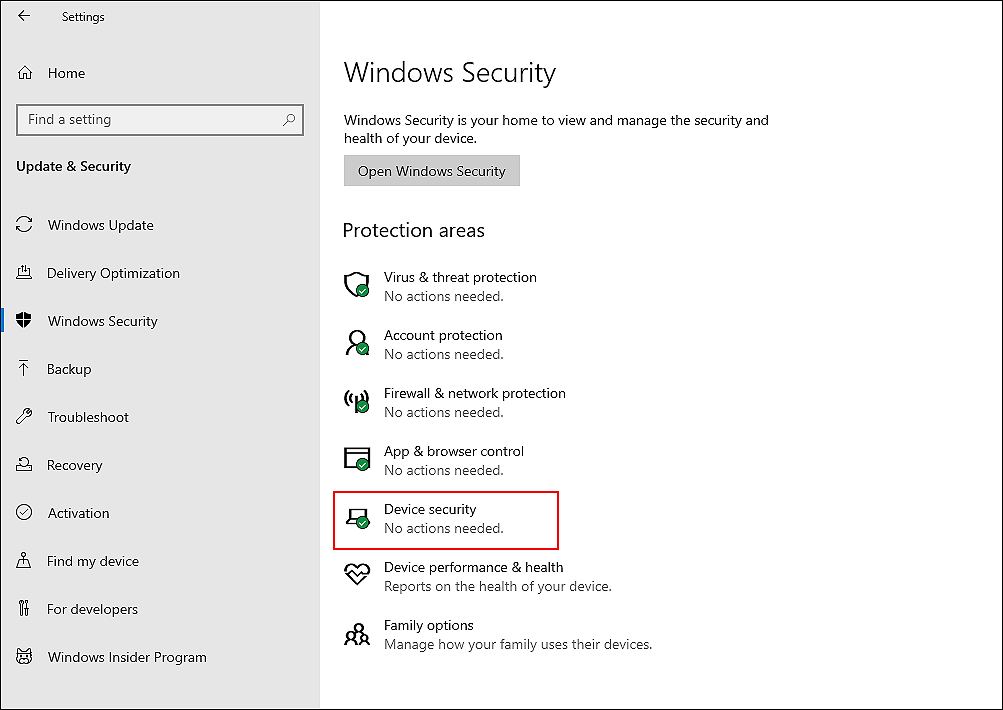
- Press Windows + I keys simultaneously on your keyboard to open Windows Settings and select Updates & Security from the list of options available.
- Click on Device security from the left panel and in the next window, click on the Core isolation details hyperlink.
- Turn the toggle under Memory Integrity, as per your preferences, and close the Settings window.
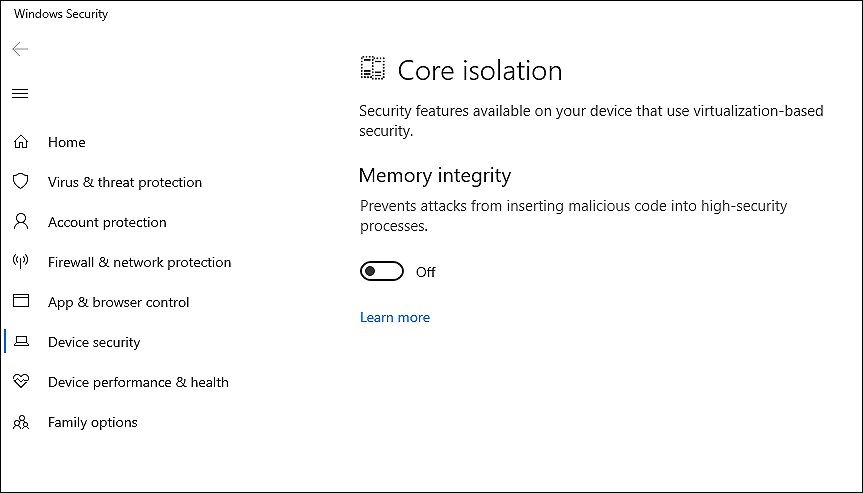
- Restart your PC to save the changes.
Hopefully, doing so will make desired changes in no time.
2. Try Using CleanMyPC.
Many operating systems can be cluttered with unwanted files that block certain functions. This is likely the case if none of the methods mentioned here work for you.
Our recommendation, in this case, is that you first remove junk files from your computer, and then follow the methods we outlined.
Cleaning your computer with a good PC cleaner is a fast and easy way to remove junk files, and we highly recommend CleanMyPC if you don’t have one already.

CleanMyPC is one of the most popular applications on the market that will solve almost all your computer issues. It comes with a large variety of tools that will help you keep your computer up and running like new. These tools include (but are not limited to) Multi-Uninstaller, Registry Cleaner, and a Speed Booster.
Simply install CleanMyPC on your computer and run a scan using it. It will take care of the rest!
3. Use Windows Registry.
Another easy way to enable or disable Core Isolation Memory Integrity in Windows 10 is via Windows Registry.
Windows Registry is a database of low-level information about Windows programs and processes. The information in the Registry Editor is stored in the form of Registry keys, and advanced users modify the relevant keys to customize their operating systems.
Here is how you can enable/disable Core Isolation on Windows 10 using Windows Registry:
- Press Windows + R keys simultaneously to open a Run dialogue box.
- Type ‘regedit‘ in the text field of the dialogue box and hit Enter to open Windows Registry.

- Once you are inside the Registry Editor, navigate to the location mentioned below.
HKEY_LOCAL_MACHINE\SYSTEM\CurrentControlSet\Control\DeviceGuard\Scenarios\HypervisorEnforcedCodeIntegrity
- Now right-click anywhere in the right pane and select the New > DWORD (32-bit) Value option.
- Rename this newly created value as Enabled.

- If you want to enable the feature, type 1 under Value data. If you want to disable the feature, type 0.
This should enable or disable Core Isolation Memory Integrity in Windows 10 without any issues.
This brings us to the end of our guide on enabling/disabling Core Isolation Memory Integrity in Windows 10. We tried walking you through all the steps in detail and hope that one of the methods mentioned above did the trick for you. In case you still have any confusion about the methods, please let us know in the comment section below!
If this guide helped you, please share it. 🙂
