

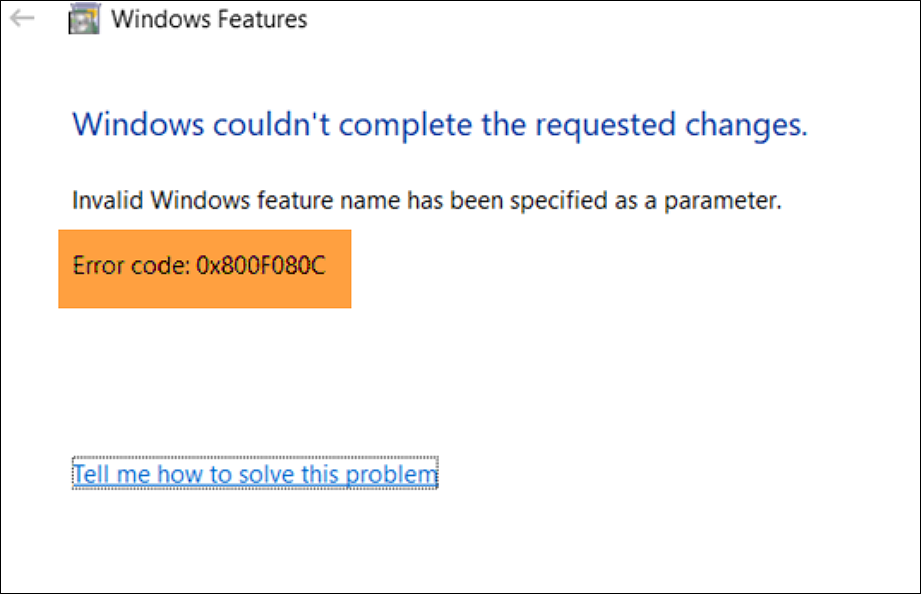
Looking for easy ways to fix error 0X800F080C on Windows 10?
.NET Frameworks are widely used by developers and programmers to develop as well as run software applications on several operating systems.
Recently, several users reported that their computers have been displaying the error code 0X800F080C when they attempt to install missing .NET Framework packages or launch certain programs on Windows 10.
We had a look into the issue and found out that the error at hand can be caused by a variety of reasons, including corrupt system files and .NET Framework dependencies.
If you are facing a similar issue, you are in the right place because in this guide, we have listed some of the most effective methods to resolve the 0X800F080C on Windows 10.
Let’s get started.
1. Run DISM and SFC Scans.
As we mentioned earlier, error 0X800F080C can be caused by corruption errors within the system. Several reasons, including improper shutdown and startup procedures, hardware failures, and bugs can cause this issue on your PC.
Luckily, Windows comes with several built-in troubleshooting utilities that are specifically designed to identify these errors and resolve them with little to no user input.
Two such handy tools are the Deployment Image Servicing and Management (DISM) and System File Checker (SFC) that will scan your operating system for errors and resolve them automatically.
Here is how you can run DISM and SFC scans on your PC to resolve the issue at hand:
- Type cmd in the search bar and click on Run as administrator to launch elevated Command Prompt.
- Inside the Command Prompt window, type the command mentioned below and hit Enter to execute it.
sfc /scannow
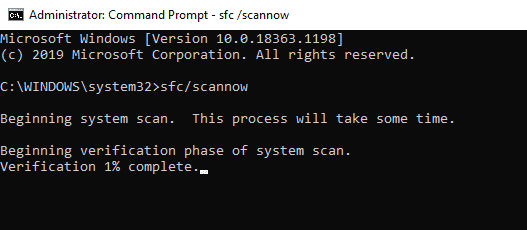
- Once the Command Prompt executes the command, check if the issue is resolved. If it isn’t, open Command Prompt again by following Step 1.
- Now type the command mentioned below in the elevated Command Prompt and hit Enter.
DISM /Online /Cleanup-Image /RestoreHealth
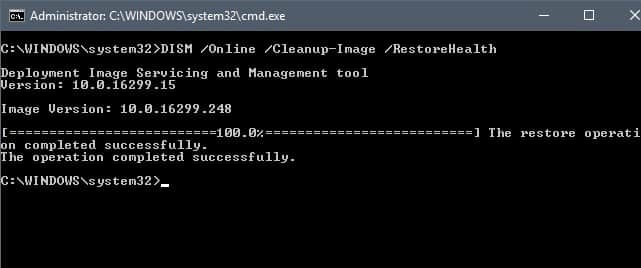
That’s it. If a corruption error was causing the issue, running DISM and SFC scans should resolve the issue. We have also listed another easy way of eliminating corruption errors from the operating system in Method 4. Check that out if this method did not fix the error code 0X800F080C.
2. Enabling 3.5 .NET Framework via Windows Features.
If the error 0X800F080C occurred while trying to enable a missing .NET Framework using Powershell or Command Prompt, you can enable the framework via Windows Features directly to avoid the error.
If this scenario is applicable, you must keep in mind that the .NET Framework version 3.5 archive is already included in Windows 10, so you only have to install it.
Here is how you can install the .NET Framework 3.5 via the Windows Features on your PC:
- Open a Run dialogue box by pressing Windows + R keys simultaneously.
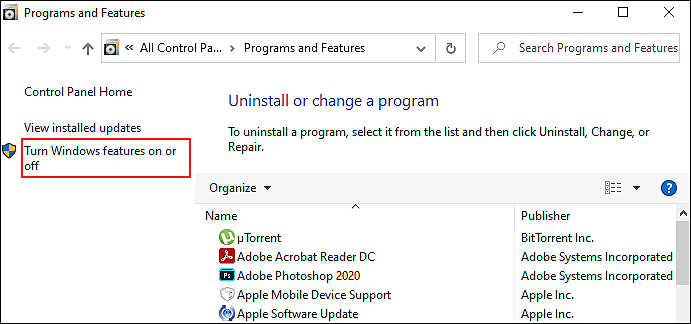
- Type ‘appwiz.cpl‘ in the text field of the dialogue box and hit Enter. Doing so will launch the Programs and Features window.

- Inside the Programs and Features window, locate Turn Windows features on or off and click on it.
- In the next window, locate .NET Framework 3.5 (includes .NET 2.0 and 3.0) and checkmark the box associated with it.
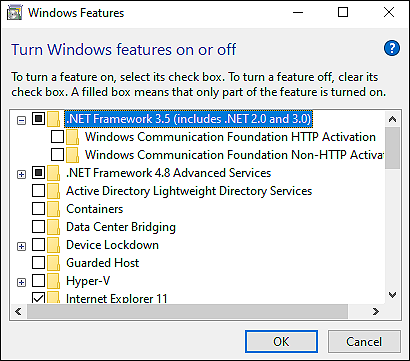
- Click on OK to save the changes and in the confirmation prompt, hit Yes.
- Now, wait for the installation to complete. Once done, reboot your PC.
Installing the framework via Windows Features will hopefully resolve the error on your PC.
3. Run the .NET Repair Tool.
Another easy way to fix the error at hand arising during the installation of .NET Framework is by running the .NET Framework Repair Tool.
There are times when the previous .NET installation packages prevent the new packages from getting installed and running the repair tool will fix the faulty .NET dependencies.
Here is what you need to do:
- Launch your default browser and navigate to the Microsoft .NET Framework Repair tool download page.
- Click on the Download button and on the next page, checkmark the box associated with NetFxRepairTool.exe.
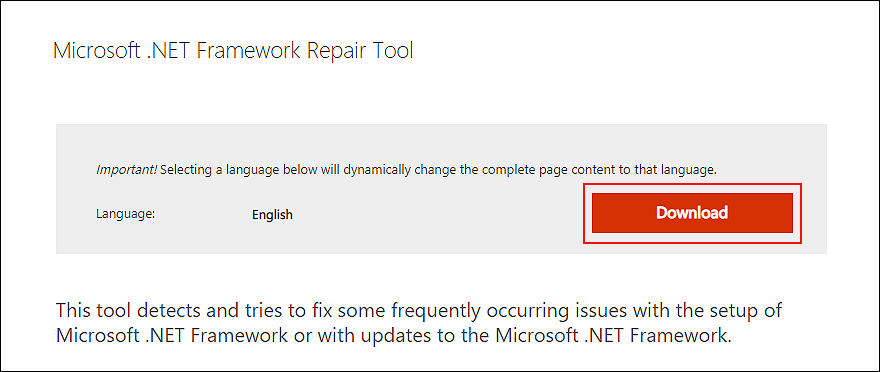
- Hit Next to proceed.
- Once the download is complete, click on the downloaded file and hit Yes in the confirmation prompt.
- Now follow the on-screen instruction to complete the installation process and checkmark the box associated with I have read and accepted the license terms.
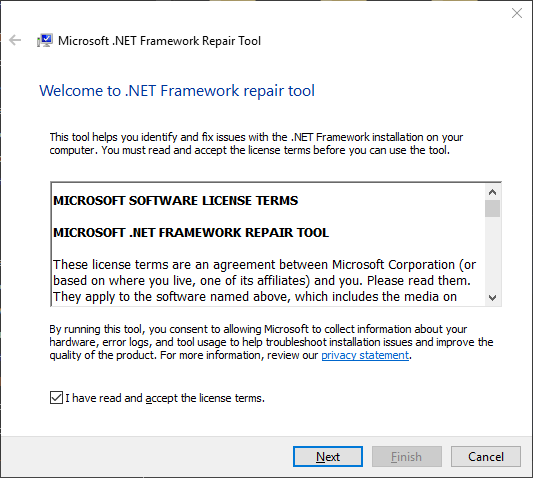
- Next, wait for the utility to scan for .NET dependencies on your PC.
- Once done, click on Next to proceed.
- Finally, hit Finish and check if doing so resolved the issue.
Hopefully, running the .NET Repair Tool will fix the error 0X800F080C on Windows 10. If the error persists, proceed to the next method below.
4. Try Using CleanMyPC.
When was the last time you cleaned out your PC and got rid of all the useless files that were occupying space on your computer? In the case that it did not happen recently, there is a high probability that you are experiencing the error 0X800F080C on Windows 10 as a result of these corrupt junk files.
The easiest way to get rid of these junk files is by using an efficient PC cleaner and if you are looking for a recommendation, we suggest going for CleanMyPC.

CleanMyPC is an easy-to-use cleaner that will scan your operating system for issues and fix them automatically. It comes with a wide range of system maintenance tools like a Multi-Uninstaller, Registry Cleaner, and Speed Booster that can take care of all your PC-related issues in no time.
Install CleanMyPC now and get your PC up and running like new in no time!
5. Clean Install Windows.
If none of the steps mentioned above has worked for you, then this implies that the conventional troubleshooting methods cannot resolve the issue under consideration.
In this case, we encourage you to go ahead and clean install Windows on your PC. When you do this, your PC will update to the latest version, and you’ll be able to start over without bringing unwanted programs and files into the latest setup.
Clean installing Windows is quite simple, so even if this is your first time clean installing Windows, you should do just fine. However, we recommend creating a backup before proceeding with the steps mentioned below, just in case.
Here is what you need to do:
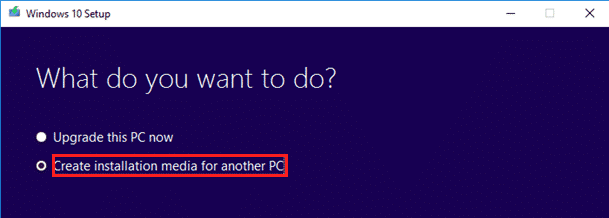
- Download Windows 10 Media Creation Tool and once the download is complete, run the MediaCreationTool.exe file.
- Select Create installation media for another PC in the first window that pops up on your screen and hit Next.
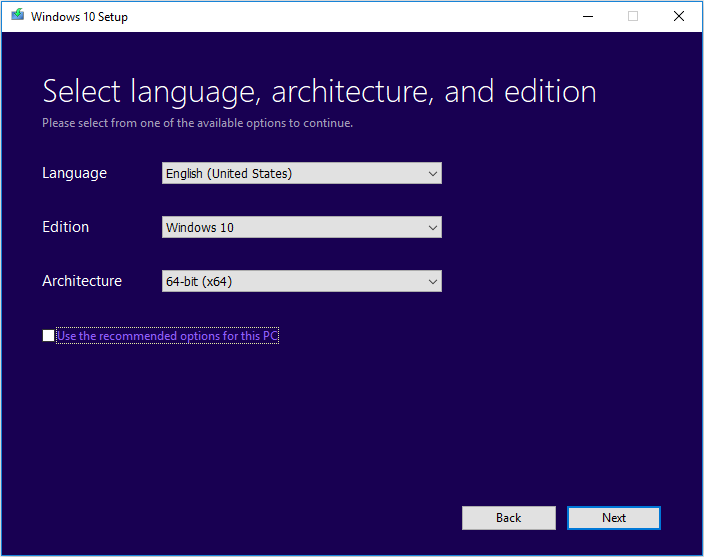
- In the next window, checkmark the box associated with Use the recommended options for this PC and click Next.
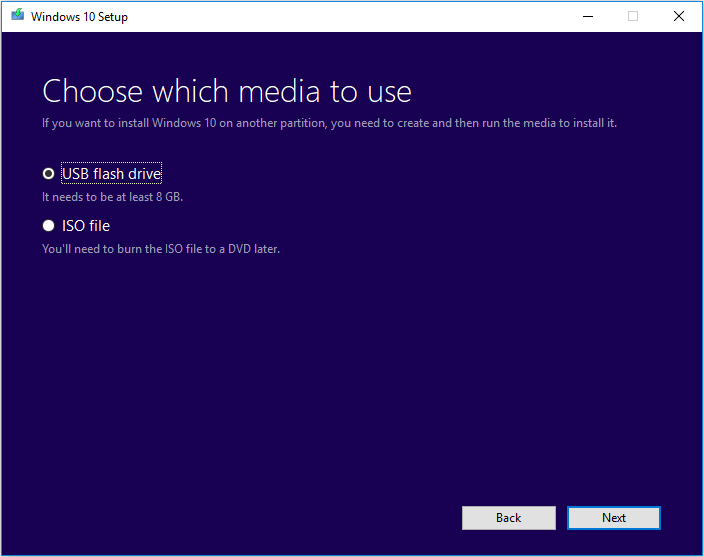
- Now choose USB flash drive or ISO file (for burning to a DVD later) and hit Next.
- Select the drive in the next window and click Next to proceed.
- Once the process is completed, click on Finish and restart your PC with the DVD or USB flash drive inserted.
- Hit any key on your keyboard to boot from a USB flash drive or DVD and follow the on-screen instructions to proceed. You will have to enter your Windows license key here.
- Now see if your computer boots from the bootable USB drive or DVD you created. If not, then you will have to press a key or a combination of keys to do so. Check with the manufacturer of your PC for the keys.
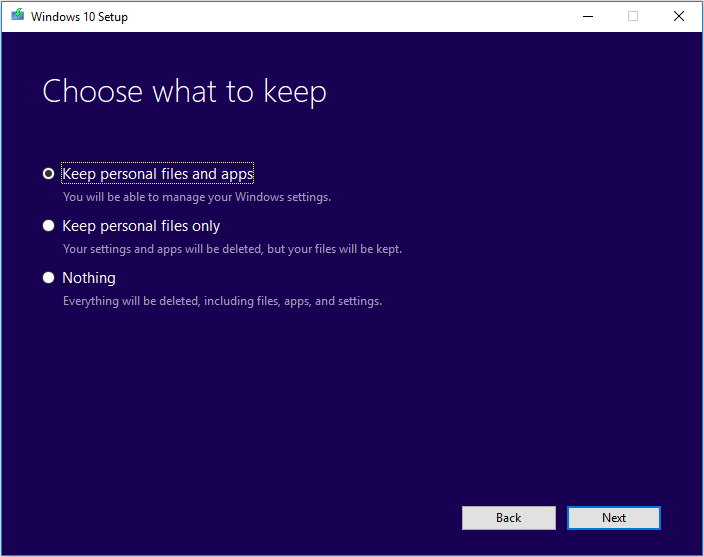
- In the next window, click on Change what to keep hyperlink and select Nothing (recommended). Doing so will delete all the contents of the partition drive and install Windows 10 from scratch.
- Hit Next and wait for the process to complete.
That’s it.
Once the process is complete, you will not see the error under consideration again.
This brings us to the end of our guide on fixing the error 0X800F080C on Windows 10. We tried walking you through all the steps in detail and hope that one of the methods mentioned in this post did the trick for you. In case you still have any confusion about the troubleshooting steps, please let us know in the comment section below!
If this guide helped you, please share it. 🙂
