

Event Viewer displaying ‘Event ID 7009: A Timeout was Reached (30000 milliseconds)’ on your PC?
In an ideal world, you’d never care about the Event Viewer.
Windows has had an Event Viewer for over a decade now, but only a handful of people (mostly the tech-savvy ones) know about it.
Pristinely, this tool combines event logs from apps and system components into an easily digestible format, which can be used to troubleshoot and find the cause of software as well as hardware issues. It should be the first place to check to troubleshoot problems!
However, while the Event Viewer can be a very valuable tool for determining what is going wrong, it can sometimes be an incomprehensible mess.
Recently, several users reported that their Event Viewer is filled with Event ID 7009 errors, and it usually occurs right after the startup is complete. We had a look into the matter and discovered that this issue can be caused by a variety of reasons, such as:
- Third-party interference
- Corrupt Windows native service
- Issues within Windows Trace Session Manager
The good news is that in this guide we’ve compiled a list of easy yet effective solutions to help you fix the problem, and we’ll walk you through them in detail.
Let’s get started!
1. Re-configure the Traps service to Automatic.
One of the most common reasons behind the Event ID 7009 error is the Traps service not starting automatically.
This issue is caused when you start your operating system and multiple applications try starting by grabbing resources to launch the service at once. When the applications are not provided with the power they require, your screen displays errors like the one at hand.
If the Startup type of Traps Endpoint Security Manager service is not set to default, then it is likely to cause the 7009 error.
Several users managed to resolve the issue under discussion by re-configuring the Traps service to automatic, which is why we recommend giving it a shot. In case the Startup type is already set to automatic, then jump to the second method.
Here is what you need to do:
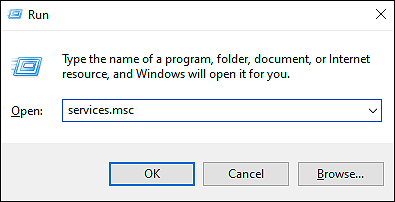
- Press Windows + R keys simultaneously to open a Run dialogue box.
- In the text field of the dialogue box, type ‘services.msc‘ and hit Enter. This will launch Windows Services on your PC.
- Once you are inside the Services screen, locate and right-click on the Traps service.
- Select Properties from the list of options available and in the Properties window, go to the General tab.
- Expand the dropdown menu against Startup type and select Automatic.
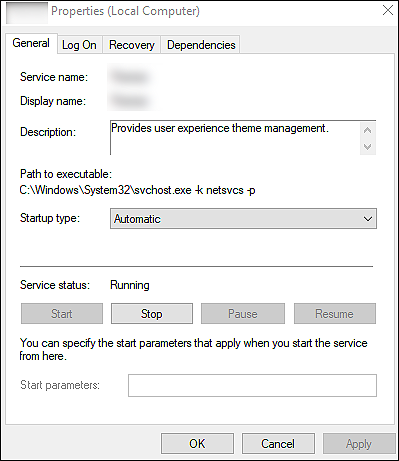
- Hit OK and restart your PC to apply the changes you just made.
Hopefully, following the steps mentioned above will help you make the desired changes.
2. Re-Configure Relevant Services.
If the Startup type of Traps service was already set to automatic, then the next thing that you should try doing is re-configure all the relevant services.
Here are the services that you need to make sure are properly configured:
- DCOM Server Process Launcher
- RPC Endpoint Mapper
- Remote Procedure Call (RPC)
- Security Accounts Manager
- Server
Here is how you can re-configure the relevant services on your PC:
- Press Windows + R keys simultaneously to open a Run dialogue box.
- In the text field of the dialogue box, type ‘services.msc‘ and hit Enter. This will launch Windows Services on your PC.
- Once you are inside the Services screen, locate and right-click on all the services we mentioned above.
- Select Properties from the list of options available and in the Properties window, go to the General tab.
- Expand the dropdown menu against Startup type and select Automatic.
- Hit OK and restart your PC to apply the changes you just made.
If any of the services mentioned above were causing the issue, re-configuring them will resolve the issue.
3. Re-configure the Windows Trace Session Manager.
The Service Control Manager waits for 60 seconds before logging 7009 events (by the ServicePipeTimeout entry) by default.
In case the solutions mentioned above did not work for you, then there is a chance that the Windows Trace Session Manager requires more than 60 seconds to start on computers with low system specifications.
If this scenario is applicable, then the issue at hand can be resolved by increasing the value of the ServicePipeTimeout registry key. Doing so will give the relevant services enough time to start, thus resolving the error in the process.
Here is what you need to do:
- Press Windows + R keys simultaneously to open a Run dialogue box.
- In the text field of the dialogue box, type ‘regedit‘ and hit Enter. This will launch Windows Registry on your PC.

- Once you are inside the Registry Editor, navigate to the location mentioned below.
HKEY_LOCAL_MACHINE\SYSTEM\CurrentControlSet\Control
- In the right pane, double-click on ServicesPipeTimeout and under Value data, type 600000.
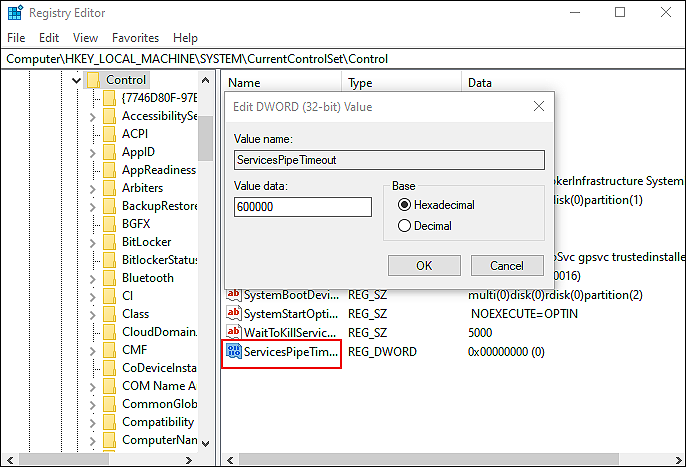
- Change the Base to Decimal and hit Enter to save the changes.
- If you cannot locate the ServicesPipeTimeout value, then right-click in the right pane and select the New > DWORD (32-bit) Value option.
- Rename this newly created value as ServicesPipeTimeout and then follow the 4th and 5th step again.
- Finally, restart your PC and check if the steps mentioned above resolved the issue.
This should fix Event ID 7009: A Timeout was Reached (30000 milliseconds) in no time.
4. Try Using CleanMyPC.
Corruptions and bugs in the operating system are often to blame for errors such as the one under consideration, and a PC cleaner can help in this case.
PC cleaners scan your system and programs, including Windows Registry, for damaged or corrupted files, and attempt to repair them without the user’s involvement. However, you must ensure that the PC cleaner you are using is capable of performing these advanced functions.
For those who have trouble finding an effective cleaner, we recommend CleanMyPC.

With CleanMyPC you will have a full suite of system-maintenance utilities for resolving even the most complex problems relating to PCs. All you need to do is install the tool and run a scan using it. The rest will be taken care of!
If this is something your PC is in desperate need of, install CleanMyPC now and give your PC a much-needed performance boost.
5. Perform a System Restore.
If none of the methods mentioned above works for you, then try performing a system restore on your PC.
System restore takes a ‘snapshot’ of several operating system components and creates restore points on your PC. Whenever your system becomes corrupt, System Restore uses the previously created restore points to restore the system to an earlier point in time. During the entire process, your PC does not lose any files (except for the corrupted ones, of course).
Here is how you can perform a system restore:
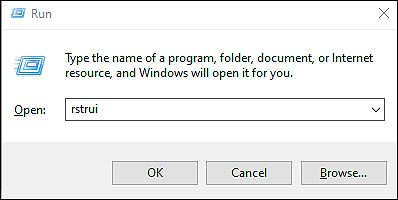
- Press Windows + R keys simultaneously to open a Run dialogue box.
- Type ‘rstrui’ in the dialogue box and hit Enter to open the System Restore window.
- Inside the System Restore window, click Next.
- Now, checkmark the Show more restore points option and click Next.
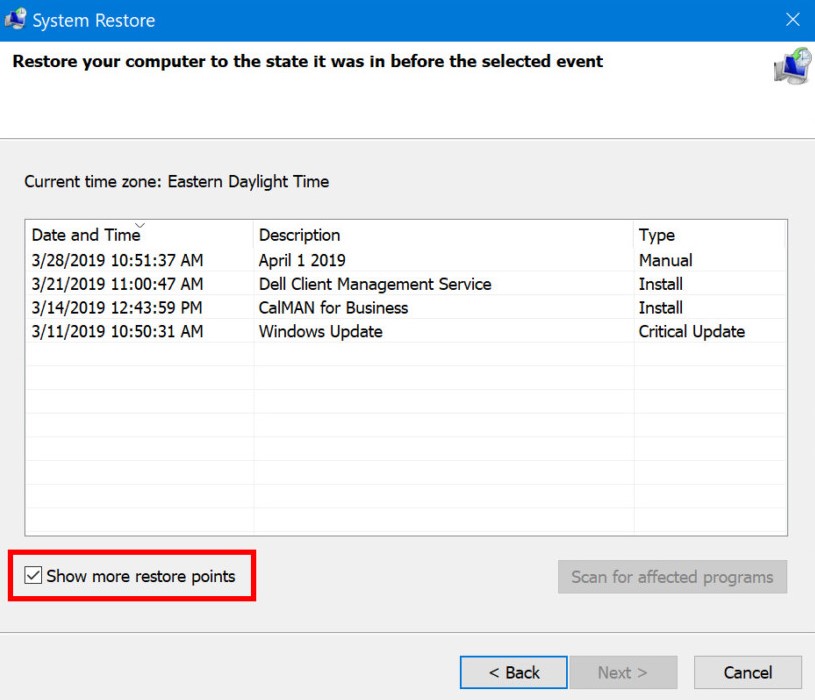
- Lastly, click the Finish button to complete the process.
This process will take a few minutes to complete. After your PC has been rebooted, a functional state from a previous time frame will be mounted, hopefully fixing the error at hand.
This brings us to the end of our guide on fixing Event ID 7009: A Timeout was Reached (30000 milliseconds) in Windows 10. We tried walking you through all the steps in detail and hope that one of the methods mentioned above did the trick for you. In case you still have any confusion about the methods, please let us know in the comment section below!
If this guide helped you, please share it. 🙂
