

Can’t figure out how to fix the error 0x80070643 on Windows?
The error code 0x80070643 is a common issue that occurs on Windows. This error message usually pops up during the installation of programs or updating Windows. This issue is quite frustrating to face since it can prevent you from using vital software for completing day-to-day tasks.
There are several reasons why this error code occurs on Windows. First, it’s possible that the version of Windows you’re using is not compatible with the program you’re trying to install.
On the other hand, it can also be due to corrupted installers, improper configurations, and lack of system permissions.
If you are experiencing this problem, we’ve got you covered.
In this guide, we will show you how to fix the error code 0x80070643 on Windows.
Let’s jump right in!
1. Restart Your Computer.
If you encounter issues updating your system or installing programs, the first thing you should do is restart your computer. This should clear temporary caches on your system and eliminate temporary errors that might have occurred during runtime.
See the steps below to restart your computer:
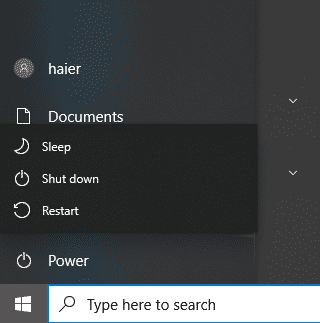
- First, access the Start Menu by clicking the Windows icon on the Taskbar.
- After that, go to the Power Options tab.
- Lastly, choose Restart from the pop-up menu and wait for your system to reboot.
Once done, try updating your system or installing the software you need and see if you’ll encounter the error code.
2. Run Windows Update Troubleshooter.
Windows has a built-in diagnostic tool that you can use to troubleshoot basic problems on your computer. If you are having a hard time updating your software, we recommend using the Windows Update Troubleshooter.
Here’s what you need to do:
- First, open the Start Menu and look for ‘troubleshoot’.
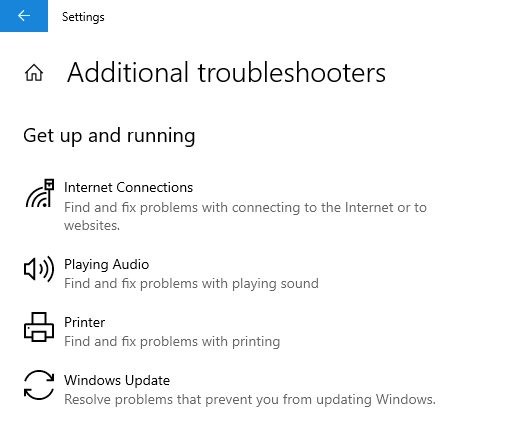
- After that, click on Troubleshoot Settings and choose Additional Troubleshooters.
- Under the ‘Get up and running’ tab, click on Windows Update.
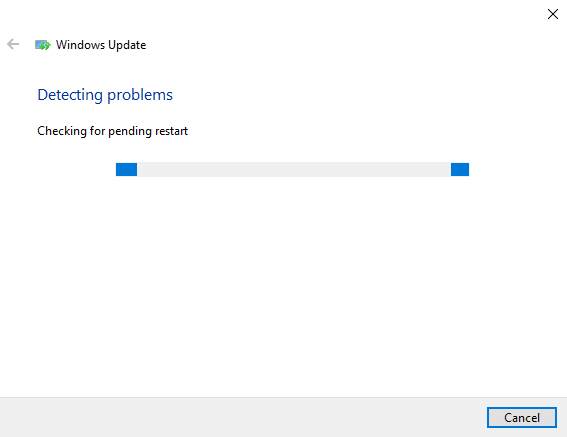
- Now, click on Run the Troubleshooter. Wait for the troubleshooter to initialize and follow the prompts to apply the fix it recommends.
Once done, restart your system and try updating your software again to check if the problem is solved.
3. Rename the Software Distribution Folder.
Error 0x80070643 can prevent you from installing Windows updates or other software. It happens when the MSI software update registration or the .NET Framework installation on your computer becomes corrupted.
See the steps below to rename the Software Distribution Folder:
- On your keyboard, press the Windows key to open the Start Menu.
- Now, look for ‘Command Prompt’ and click on Run as Administrator.
- Finally, copy and paste each of the commands below and hit Enter.
net stop wuauserv

net stop bits

rename c:\windows\SoftwareDistribution SoftwareDistribution.bak

net start wuauserv

net start bits
Restart your system after executing the command and see if you can now update or install your software.
4. Clear Catroot2 Folder.
The Catroor and Catroot2 folders are some of the most important resources on Windows, which are required when updating your system. If you are facing issues updating Windows and receiving the error code 0x80070643, try resetting the Catroot2 folder.
Here’s what you need to do:
- Access the Start Menu and look for Command Prompt.
- Now, click on Run as Administrator.
- Finally, execute the command below and hit Enter.
net stop cryptsvc

md %systemroot%\system32\catroot2.old

xcopy %systemroot%\system32\catroot2 %systemroot%\system32\catroot2.old /s
Once done, delete all the contents of the Catroot2 folder. Go back to CMD, type net start cryptsvc, and hit Enter.
Try updating your system afterward to check if the problem is solved.
5. Repair System Files.
There might be an issue with your system files, causing the installation of Windows Update to fail. To fix this, you can use the built-in System File Checker on Windows to check your resources for missing and corrupted data.
Check out the steps below to use the SFC scanner:
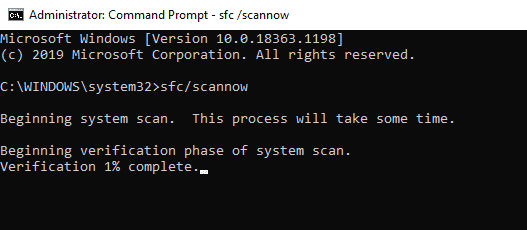
- Go to the Start Menu and look for Command Prompt.
- Click on Run as Administrator to run CMD with administrative privileges.
- Finally, type sfc /scannow and hit Enter to run the command.
Once done, reboot your system and see if you’ll still encounter the error code 0x80070643 on Windows.
6. Disable Antivirus.
If you are experiencing problems installing third-party software on your computer, it might have something to do with your antivirus. Some antivirus can get too protective and restrict the installation of legitimate applications and programs.
To avoid conflict, we recommend turning off your system protection in the meantime while installing your software.
However, keep in mind that this can leave your system vulnerable to attacks, malware, and viruses. Due to this, we strongly advise that you only install software from trusted sources and developers.
7. Close Unused Applications.
Some applications running on your computer might be the reason you encounter the error code 0x80070643 on Windows. If this is the case, we recommend that you close any applications you have when installing programs.
Here’s what you need to do:
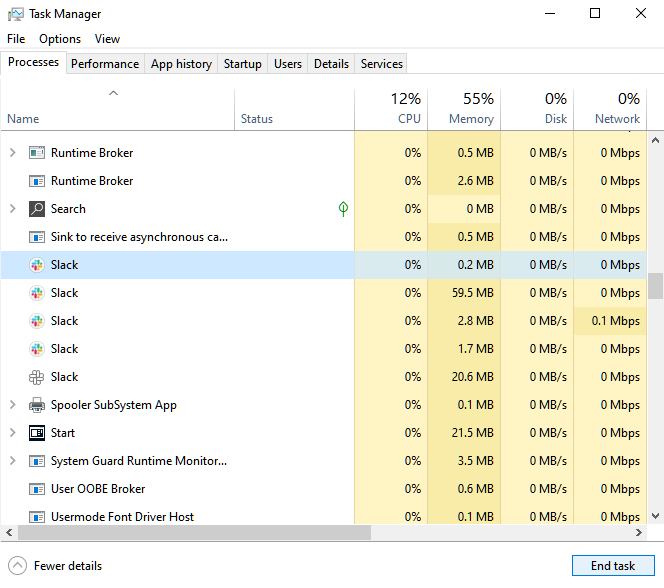
- First, open the Task Manager by pressing the CTRL + SHIFT + ESC keys on your keyboard.
- After that, access the Processes tab and identify the apps you are not using.
- Lastly, select an app you want to close and click End Task. Repeat the process until you’ve closed all your applications.
Try updating Windows or installing your software to check if you’ll encounter the error code.
8. Restart Windows Installer Service.
You can also try restarting the Windows Installer Service on your computer if you continue to face the error code 0x80070643 when updating your system. This will reset the update process of your system.
See the steps below to reset the Windows Installer Service:
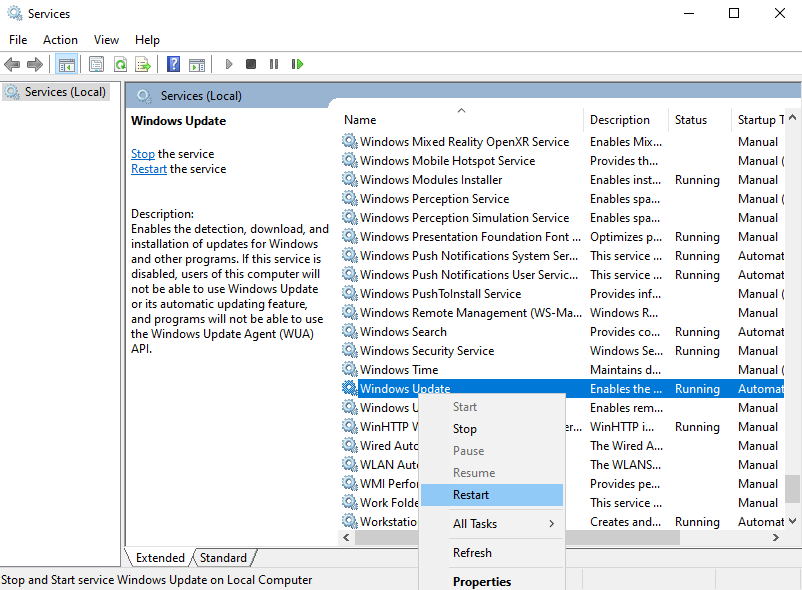
- On your keyboard, press the Windows + R keys to open Run.
- Now, type services.msc and hit Enter.
- Inside Windows Services, look for the Windows Installer Service.
- Right-click on it and choose Restart.
Go back to Settings and see if you can now update your system.
9. Contact Windows.
If none of the solutions above worked, the last thing you can do is report the issue to Windows. Go to Microsoft’s support page and submit a ticket to report the issue you’ve been experiencing when installing software or updating Windows.
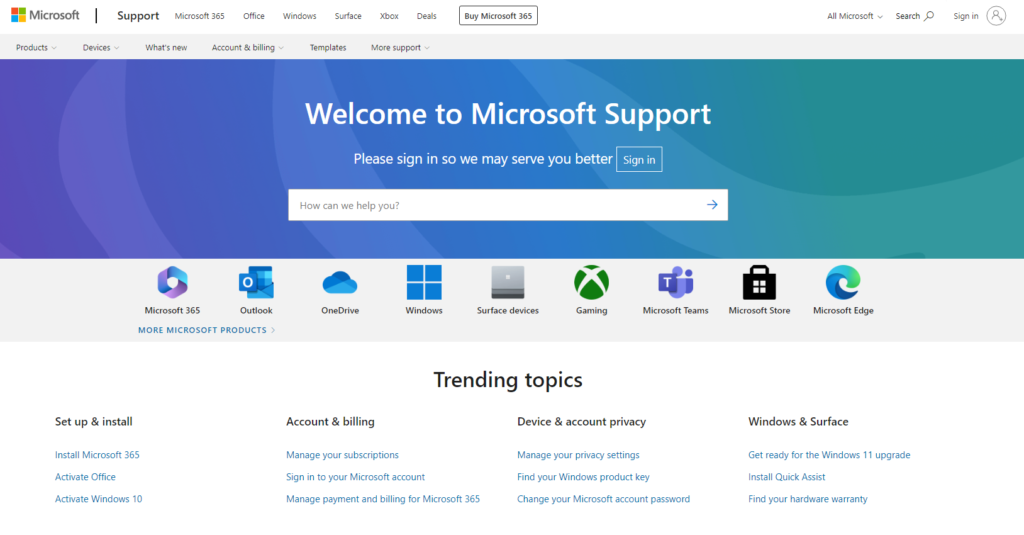
When asking for help, make sure to provide all the necessary details like the software you’re trying to install or the version of Windows you’re using. This will help their team assess the situation faster and come up with the best solution for you.
That brings us to the end of our guide on how to fix the error code 0x80070653 on Windows. If you have questions, please let us know in the comment section, and we’ll do our best to respond.
If this guide helped you, please share it. 🙂
The Method (3) worked for me.
Number 3 also worked for me. I am a computer nerd always looking online for fast fixes yet never seem to find any and you are the first person in years to actually come up with one. You deserve an award of some kind! I hereby name you king of the web thank you thank you thank you! Also credit to the person you got the fix from. You’re both heroes
Had a problem with Windows Defender Anti-virus not working and with Security Intelligence Updates failing with error 0x80070643. The Anti-Virus Service was also consuming roughly 15% CPU while doing nothing useful.
Your method #1 did the trick for me. In my case I already had the latest .NET installed, so I just did a Repair. I also installed the SDK since this is my development computer. I’m not exactly sure which of those steps fixed the issue. There’s no harm in installing the SDK.
3 worked for me