

Wondering how you can fix the GeForce ShadowPlay installation failed issue?
GeForce ShadowPlay is companion software for NVIDIA graphics cards. This allows users to record, share, and stream high-quality gameplay videos. Since ShadowPlay is developed by NVIDIA, it doesn’t affect system performance while recording.
Although GeForce ShadowPlay is great for content creators and casual gamers, the software isn’t flawless.
Unfortunately, some users are struggling to install ShadowPlay on their systems.
Most of the time, the GeForce ShadowPlay installation failed issue occurs due to incompatible software versions, corrupted installers, and missing external libraries. The issue can also occur if you don’t have enough storage space left.
If you are here, we can assume that you are also having a hard time installing GeForce ShadowPlay.
In this guide, we will show you how to fix the GeForce ShadowPlay installation failed issue on your PC.
Let’s begin!
1. Restart Your PC.
If you encounter installation issues on your computer, the first thing you should do is restart it. This should flush your temporary cache and eliminate corrupted data that have accumulated while installing ShadowPlay.
See the steps below to restart your computer:
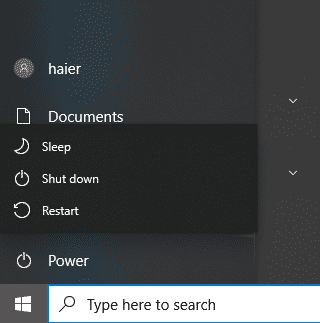
- On your keyboard, press the Windows key to open the Start Menu.
- After that, access the Power Options tab.
- Finally, choose Restart to reboot your system.
Once done, try installing ShadowPlay again to check if the problem is solved.
2. Disable Integrated Graphics.
Most consumer-grade processors have integrated graphics, which allows users to run their systems without purchasing expensive GPUs. However, you shouldn’t be running your system with the integrated graphics card if you already have an external GPU.
If your system is using your CPU’s dedicated graphics, NVIDIA’s ShadowPlay installer will abort, explaining the failed installation.
To avoid problems, make sure that your system is using your dedicated graphics card before installing ShadowPlay. Connect your HDMI or any video input cable to the GPU instead of the display port on your motherboard.
Once done, give your system a restart and try installing GeForce ShadowPlay.
3. Run the Installer As Admin.
Another way to fix the GeForce ShadowPlay installation failed issue on your PC is to run the installer as an administrator. This should give the installer full access to your system.
Here’s what you need to do:
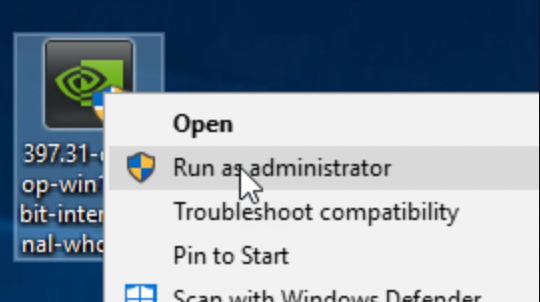
- First, launch File Explorer and navigate to the location of the GeForce installer.
- Now, right-click on the .EXE file.
- Lastly, choose the Run as Administrator option and follow the prompts.
Continue with the installation process and see if the error would still occur.
4. Update Your Display Drivers.
You can also try updating your display drivers if you are having a hard time installing GeForce ShadowPlay. This should ensure there are no compatibility issues with the software and your GPU is working correctly.
Follow the guide below to update your drivers:
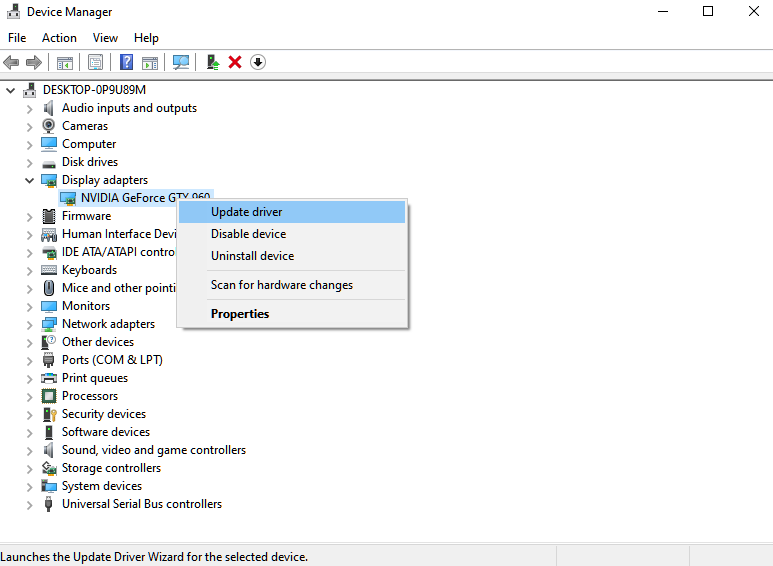
- On your keyboard, press the Windows + X keys to open the Quick Menu.
- Now, click on Device Manager.
- Expand the Display Adapters tab and right-click on your video card.
- Finally, choose the Update Driver option and follow the prompts.
Restart your system after the update and check if the problem is solved.
5. Turn Off Antivirus.
Third-party antivirus are great tools for keeping your system safe from malware and other viruses. However, some antivirus software becomes overprotective and blocks even legitimate applications from accessing and modifying your system.
If you can’t install GeForce ShadowPlay on your computer, try disabling your antivirus software first.
On the other hand, you can also add the GeForce installer to your antivirus safelist if it supports the feature.
6. Run System File Checker.
There might be an issue with your system resources, which prevents GeForce ShadowPlay from getting installed. If this is the case, we suggest running system file checker to check your system files.
Here’s what you need to do:
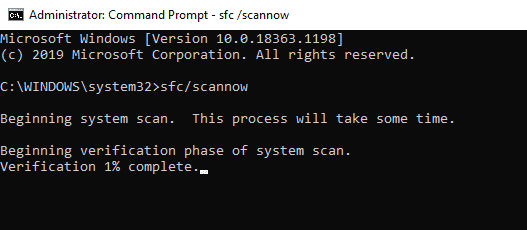
- Access the Start Menu by pressing the Windows key on your keyboard.
- Next, look for Command Prompt and launch it with administrative privileges.
- Inside CMD, type ‘sfc /scannow’ and hit Enter.
- Wait for the scan to finish and restart your system.
Try running the ShadowPlay installer again to check if the problem is solved.
7. Update Windows.
The version of Windows you’re using might not be compatible with GeForce ShadowPlay, explaining why it’s not getting installed. To rule this out, update your OS to the latest version possible.
See the guide below to update Windows:
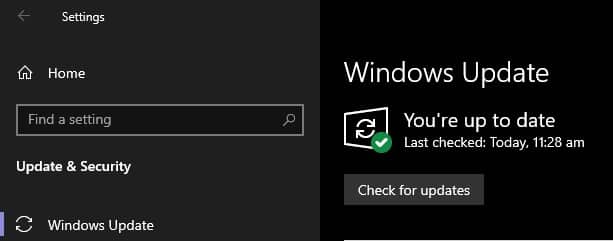
- On your computer, access the Start Menu and go to Windows Settings.
- After that, click on Update & Security and click on Windows Update.
- Finally, click on Check for Updates and follow the prompts.
Go back to GeForce ShadowPlay installer to check if the problem is solved.
That ends our guide for fixing the GeForce ShadowPlay installation failed issue. If you have questions, please let us know in the comment section, and we’ll do our best to answer them.
If this guide helped you, please share it. 🙂
