

Do you want to know how to avoid scams and dispute charges when using Apple Pay?
Apple Pay is convenient to use when you own an Apple device. You can use it to make contactless purchases both in stores and online. You can also send and receive money using Messages.
However, it is still possible to experience scams and dispute charges even if it claims that it is safe and secured. You may not be using a physical payment method like cash or credit card, but it still has some loopholes. But what can you do to prevent this from happening?
Fortunately, we are here to help you! We have prepared this article to help you avoid scams and dispute charges when using Apple Pay. We have also added detailed instructions on how to create Apple Pay and how you can use it.
For now, let’s jump right in!
1. How To Set Up Apple Pay: Step-By-Step.
Before we proceed on letting you know how to avoid scams and dispute charges, it is best to know first how to set up your Apple Pay. Remember that Apple Pay is only supported in some regions. Then you need to have a compatible Apple device with an updated version of its OS, a supported card, and an Apple ID signed in to iCloud.
You also need to take note that if you plan to use Apple Pay on more than one Apple device, you need to add your card to each Apple device. The good thing is that you can add up to 12 cards on devices like Apple Watch Series 3 and later, and iPhone 8 and iPhone 8 Plus and later.
Here’s how you can add a card on Apple Pay on your iPhone:
- First, open the Wallet app and click the + button.
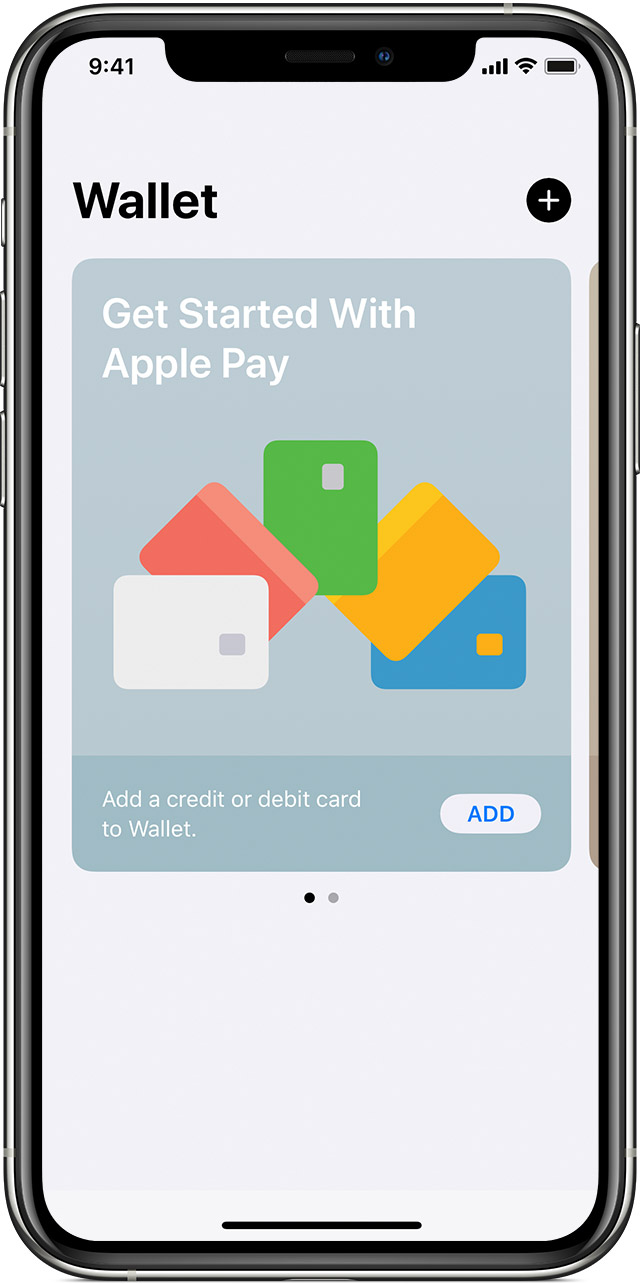
- Next, scan your card by positioning it in the frame, with the front of it facing the camera. However, if it doesn’t work, you can also enter your card details manually.
- Finally, follow the instructions on the screen to add a new card.
Here’s how you can add a card on Apple Pay on your iPad:
- First, go to the Settings app and select Wallet & Apple Pay.
- Next, select Add Card.
- Finally, follow the instructions on the screen to add a new card.
Here’s how you can add a card on Apple Pay on your Apple Watch:
- First, open the Apple Watch app on your iPhone and select the My Watch tab.
- Next, select Wallet & Apple Pay.
- Then select Add Card.
- Finally, follow the instructions on the screen to add a new card.

Here’s how you can add a card on Apple Pay on your Mac with Touch ID:
- First, go to the Apple menu and select System Preferences.
- Next, select Wallet & Apple Pay.
- Then select Add Card.
- Finally, follow the instructions on the screen to add a new card.

Here’s how you can add a card on Apple Pay on your Mac without a built-in Touch ID:
- First, open the Settings app on your iPhone and select Wallet & Apple Pay.
- Finally, enable Allow Payments on your Mac.
In case you are asked to add the card that is linked with your Apple ID, or asked to add the cards on your other devices, or even cards that you have removed, you need to choose them instead. Enter its security codes so the bank can verify your information. When done, you can just select your card.
2. How To Avoid Scams And Dispute Charges.
Using Apple Pay when sending and receiving money is similar to any other private transaction between two individuals. No matter how secure Apple Pay is, it is still important to take precautions to avoid scams and dispute charges. After all, Apple Pay is still vulnerable to scam attempts, just like any other type of transaction.
Here’s how you can avoid scams:
- Do not have transactions with strangers. Never send or receive money from people that you don’t know. If you’re not sure about someone’s identity, do not send your payment to them.
- If you received a payment request from someone you cannot identify, you can report it. Here’s how you can report it:
- Start by selecting Report Junk under the message.
- Next, select Delete.
- Then click Report Junk again.
- You can also filter messages from unknown individuals who aren’t saved in your Contacts. Here’s how you can filter the messages:
- Begin by going to the Settings app and select Messages.
- Next, enable Filter Unknown Senders.
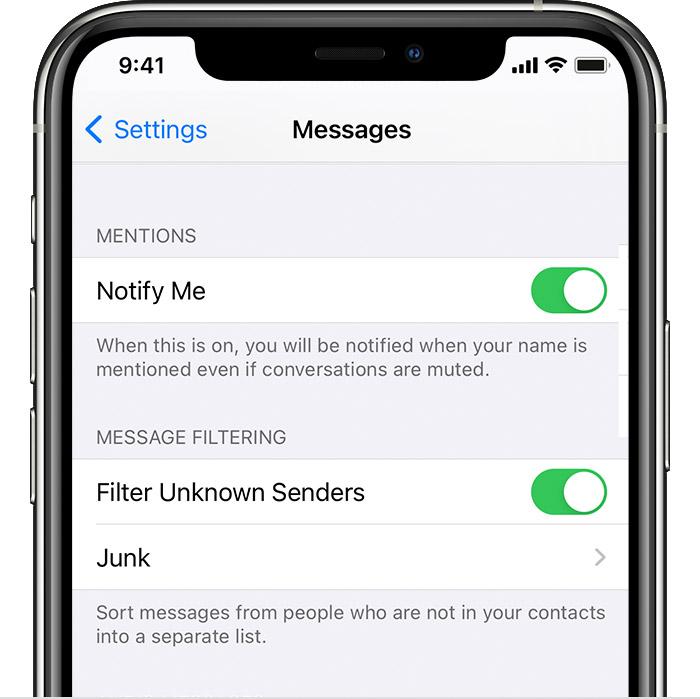
- After that, in the Messages app, click < Filters.
- Then select Unknown Senders to prevent getting notifications for these messages.

- If you get a message, call, or email from someone you don’t know, you can block them. Here’s how you can block them:
- If you are in the Phone app, begin by going to Recents. Next, select the Info or i button next to the unidentified number. Then look for Block this Caller and click it.
- If you are in the Messages app, begin by opening the conversation. Next, select the contact at the top. After that, select the Info or i button. Then select Block this Caller.
- If you are in the Facetime app, begin by selecting the Info or i button next to the unidentified number or email address. Next, look for Block this Caller and click it.
- If you are in the Mail app, begin by opening the email. Next, select the contact at the top. Then select Block this Contact.
Take note that the phone numbers that you blocked can still leave you a voicemail, even after you block them. However, the good thing is that you will not receive a notification for it. To add to that, they won’t know that they were blocked. On the other hand, messages that have been sent or received won’t be delivered. Emails also go straight to the ‘Trash’ folder.
Here’s how you can avoid dispute charges:
- First, in the Messages app, open the conversation with the charge you want to dispute.
- Next, click on the payment.
- After that, you will be redirected to your Wallet app.
- Once your Apple Cash card opens, select the payment under ‘Latest Transactions’. Then select it again to confirm.
- Finally, select Cancel Payment. However, if you don’t see Cancel Payment, the person has already accepted the payment.

If you cannot cancel the payment anymore, try contacting the receiver to send your money back. This usually takes around 1-3 business days to be refunded.
3. Try CleanMyMac X.
If you are interested in trying out a tool to help you maintain your Mac, we’ve got the perfect solution for you!
Introducing CleanMyMac X! It is packed with more than 30 tools to help you fix the most common Mac issues. It can work as a macOS cleaner, performance monitor, malware remover, and so much more.
But there’s more to this than meets the eye! It can also clean any temporary or hidden files inside iTunes, Mail, and Photos. Moreover, it can find those hidden, unnecessary files that you have been struggling to remove until now.

Did you know that CleanMyMac X is being used by many Mac users? This is because it is so versatile that it can work for macOS 10.10 and higher and is currently available in 13 different languages. Plus, you may not expect this, but it currently has a rating of 4.9 stars which is based on 539 user reviews in the App Store.
So don’t hesitate and try it out for yourself!
4. FAQ: Help! I Am Still Seeing Inconsistencies In My Apple Pay.
If any of our suggestions did not work, do not hesitate to report scams and dispute charges to Apple. If you’re unable to dispute the charges or get your money back from the receiver, contact Apple Support as soon as you can. They can help resolve the matter for you.

So now that we have reached the last part of our article, we hope that we have been of help to you. Please let us know your feedback in the comments section, especially if this has helped you.
If this guide helped you, please share it. 🙂
