Want to learn how to recover deleted photos on Mac?
It’s so convenient to take and share digital photos. In just a few clicks, you can store thousands of photos on your Mac and send them easily to your family, friends, and colleagues. Unfortunately, it only takes a few seconds to lose all those pictures, too.
There are many scenarios at play here. For instance, when you edit original photos instead of copies, it only takes a single app crash to corrupt the original images. A malware infection can also lead to photo loss. And let’s not forget about another common scenario: deleting photos accidentally while organizing files.
Whatever the reason, there’s a way to fix this issue. Today, we’ll share some easy ways to restore your precious photos. Here’s how to recover deleted photos on Mac.
Let’s jump right in!
1. Check the Apple Photo App.
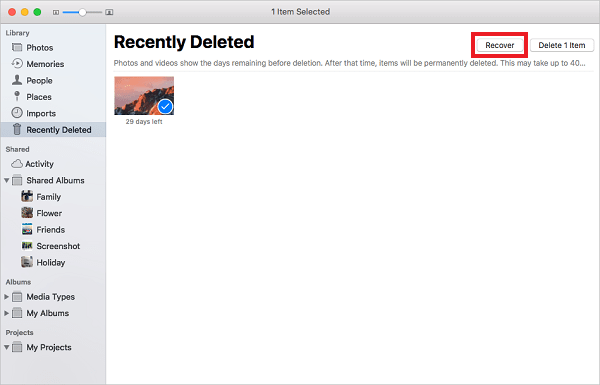
Most Mac users utilize the Apple Photo app to organize photos. If you accidentally delete photos while using this app, these images go into the Recently Deleted folder. They stay in that folder for 30 days, giving you a chance to recover them if needed.
Here’s how to recover deleted photos using the Photo app:
- First, go and open the Photo app.
- Then, click the Recently Deleted option on the left sidebar menu.
- At this point, all the photos in the Recently Deleted folder will appear on the right window pane. Go and select the photos you want to recover.
- Finally, click the Recover button on the upper-right corner to restore all the photos you’ve selected.
2. Recover Deleted Photos Through the Trash Bin.
If you were using Finder when you accidentally deleted photos, you could recover them through your Mac’s Trash Bin. Like the Photo app, the Trash Bin stores recently deleted files, including images, for a maximum of 30 days. That’s unless you empty the bin manually.
Here’s how to recover deleted photos on Mac by going to the Trash Bin:
- First, click the Trash icon in the Dock.
- Then, select the photos you want to restore.
- Lastly, right-click on any of the selected images and choose the Put Back option. The deleted pictures will return to their original locations. Alternatively, you can drag and drop each photo into any folder you want.
If you can’t find the deleted photos in either Photo App or Trash Bin, it’s time to look somewhere else. Browse through below for other potential solutions.
3. Use Time Machine to Retrieve Deleted Pictures.
Have you recently used Time Machine to create backups of the deleted images? Then, don’t worry, as those images are safe. You can easily retrieve them by following the steps below.
Here’s how to retrieve deleted photos by using Mac’s Time Machine:
- Start by connecting the Time Machine backup disk to your Mac.
- Next, open the Finder app and click the Time Machine icon on the menu.
- Now, use Time Machine’s arrow buttons to navigate through the local backups until you find the backup version that contains the photos you want to recover.
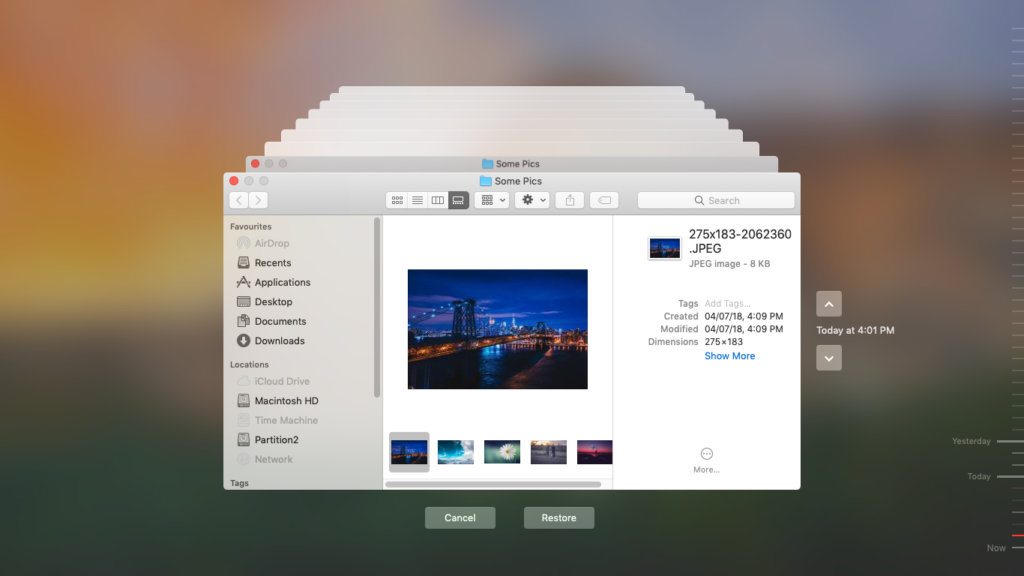
- Once you see the correct backup version, select the images you want to retrieve and click the Restore button to complete the action.
- Lastly, exit the Time Machine app and check if the lost photos have returned to their original locations.
You may encounter errors when backing up with Time Machine. If that happens to you, check out our article on how to fix Time Machine when it’s not working. It’s important that you have this up and running but if you didn’t back up here, hope is not lost.
Chances are you have your iCloud synchronization automatically doing its magic. Read more about it in the next method.
4. Restore Deleted Images from iCloud.
Apple’s ingenious ecosystem can be a double-edged sword. Through iCloud, you can synchronize your photos and other files across your Apple devices. Here’s the thing, though. If you delete a photo from iCloud or your iPhone, it might also disappear on your other Apple devices. Fortunately, you can restore them through iCloud as well.
We’ve already published a guide on how to recover deleted files from iCloud, but for your convenience, we’ll list down the steps needed to recover deleted photos.
Here’s how to use iCloud to restore deleted images on Mac:
- First, sign in to iCloud with your Apple ID.
- Then, select Photos from the menu.

- Click the Recently Deleted album on the sidebar.
- Finally, select the photos you want to retrieve and click the Recover button.
Similar to the Trash Bin and Photos app, iCloud’s Recently Deleted album only stores deleted photos within a limited time. These photos will disappear automatically after 40 days to free up the storage space.
5. Use Third-Party Software to Recover Deleted Photos on Mac.
None of the above solutions worked? Use third-party data recovery software. They can repair the deleted links to files, as long as the photos have not yet been overwritten by new data. If this is the sole option for you, stop using your Mac immediately. That way, you reduce the chances of the lost photos being overwritten.
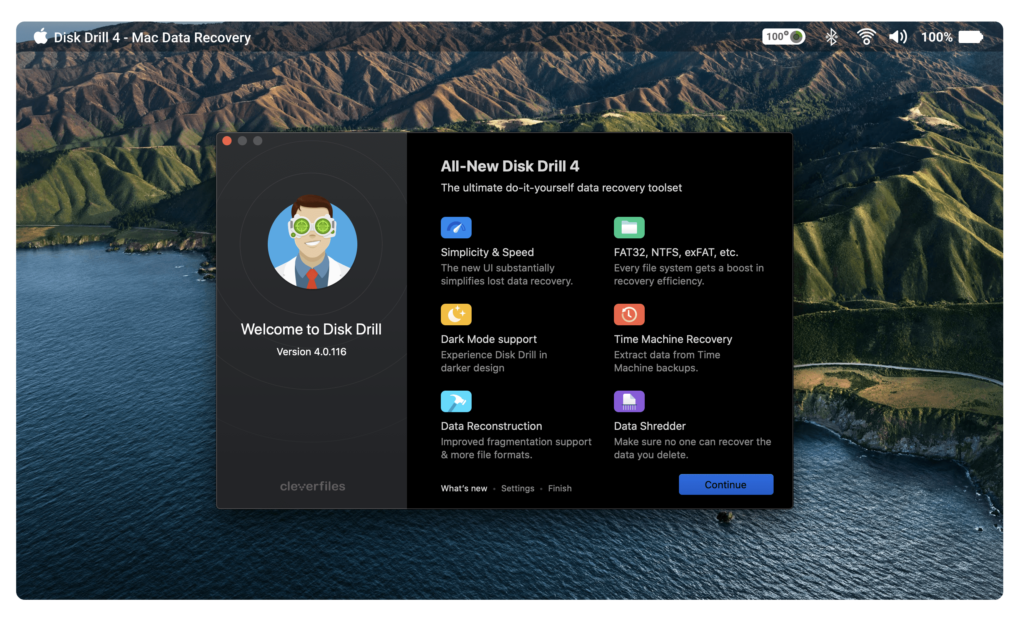
Disk Drill is one good example of data recovery software. It can restore images that are no longer available through the Trash Bin or the Apple Photo app. It features a one-click approach to data recovery that makes it a suitable option for many users.
Another option is the Recoverit Mac Photo recovery software. Whether your photos are deleted manually from the Trash bin or erased by malware, this app can help you recover images on both your computer and external storage device.
Explore available data recovery software apps using another device. Then, once you’ve decided which tool to use, open your Mac again. Download and install the tool and start recovering the deleted precious photos on your Mac.
That’s it. With one or two of these methods, you’ll surely restore the photos you’ve lost on your computer. Don’t hesitate to share with us which method has worked for you. And if you need help with any other Mac-related problems, leave a comment below. Our team here at Saintlad is ready to address those issues in our next post or guide.
If this guide helped you, please share it. 🙂