

Are you familiar with how to transfer your Apple Cash to your bank account?
Apple Cash is becoming popular as a way to send and receive money with Apple Pay. When you receive money in your Messages, it goes directly to your Apple Cash card inside your Wallet app. What’s great about it is that you can immediately use Apple Cash wherever you use Apple Pay.
But aside from sending and receiving money using Apple Cash, did you know that you can also transfer your Apple Cash balance to your bank account? Although not everyone is aware of it, it is a very convenient way to get your money from Apple Pay to your bank. But how can you do it?
You are in luck because we have compiled this list to help you set up and manage Apple Cash. We have also prepared a guide on how you can manage your Apple Cash account. Lastly, we have come up with the complete steps on how to transfer Apple Cash to your bank account.
So let’s get started!
1. How To Set Up And Manage Apple Cash: Step-By-Step.
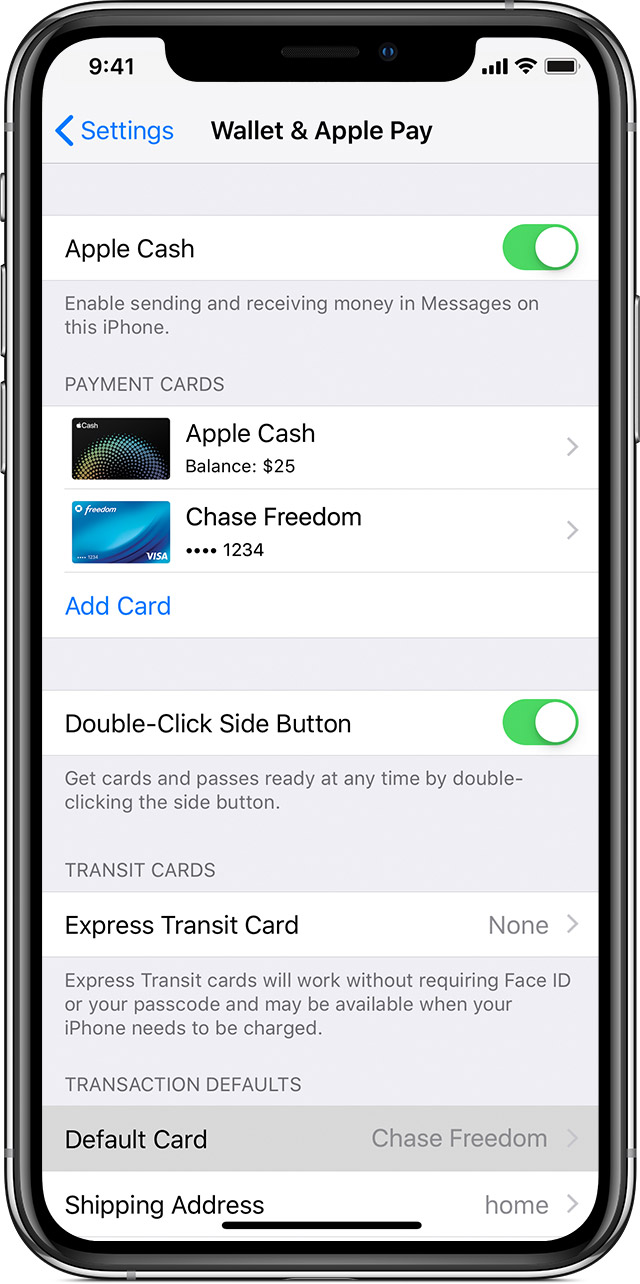
Before we guide you on how to transfer your Apple Cash to your bank account, it is a must to set up your Apple Cash and know how to manage it first. But do not worry, as setting up Apple Cash is really easy. All it takes is to enable Apple Cash in your settings.
Here’s how you can set up your Apple Cash:
- First, open the Settings app and select Wallet & Apple Pay.
- Next, enable Apple Cash.
- After that, in the Messages app, you can proceed in sending or receiving a payment.
Here’s how you can manage your Apple Cash:
- First, go to the Wallet app and select your Apple Cash card.

- Next, check your latest transactions or view your transactions which are grouped by year.
- After that, select the More button (button with three dots).
When you’re done with all of that, you can add money from your debit card. You can also proceed with transferring your Apple Cash to your bank.
2. How To Manage Apple Cash Account: Step-By-Step.
After setting up your Apple Cash, the next thing you should do is to manage your Apple Cash account. Managing your account helps you choose the devices that can use Apple Cash. Aside from that, you can check the details of your Apple Cash card, view your transactions, and so much more.
Here’s how you can find your Apple Cash card details on your iPhone:
- First, go to the Wallet app and select your Apple Cash card.
- Next, select the More button (button with three dots).
- Then you may check your balance. Make sure you have a network connection to see your updated balance.
Here’s how you can find your Apple Cash card details on your iPad:
- First, open the Settings app and click Wallet & Apple Pay.
- Next, select your Apple Cash card.
- Then you may check your balance. Make sure you have a network connection to see your updated balance.
Here’s how you can find your Apple Cash card details on your Apple Watch:
- First, open the Apple Watch app on your iPhone and click Wallet & Apple Pay.
- Next, select your Apple Cash card.
- Then you may check your balance. Make sure you have a network connection to see your updated balance.
In case you are asked for a PIN to complete a transaction, enter the four-digit code ‘0000’. But take note that Apple Cash does not need a PIN since every payment is authenticated by either a Face ID, Touch ID, or a secure passcode.
3. How To Transfer Apple Cash To Your Bank Account: Step-By-Step.
Finally, we have reached the most awaited part of our guide. After learning how to set up and manage your Apple Cash and Apple Cash account, it is time to know how to transfer your Apple Cash to your bank account.
There are no fees that are associated with transferring your Apple Cash balance to your bank (unless you used Instant Transfer). However, it may take 1-3 business days to be transferred, depending on your bank.
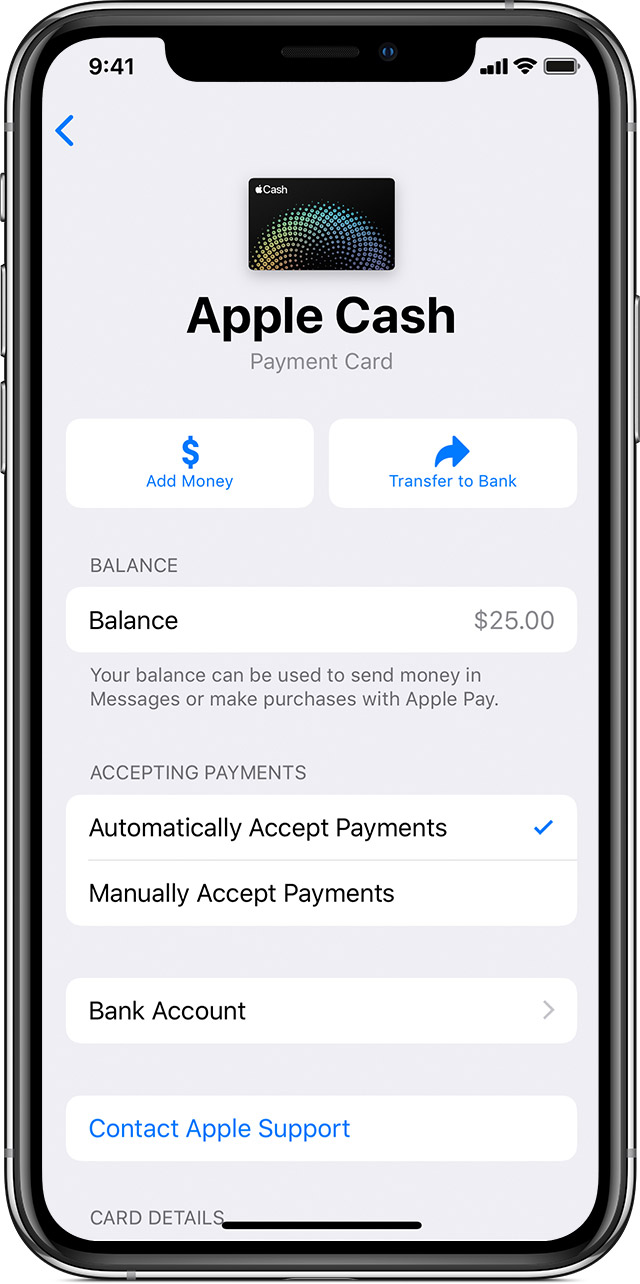
Here’s how you can transfer your Apple Cash balance to your bank account with your iPhone:
- First, go to the Wallet app and select your Apple Cash card.
- Next, select the More button (button with three dots).
- After that, select Transfer to Bank.
- Then enter the amount that you wish to transfer and select Next.

- Now, select 1-3 Business days. In case you haven’t set up your bank account yet, just follow the instructions on the screen to do it.
- Lastly, confirm the transfer using your Face ID, Touch ID, or your secure passcode.
Here’s how you can transfer your Apple Cash balance to your bank account with your iPad:
- First, open the Settings app and click Wallet & Apple Pay.
- Next, select your Apple Cash card.
- After that, select Transfer to Bank.
- Then enter the amount that you wish to transfer and select Next.
- Now, select 1-3 Business days. In case you haven’t set up your bank account yet, just follow the instructions on the screen to do it.
- Lastly, confirm the transfer using your Face ID, Touch ID, or your secure passcode.
Remember that you can transfer up to $10,000 each transfer, but a maximum of $20,000 within a seven-day period. In addition to that, you can only transfer your Apple Cash balance to a bank account in the United States.
4. Try CleanMyMac X.
If you want to try a tool that will be your best friend when it comes to maintaining your Mac, we’ve got you covered!
Have you heard about CleanMyMac X? CleanMyMax X will help you make your Mac run faster, just like how it did on the first day that you bought it. It is packed with more than 30 tools to help you fix the most common Mac issues.
Fixing separate issues on your Mac may take you several hours. But with CleanMyMac X, you can do it with just one click! It is so user-friendly that you do not have to dig through folders to remove unwanted files or folders. You just have to click one big button!

Did you also know that CleanMyMac X helps your Mac to have 4x faster boot time, 2.5x more responsive apps, and 5x GB of free space? If you are not impressed, just look at its rating of 4.9 stars in the App Store! This is based on 539 user reviews in the App Store.
So don’t think twice and try it out for yourself!
5. FAQ: Help! I Didn’t Receive The Money I Transferred.
Yes, you may have tried transferring your Apple Cash to your bank, but why are you not receiving it? The first thing that you should check is your bank statement. This helps you know if the transfer has been processed and has been deposited into your bank account. If it did, you need to remember that bank transfers are not deposited on the weekend or on bank holidays.
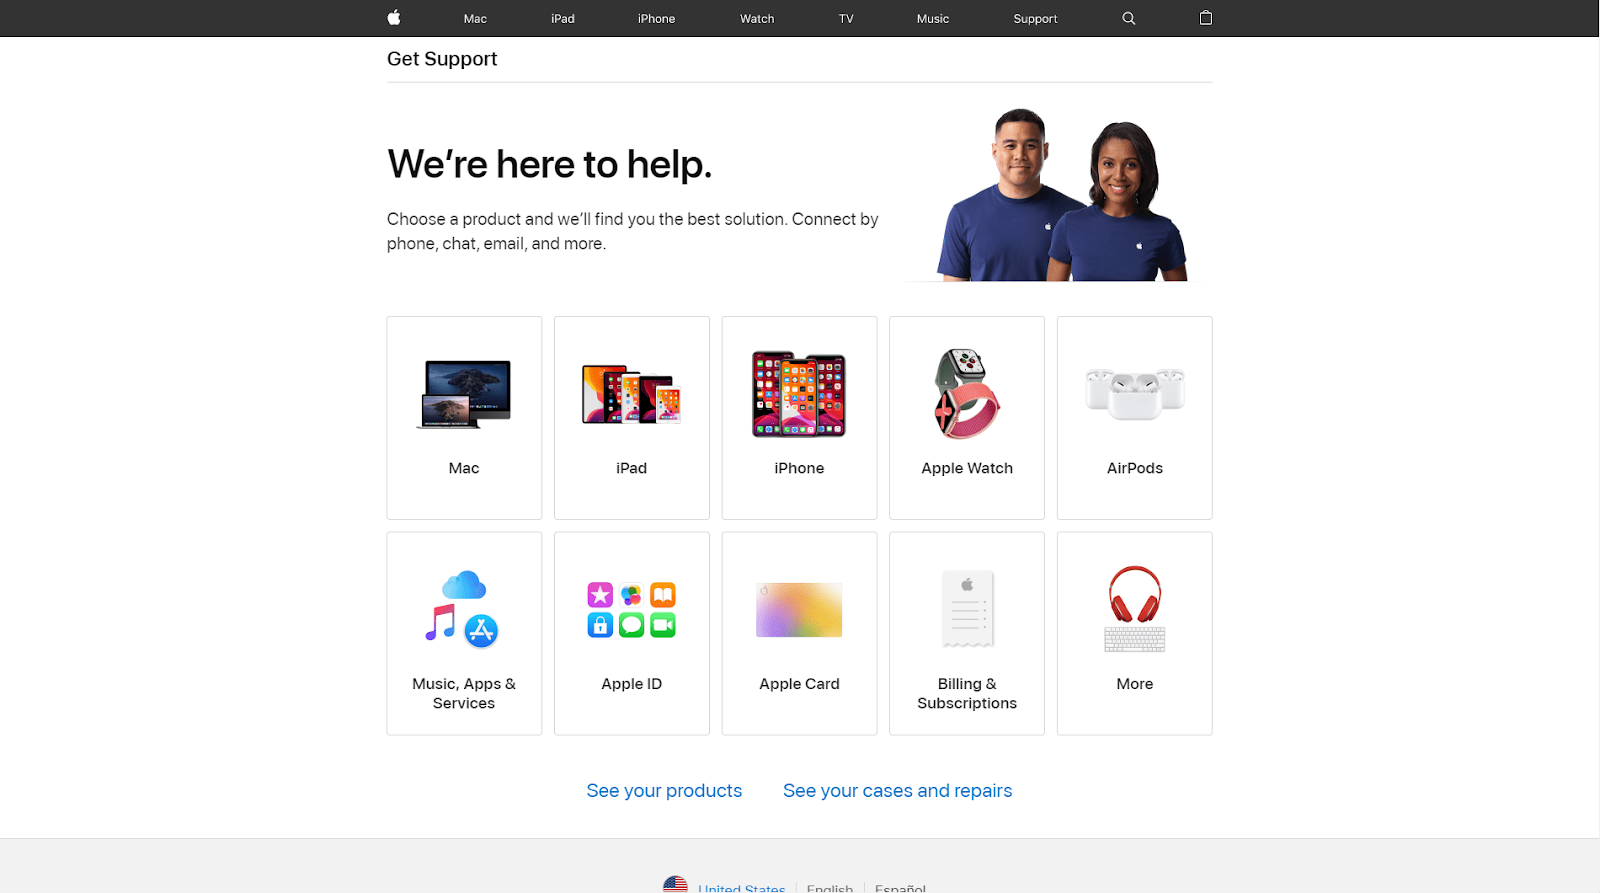
However, if you think that you entered the wrong bank account, this is a different scenario. You should contact Apple Support as soon as possible so they can help you with this.
You have reached the end of our guide! Hopefully, this has enlightened you on how to set up and manage your Apple Cash and Apple Cash account. But most importantly, we hope that we have been able to help you transfer your Apple Cash to your bank account.
If this guide helped you, please share it. 🙂
