If you happen to be a network engineer who wants to jump ships to Ubuntu Linux, chances are you’d be needing Wireshark sooner or later. Courtesy of this application, it becomes possible to carry out packet analysis, network troubleshooting, and other security fixes.
With this, you must have understood why Wireshark is so popular. Moreover, this application is not only available on Windows and macOS, but Linux as well. Although Linux allows you to easily install different applications, one could still face issues while installing Wireshark.
If that’s the case with you, allow us to save the day. This will give you a complete guide for installing and using Wireshark on Ubuntu Linux.
However, before we begin, there’s one thing you should note. Although we’re using Ubuntu 19.04 LTS for this tutorial, Wireshark supports all LTS versions of Ubuntu that have not gone obsolete.
So, without further ado, let’s get started!
- Step 1: Installing Wireshark.
- Method 1: Using Ubuntu Universe Repository.
- Method 2: Using Wireshark PPA.
- Step 2: Using Wireshark.
Step 1: Installing Wireshark.
In case you have some experience using Linux, installing Wireshark on your Ubuntu system should be a piece of cake. Just make sure that you don’t miss any step in this installation guide and you’d be good to go.
Now, there are two methods that allow the installation of Wireshark on Ubuntu Linux. Each has its own advantages and downfalls, so you should go for the one you deem most appropriate.
Method 1: Using Ubuntu Universe Repository.
There’s no doubt that Wireshark fully supports Ubuntu Linux. This could be seen as the application is available to be installed from the Universe repository of Ubuntu.
With this method, you will easily be able to install Wireshark. With that being said, it is often the case that a slightly older version of this application would get installed on your system. Accordingly, you should only go for this method if getting the latest version of Wireshark is not your priority.
With that out of the way, let’s have a look at the steps:
- First of all, you need to enable the Ubuntu Universe repository. For this, open the terminal by pressing the Ctrl + Alt + T keys on your keyboard.
- Then, you need to execute the following commands one by one:
sudo add-apt-repository universe
- With Ubuntu Universe enabled, you can install Wireshark by running the following command:
sudo apt install wireshark
You can rest assured that you won’t be having any issues with this method. However, if you want to get your hands on the latest version of Wireshark, the second method would be a much better choice.
Method 2: Using Wireshark PPA.
All thanks to the official Wireshark PPA, we can easily install the latest version of this application. Apart from that, in case you don’t know about PPAs, allow us to give you a brief introduction.
Short for ‘Personal Package Archive’, PPA assists Linux users and application developers with distributing software by allowing them to create their own repositories. Put more simply, you can get your hands on the latest version of the software, which you can’t find on the official Ubuntu repositories.
So, if you want to install Wireshark through its PPA, follow these steps:
- The first step would be to open the Linux terminal by holding the Ctrl + Alt + T keys.
- In the terminal, you’d have to run the following commands consecutively:
sudo add-apt-repository ppa:wireshark-dev/stable

sudo apt update

sudo apt install wireshark
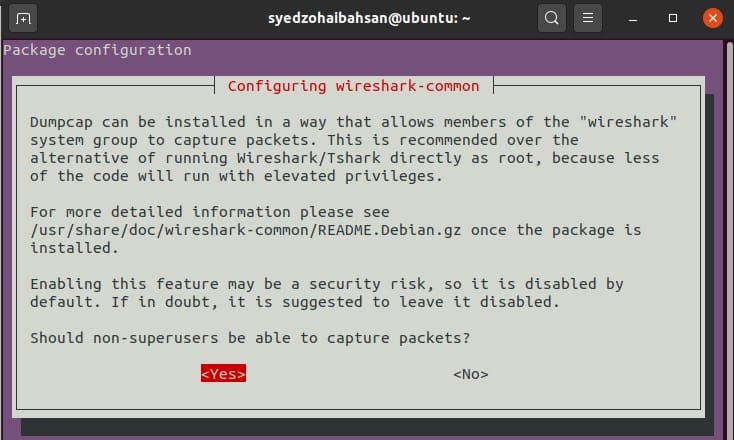
- During installation, you will have to choose whether non-superusers can capture packets by selecting either Yes or No.
- With this, the latest version of Wireshark should be installed on your system. You can check the version by running this command:
apt show wireshark
- Now, if you went with Yes in the third step, you’d have to run this command:
sudo usermod -aG wireshark $(whoami)
- If you selected No, executing the following command should do:
sudo dpkg-reconfigure wireshark-common
- Lastly, restart your computer with this command:
sudo reboot
If you follow our instructions carefully, you need not worry about coming across any issues. However, if you still do, Wireshark itself has provided detailed instructions on how to install it on your Linux system.
FAQ: Help! I keep getting the “Permission Denied” Error.
Some users have also reported that they come across the “couldn’t run /usr/bin/dumpcap in child process: Permission Denied” while running Wireshark. A simple fix to this problem is to execute the following command and opt for ‘YES’:
sudo dpkg-reconfigure wireshark-common
Then, reboot your PC after running the following:
sudo adduser $USER wireshark
Using Wireshark.
Now that you have installed Wireshark on your Linux system, there’s no stopping you from making the most out of it. With that being said, if you have no prior experience with this software, you could run into some trouble.
Considering this, we’ll also guide you with getting started with Wireshark in this tutorial. More specifically, you’ll be learning about how to start the application and use it to capture packets.
If we have you interested, let’s see the steps:
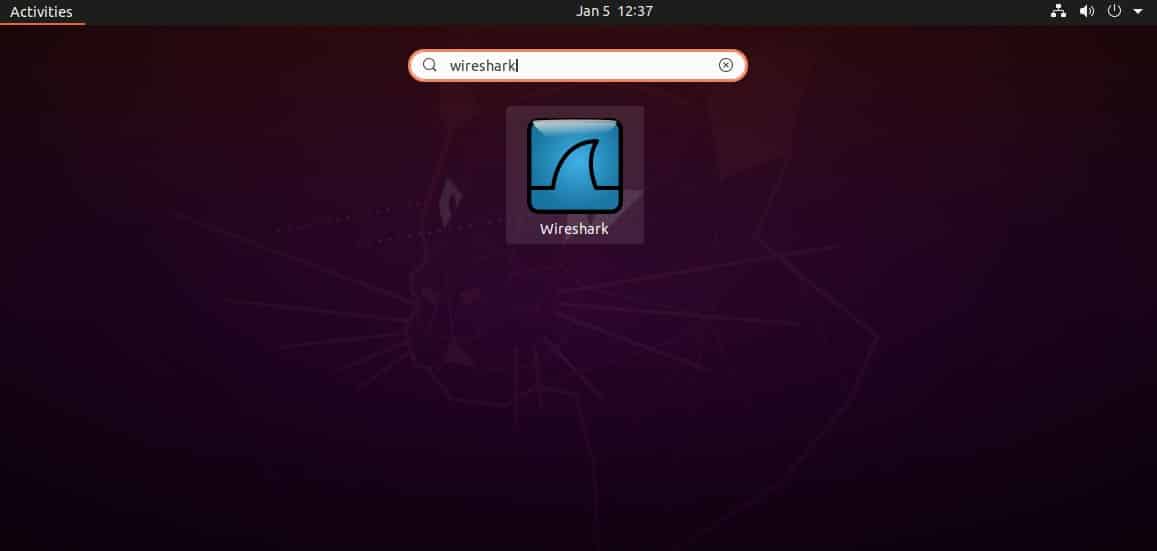
- Firstly, you need to open the Wireshark application by either typing it in the search bar or running the following command in your Linux terminal:
wireshark
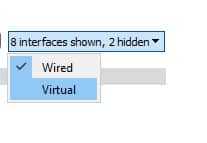
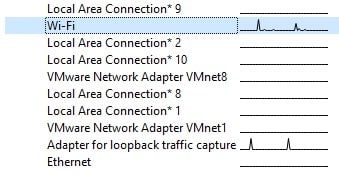
- Once the application opens, you will be able to choose from a wide variety of interfaces for capturing packets to and from. You can also choose the types of interfaces appearing on the welcome screen:
- Afterward, you can select any interface (or even multiple, by holding the Ctrl key).
- Next, you can start capturing its packets by clicking the left-most blue button (the one that looks like a shark fin):

- We went for the Wi-Fi interface and saw the captured packets in action by running the following command in the Linux terminal:
ping google.com

- Click on a packet of your choice to get more information about it, such as RAW data and TCP/IP Protocol layers.

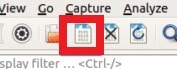
- Once you’re done, you can stop capturing packets by clicking the red button in the following screenshot:

- Moreover, Wireshark allows you to save captured packets to a file with the click of a button.
- Lastly, you’d have to choose the destination folder, type the file name, and press the Enter key.
Network engineers shouldn’t shy away from using Ubuntu. As a matter of fact, as you might have seen in our article, this Linux-based distribution makes installing Wireshark relatively easy. Plus, if you’re just a beginner, you might have gotten a better idea of how Wireshark really works as well. Lastly, comment down a 👍 if you successfully installed Wireshark on your Ubuntu system.
If this guide helped you, please share it. 🙂