Are you planning to install the Oracle ODBC Driver on Windows 10?
Open Database Connectivity (ODBC) is a standard interface that gives one application access to several different data sources. As a result, the Oracle ODBC can be used to access Oracle databases.
This is a great advantage for advanced users and programmers, who need access to the Oracle ODBC for running online transaction processing, data warehousing, and mixed database workloads — which Oracle is widely used for.
However, it is not as easy as installing a program, as it requires downloading and compiling files together. You may also need to input additional data the application will need to run properly. Luckily, we’re here to help.
In this article, we’ll introduce you to a structured process behind procuring and installing the Oracle ODBC Driver in Windows 10.
Let’s dive right in!
1. Download the Oracle Instant Client Package From the Website.
Before installing and setting up your driver, you’ll need to download three separate files from the Oracle website and place them into the appropriate folder location. These files are essential in making the software function as it should, enabling your ODBC applications to work by providing additional libraries and resources.
Additionally, you need to download the right files; they must be compatible with each other, as well as your operating system. Downloading or otherwise using the wrong version of each file may cause errors for your driver and your system.
Here’s where you can find and download the Oracle packages:
- Begin by going to the Oracle Instant Client page on your browser.
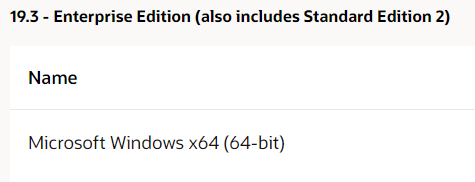
- Next, click the Instant Client for Microsoft Windows. Look for the link that matches your PC’s platform.
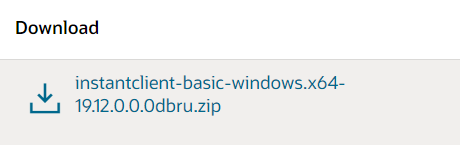
- Follow by choosing the Basic package download link.
- Once it’s finished downloading, scroll down and press the SDK package hyperlink to download that archive.
- Then, click the download link for the ODBC package.
- Now that it’s on your PC, go to your File Explorer window.
- Check the C: root drive in File Explorer.
- Then, right-click a space within the C: drive and make a new folder.
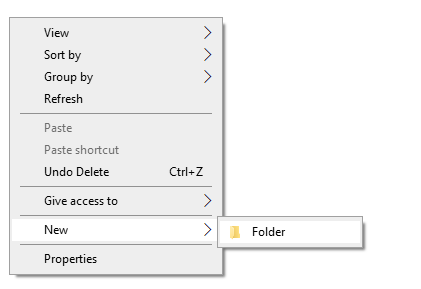
- Name your new folder Oracle and make sure that it has this path: C:\Oracle.
- After that, move the three downloaded Oracle ZIP archives into the Oracle folder and extract them there.
- Look for the extracted instantclient-basic-windows.x64-19.11.0.0.0dbru folder and open it.
- Inside, find a subfolder entitled instantclient_19_11 and move it into the Oracle folder.
- Finally, erase the instantclient-basic-windows.x64-19.11.0.0.0dbru folder.
This process ensures that the ODBC and basic ZIP archives have been extracted to the same folder by the end of this process. You can also get the SDK package and extract it to the instantclient_19_11 folder. It’s not necessary, but we recommend getting it as well.
2. Add an Oracle Client Directory to PATH Environment.
An environment variable is an editable value that other programs and applications can access within your computer. This lets the Oracle driver know where to install files, store them, and find user settings.
After extracting and setting up the necessary files for your driver to work, you’ll need to add the Oracle Client directory as an environment variable. This lets other applications and programs access your ODBC driver, allowing you to access the Oracle Database.
Here’s how to properly add the Oracle Client as an environment variable:
- Press the Windows+S keys. This will open the search bar.

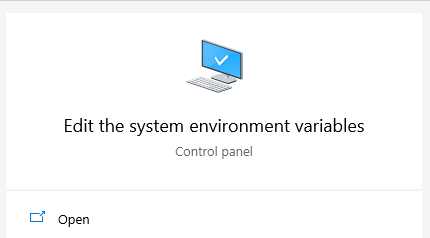
- Type in the phrase system environment variables into the search bar.
- Next, select the Edit the system environment variables option. This should open the System Properties window.
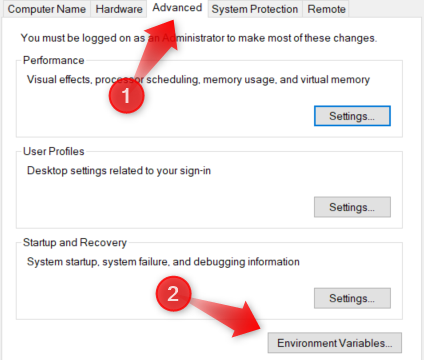
- Select the Environment Variables... under the Advanced tab.
- Next, select New… under the system variables list.

- Input OCI_LIB32 into the Variable Name box.
- Under the Variable Value box, input the directory path of your Oracle folder.
- Considering you properly formatted the folders previously, your directory path should be: C:\Oracle\instantclient_19_11.
- Within the system variables list, double-click the Path variable.
- Once opened, click the New button and input the same directory path you added under the Variable Value box. (This would be C:\Oracle\instantclient_19_11).
- Click OK and exit the window.
Finishing this process should allow your Oracle Client to run its processes properly. Your previously downloaded Oracle packages can now act as an environment variable for your programs that require the Oracle driver.
3. Install the Oracle ODBC Client.
This step is fairly straightforward. We’ll be installing the Oracle client itself, which can be done in just a few moves.
Here’s how you can install the Oracle ODBC client:
- First, start by opening the instantclient_19_11 folder.
- Next, right-click the odbc_install.exe file.
- Finally, select Run as Administrator.
4. Create New ODBC Data Source.
Finally, we’ll be setting up the DSN (Data Source Name) for your newly installed Oracle driver. Note that the information you’ll be adding will be specific to the database you’re trying to connect to. Hence, this information will be different.
Your DSN will contain information that your ODBC driver will need to connect to a specific database. This will include information like the name, directory, and driver of the database. Depending on the type of DSN, it may also include the ID and password of the user.
Here is how to set up your DSN:
- Press both the Windows and S keys to open up the search bar.
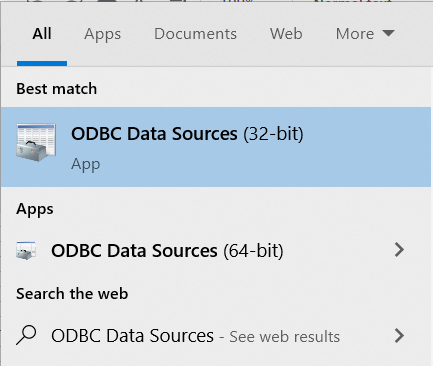
- Enter ODBC Data Sources into the search box.
- Select the ODBC Data Sources to open a window.
- Click the Add button to open the Create New Data Sources
- Select your Oracle driver and click Finish.
- Open the Oracle ODBC Driver Configuration window and enter your information; such as the Data Source Name, TNS Service Name, and User ID.
- Press the OK button to exit.
After setting this up, your driver should be able to connect to the Oracle Database server directly.
That wraps it up for this tutorial on how you can install the Oracle ODBC driver in Windows 10. We hope this article has helped you in setting up your own ODBC driver. If you have concerns or inquiries, don’t hesitate to leave a comment don’t below.
If this guide helped you, please share it. 🙂