

Wondering how to install Plex on Ubuntu 22.04? We’ve got you covered!
With technology advancing exponentially daily, data is becoming more and more relevant. In times like these, having access to your data from anywhere, anytime, is nothing short of a blessing.
With advancements in cloud computing, you now have access to hundreds of applications that are made to store your data on an online cloud, ensuring that you’re able to view and make changes whenever you need.
An example of such an application that’s responsible for handling your data is Plex. Plex was explicitly designed to store media files online with the intention of streaming.
Plex is available for installation on Ubuntu. However, the process isn’t that easy. Fortunately for you, this guide will cover how to install Plex on Ubuntu 22.04. We’ll go over the steps in detail, along with some additional information.
That being said, let’s begin!
Prerequisites for Installing Plex.
Before installing plex on your system, try to ensure that some basic requirements are met.
For starters, make sure that your device meets the minimum system requirements. You can view them on Plex’s support page.
Additionally, to follow this guide, you’ll require Ubuntu 22.04 and an account with sudo or root privileges.
Once you’ve ensured that the requirements are met, move on to the next step.
Step 1: Install the Necessary Dependencies.
Plex isn’t directly available as an Ubuntu repository. Rather, you’ll have to manually add the dependency by typing a specific series of commands.
While there is room for error, you should be safe as long as you follow the steps.
Follow these steps to install relevant dependencies.
- Start by opening the Command Terminal by pressing Ctrl + Alt + T on your keyboard.
- Once that’s done, type the following:
$ sudo apt update && sudo apt upgrade

This will update all packages and repositories to their latest available versions.
- Next, type the following command to include dependencies:
$ sudo apt install apt-transport-https curl wget -y

- Afterward, use this command to include the repository for plex:
$ echo deb [signed-by=/usr/share/keyrings/plex.gpg] https://downloads.plex.tv/repo/deb public main | sudo tee /etc/apt/sources.list.d/plexmediaserver.list

If you followed the steps correctly, you should now have the dependencies for Plex on your system. The next step is to install it.
Step 2: Installing Plex Using $apt.
Now that the dependencies are available on your system, you can proceed to install Plex.
For this purpose, you’ll use the $apt install command.
Follow these steps to install Plex on your system:
- First, open the Command Terminal by pressing Ctrl + Alt + T on your keyboard.
- Next, type the following command:
$ sudo apt update && sudo apt upgrade
- Now, type the following in the Terminal to install Plex on your system.
$ sudo apt install plexmediaserver -y

- Enter your password and click “Enter”.
If you followed the steps correctly, then congratulations! You have learned how to install Plex on Ubuntu 22.04. You can check whether the program is installed correctly by typing the following in the Command Terminal:
$ sudo systemctl status plexmediaserver
Now all that’s left is to configure your settings for firewall access.
Step 3: Configure Firewall Settings.
For Plex to work properly, you’ll need to enable the port 32400 that’s required for Plex. This can be done via the Command Terminal.
Follow these steps to enable the port:
- Start by opening the Command Terminal by pressing Ctrl + Alt + T on your keyboard.
- Next, type the following in the Terminal to allow a specified port through a firewall:
$ sudo ufw allow <port number>
In our case,
$ sudo ufw allow 32400

With this, you should have your firewall configured to allow port 32400 through it.
Step 4: Opening Plex.
Now that you have completed the installation, you can configure plex according to your needs.
For this purpose, you’ll be using your main web browser.
Follow these steps to open Plex on your system:
- First, Start by navigating to your desktop. Click on the “Show Applications“ icon in the bottom-left corner of your screen.
- Once that’s done, proceed to type “Firefox” in the search bar and click on the first result.
- When the browser is open, type the following in the address bar to access Plex:
$ http://<host IP/ address>:32400/web
You should see an output similar to the one in the image below.
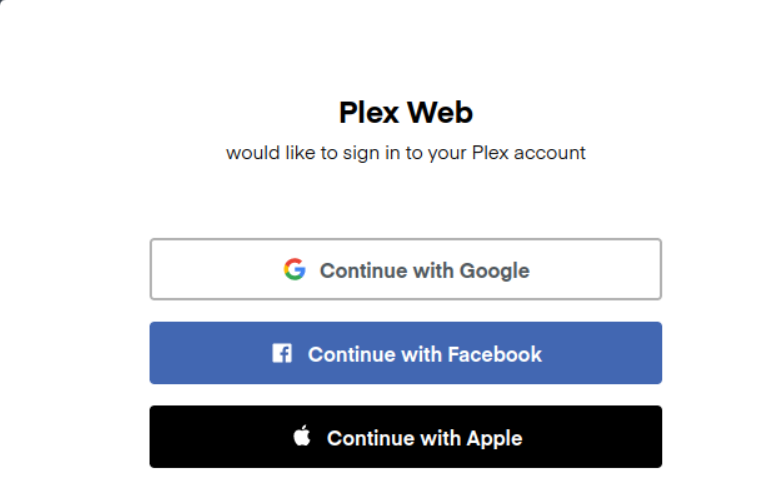
From here on, you must enter your credentials and configure the settings according to your preferences.
Removing Plex From Your System.
If the application didn’t get installed properly, or you wish to switch to another application, you can always use plex from your system.
For this purpose, you’ll use the $apt remove command.
Follow these steps to remove Plex from your system:
- Start by opening the Command Terminal by pressing Ctrl + Alt + T on your keyboard.
- Type the following:
$ sudo apt remove plexmediaserver -y
This will remove Plex from your system.
Aside from configuring Plex for media streaming, sometimes you might find yourself in situations where you’ll need to change network settings. Changing IPs, implementing static and dynamic allocations, and configuring different kinds of interfaces all require different commands and steps to be followed.
Fortunately for you, you can configure your networks from the comfort of a single device with the help of Netplan. Netplan is the “one size fits all” solution as it acts as the commonplace for all sorts of network configurations, meaning that you won’t have to use different programs for different purposes.
We hope this guide helped you learn how to install Plex on Ubuntu 22.04. We went over the steps, including installing dependencies, importing the necessary repositories, and configuring the firewall. If you have any questions, queries, or suggestions, please let us know in the comment section down below.
If this guide helped you, please share it. 🙂
