

Wondering how to install Wine on Ubuntu?
Back when Linux was first released, it was an incomplete operating system used for special tasks. Users having Linux had a hard time utilizing the operating system. Windows, on the other hand, had several applications that were of great use to the general users.
To bridge this gap, applications in the form of emulators came forward, which provided a virtual experience of another operating system on Linux. One of these applications was Wine, which was also one of the first applications to do so.
At the start, there were very few applications available on Wine. Users couldn’t get many tasks completed by it because it only had applications such as calculator, notepad, or games like solitaire. But as time progressed, Wine became better, adding more applications. Now, it gives a full-fledged Windows experience to Linux users.
If you want to know how to install Wine on Ubuntu, then you are at the right place. This article will guide you through the steps you need to take to install Wine on your system. The steps are not difficult, and you can expect everything to go smoothly.
So, without further ado, let’s get started!
Steps for Installing Wine.
You need to take many steps to install Wine on your system successfully. So, keep in mind to be careful in following each instruction below.
- The first step is to determine whether your system is 64-bit or 32-bit. You can check the details using the following command.
$ lscpu
You should see the following output on your screen.
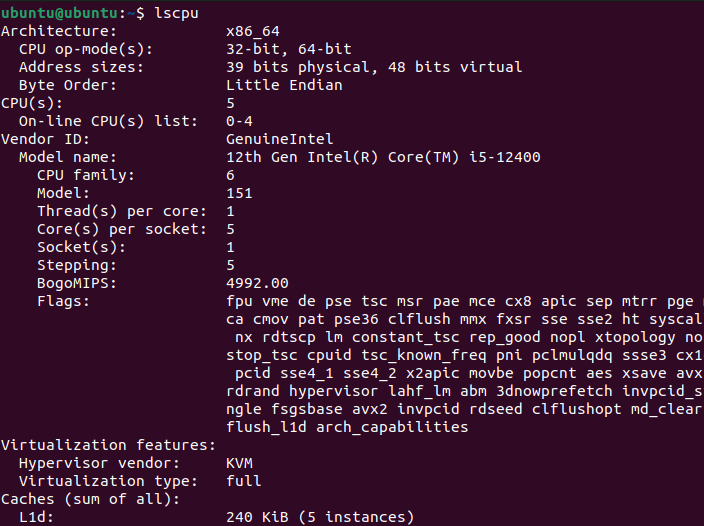
- In case you have a 64-bit system, you need to execute this command to add the is386 architecture to run Wine.
$ sudo dpkg –add-architecture-i386 n

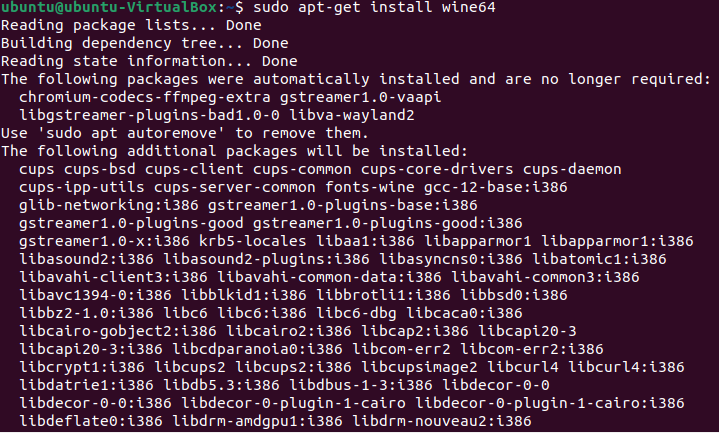
- Next, install Wine according to the system architecture. Use the following two commands.
$ sudo apt-get install wine64
Or,
$ sudo apt-get install wine32
This command will get the required application repositories, add them to your system, and then install them. After executing this command, you should see the progress of your application getting installed.
- In the next step, add the WineHQ key and the relevant repository. Use the following command.
$ wget -qO- https://dl.winehq.org/wine-builds/Release.key | sudo apt-key add -

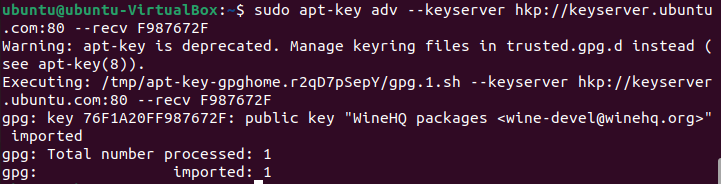
Again, import another key.
$ sudo apt-key adv --keyserver hkp://keyserver.ubuntu.com:80 --recv F987672F
- Next, use this command to add another repository.
$ sudo apt-add-repository
'deb http://dl.winehq.org/wine-builds/ubuntu/ artful main.'
- In the next step, you have a decision to make. There are two versions of Wine that you can install, i.e., stable and development. The difference between the two versions is that the stable version is the most tested, error-free, and reliable version available.
On the other hand, the development version is the most up-to-date version, having the latest features available for use. The catch is that the development version can run into errors and also cause older features to malfunction.
Use the following commands to install the version you prefer.
$ sudo apt-get install wine-stable -y
Or,
$ sudo apt-get install wine-development -y
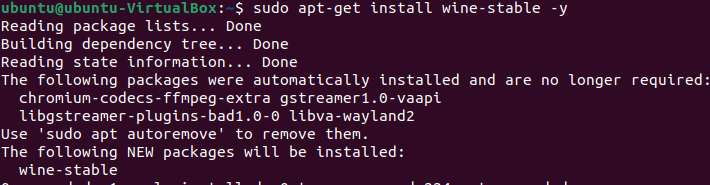
- After executing any of the above commands, you must wait for the application to install as it is a bit large.
With this, you have successfully installed Wine on your Linux system. In the coming steps, we will discuss how to do some basic configuration of Wine to make it work properly.
Basic Configuration of Wine.
As you may know, the administrative drive in Windows is designated as C. We can also follow the same convention and name a drive in Wine as C. In this drive, we will install the desired Windows application we want to use. Also, the Wine has its own name in the directory. To give it another name, we need to change the Wine prefix.
Use this command to change the prefix.
$ winecfg

A prompt will pop up asking for the installation of “mono”. Click on “install” and let the installation process complete.
After mono is installed, you will be asked to install “gecko”. Install gecko as well. After completing the process for both, you have now created a new prefix for Wine. This will also show you the Wine setup window on your screens. You can make further adjustments to the settings if you want to. Otherwise, you can simply skip it.
The new C drive can be found using the following command.
$ HOME/.wine/c_drive
As any new applications installed or downloaded come straight to the C drive, the applications you install on Wine will also go straight to the virtual C drive. This is how to install Wine on Ubuntu.
While using your Linux system, have you ever felt that it is slowing down or it has started to hang a lot? As we keep on using our systems, the computer resources are also used a lot. Add this to the fact that users keep on adding applications and data, this eventually causes more system resources to be used.
The problem with this is that the computer gradually slows down, and it won’t have the same response time as before. You find it hard to work with it as it just doesn’t feel the same. In cases like these, you look for ways to speed up your computer without losing too much of your data.
Once you experience situations like this, you can go to this speed-up link. This link leads you to a guide that tells you how to speed up your Linux system with some tips and tricks.
This was an article on how to install Wine on Ubuntu. Wine is certainly a popular and useful application. The opportunity of having Windows applications on Linux is quite advantageous and increases the user’s productivity.
We hope that we were able to help you out and that your experience with Wine goes great.
If this guide helped you, please share it. 🙂
