

Is your iPhone 12 Pro exhibiting the infamous lens flare issue?
Many users have been seeing the captured images in their iPhone 12 Pro showing lens flare, especially in night mode. They were seeing green dots or light reflections on their shots. In some cases, ghost reflections were also evident, making the images unsightly.
Unfortunately, because of this, more and more users are losing their trust in Apple as this has been an ongoing issue since the iPhone 11. iPhone 12 Pro showed that Apple still hasn’t resolved this issue, but what’s intriguing is that some users claim that this is just normal.
May it be normal or not, we are here to provide you with relief so you can take away your worries on this issue. We will guide you through 7 ways on how you can fix your iPhone 12 Pro lens flare issue.
Let’s dive right in!
1. Clean The Camera (External) Lens.
One of the easiest steps that you can try is to clean your camera or external lens. Things like dust, dirt, water droplets or moisture can affect your captured images. In some instances, even your fingerprint smudges can contribute to the reason why your iPhone 12 Pro is experiencing the lens flare issue.

What you can do to prevent this is to clean your camera or external lens using a microfiber cleaning cloth. This is efficient in cleaning hard surfaces like smartphones and oleophobic (oil repellent) iPhone screens. Remember, do not even try to use your fingers to clean the lens as it will only leave fingerprint smudges, which we do not want to happen.
2. Remove The Phone Case.
Most of us use phone cases to protect our devices from any physical damages, but it can also have some consequences. The additional layer of plastic or glass from our phone cases can result in poor images. Thus, phone cases are one of the common reasons why captioned images will contain a lens flare.
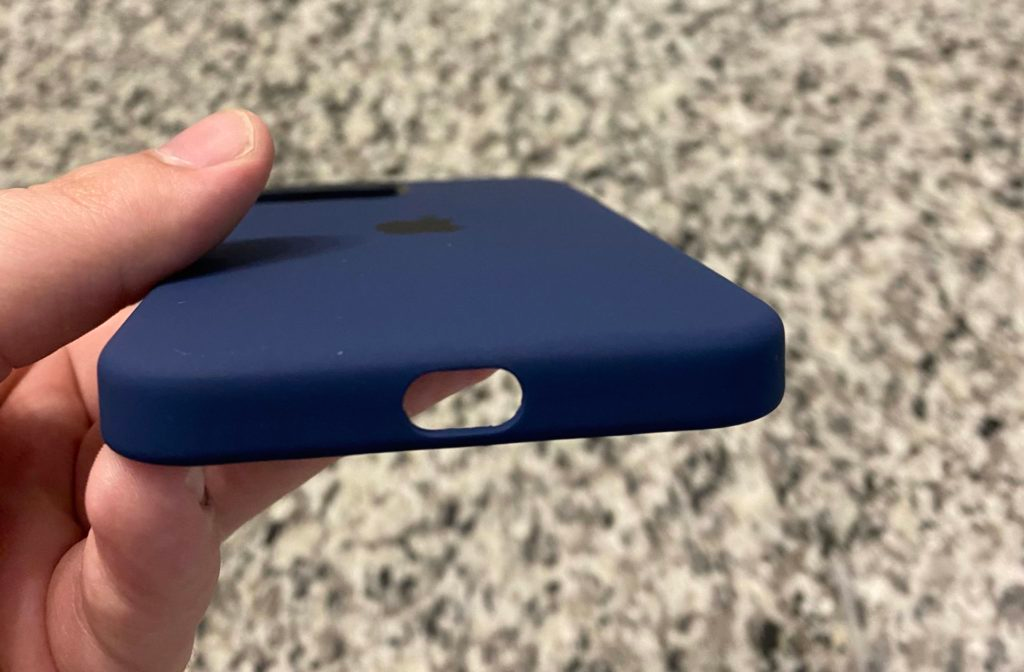
Specifically, this issue is common if you are using phone cases that cover the flash or camera lenses. Magnetic phone cases can also produce the same issue as they can affect your camera’s optical image stabilization feature. What you can do is to try taking some pictures with your phone case, then also try it without the phone case to know if there are any differences.
3. Put Anti-Glare Coatings.
Some users were able to resolve this issue by putting anti-glare or anti-reflective coatings on their camera or external lens. Doing this will minimize the lens flare from happening as it reduces the light reflections.
Aside from minimizing the lens flare, what’s also good about anti-glare coatings is that they can hide minor scratches on your phone screen. Talk about hitting two birds with one stone!
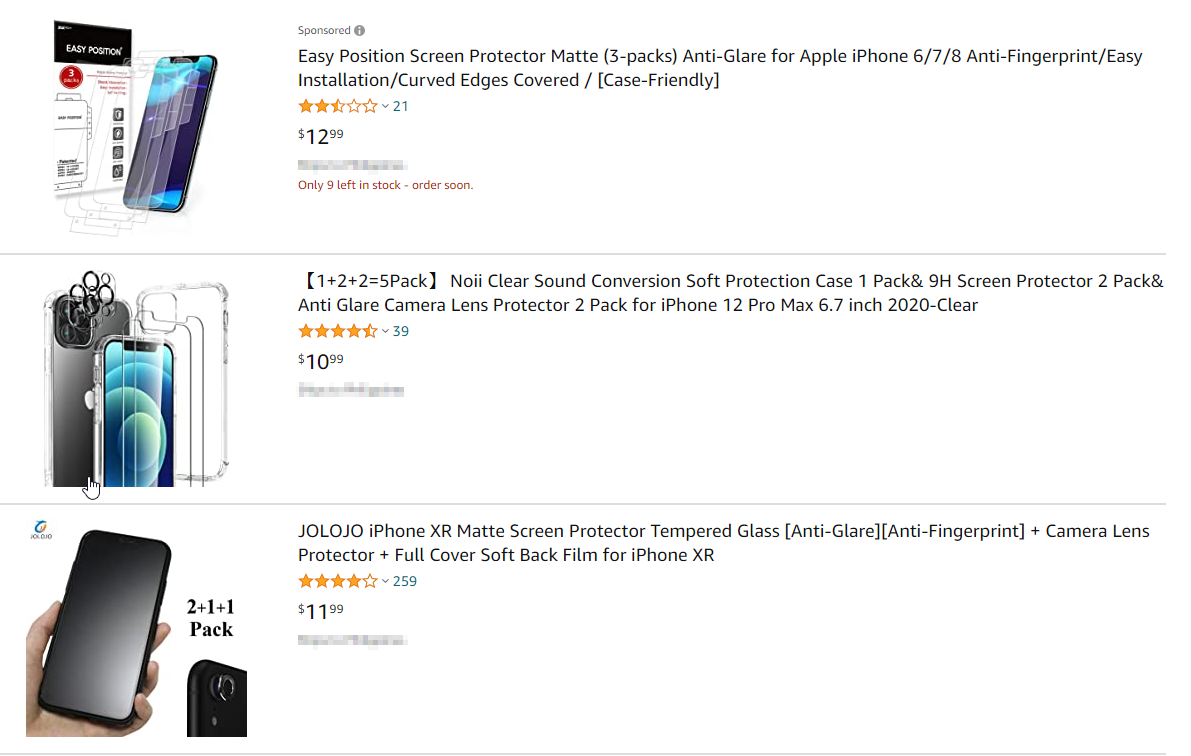
You can easily search for anti-glare or anti-reflective coatings on Amazon. However, if you do not know which to choose, you can try the ones you can find in any Apple stores, then you can have them installed by a professional.
4. Use A Photo Enhancement Application.
Like anti-glare coatings, using a photo enhancement application has been recommended by some affected users. Using a photo enhancement application allows you to edit or totally remove the lens flare in your captured images.

There are various photo enhancement applications in the App Store which you can choose from. Make sure that you check out the reviews to find out which is the most effective. Hopefully, this will resolve your issue, but if it doesn’t, try our next method.
5. Update iOS To The Latest Version.
Although this might seem like a hardware issue, Apple has not released an official statement on this yet, so it’s always recommended to update your iOS to the latest version. If it turns out to be a bug with iOS 14, there is a high probability that updating your iOS will resolve this issue.
As a prerequisite, ensure that you have connected your iPhone to a Wi-Fi network beforehand. In addition, having at least 50% battery life will prevent any kind of interruptions while you are downloading and installing the update.
Here’s how you can update your iOS to the latest version:
- Begin by opening up your iPhone’s Settings app.
- Next, select General and click Software Update to check for an update.
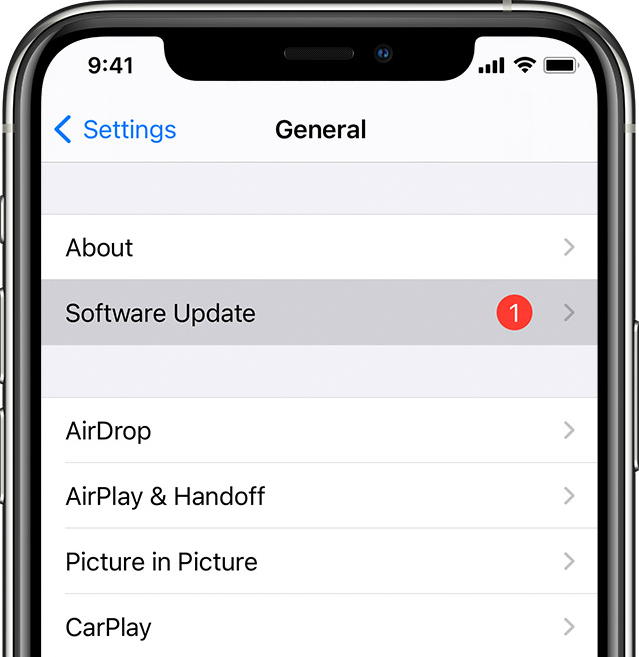
- Now, if an update shows up, select Install Now to begin the update. This will likely take a few minutes to an hour, depending on your network.
- Lastly, once the update has been completed, wait for a few minutes for your iPhone to automatically restart.
Now, you may observe if your iPhone 12 will still render the same issue. Fortunately, an update is all you need, but if not, we still got something up in our sleeves.
6. Use Dr. Fone.
Are you frustrated that your lens flare issue is still present? Do not panic as we’ve got the solution for you!
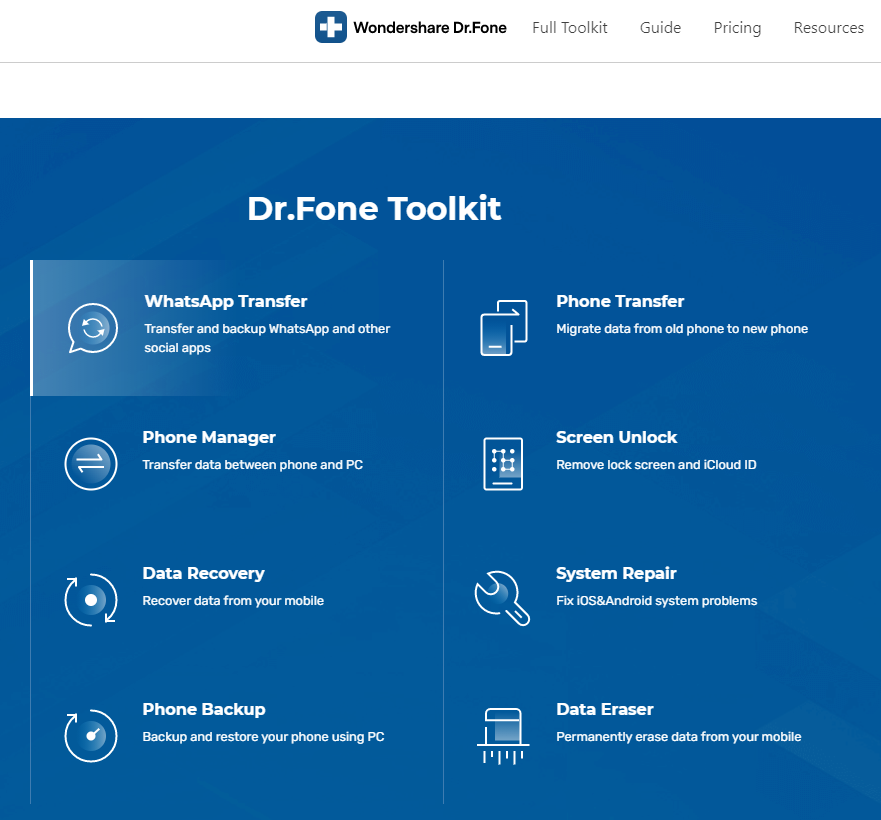
Introducing Dr. Fone’s ‘System Repair’ tool! This fixes a lot of iOS and even Android system issues. Even an issue such as lens flare is no match for this tool!
Moreover, you can also try out other Dr. Fone’s tools like ‘Screen Unlock’ for removing lock screen and iCloud ID, ‘Data Eraser’ for permanently erasing your data on your iPhone and ‘WhatsApp Transfer’ for transferring and backing up your data in WhatsApp and other social media applications.
Still not satisfied? Dr. Fone has 153.6 million downloads so far, with over 50,000,000+ Dr. Fone users around the world. That is surely something you cannot ignore.
Get it now and try it for yourself!
7. Get A Replacement.
Nonetheless, if you are still hesitant with trying out any of the previous methods in our list, you can go and visit your nearest Apple Store to have your iPhone checked by Apple-certified technicians. Though it is important to check your iPhone’s warranty options before doing so.
If you are still under warranty, good for you because you can choose to get a replacement as long as it has been approved. Hopefully, the replacement will not show the same issue, but when worse comes to worst, you can always try our previous suggestions.

This wraps up our article, but we hope that we’ve been able to be of some help to you. If you have any feedback for us, please make sure to comment below so we can see it.
If this guide helped you, please share it. 🙂
