

Want to know how you can fix the ‘iPhone is Disabled Connect to iTunes’ error?
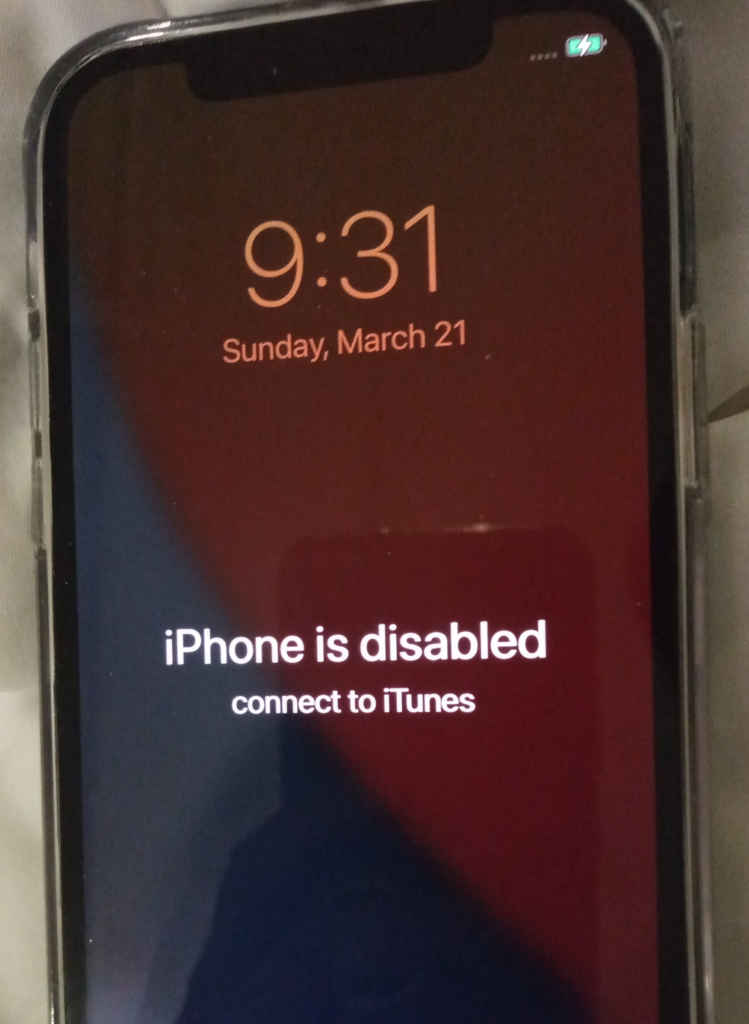
So you pull out your iPhone from your pocket to check your socials. However, you are greeted by an ‘iPhone is Disabled Connect to iTunes’ error.
This is one of the worst errors any iPhone user can encounter since it prevents them from accessing anything on their device.
Now, this is a security feature on iOS that allows users to lock their iPhones if they lost them or get stolen. But, it can be frustrating if you see this prompt even if you did not lock your iPhone.
In this guide, we will show you how to fix the ‘iPhone is Disabled Connect to iTunes’ error.
Let’s begin!
1. Wait It Out.
If you see a message on your iPhone that says ‘iPhone is disabled. Try again in __ minutes’, this is due to failed password attempts. To solve this, you don’t have to do anything but wait until your phone is unlocked.

However, if you accumulated 10 failed password attempts, you’ll need to unlock your device using iTunes.
Before fixing your device, we recommend that you perform a backup as the methods below can wipe your device’s storage.
2. Restore Using iTunes.
As the error message suggests, you’ll need to connect your iPhone to a computer with iTunes to unlock it. This is also the easiest approach to unlocking your device.
Prepare iTunes
To get started, you’ll need to ensure that you have a computer with iTunes installed. If you are using a Mac, the software comes pre-installed so you don’t have to worry about anything.
However, if you are using a Windows PC, you’ll need to get a copy of iTunes from Apple’s official website.
After downloading iTunes, head to the next step to continue.
Turn Off Your iPhone
The next thing you need to do is turn off your iPhone. If your device is plugged into your computer, disconnect it first.
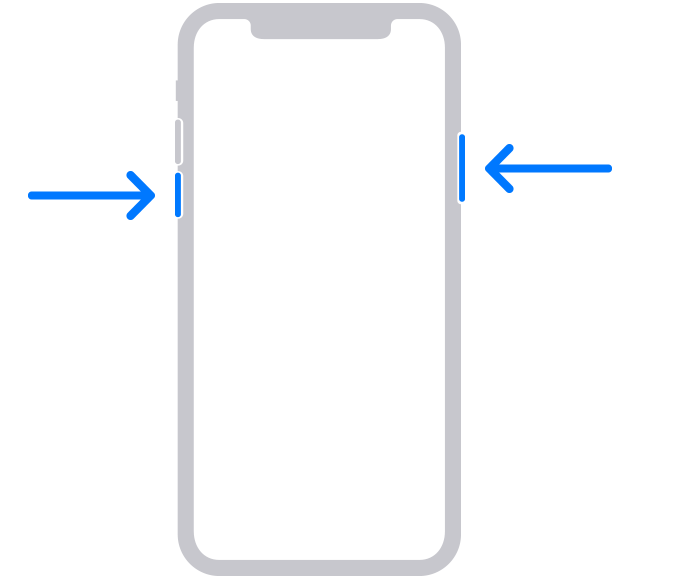
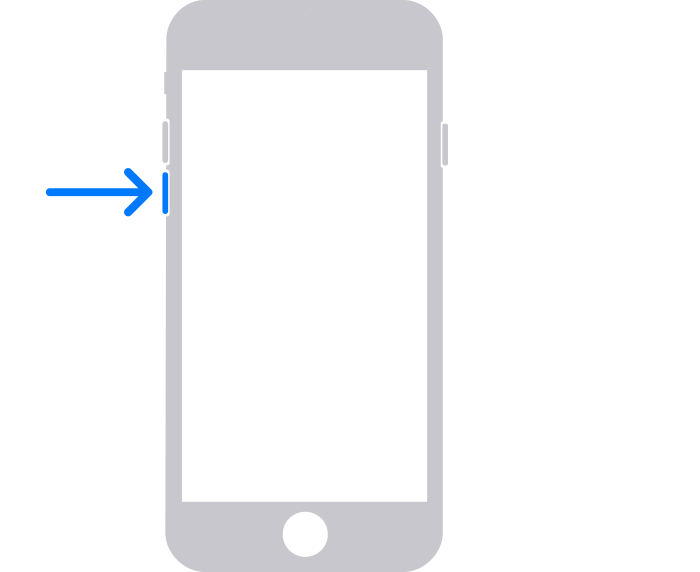
For iPhone X, 11, SE 2nd Gen, and 8:
- Locate the Side button and Volume button.
- Press and hold both buttons until the ‘Slide to Power Off’ screen appear.
- Drag the slider to the right until the screen turns black.
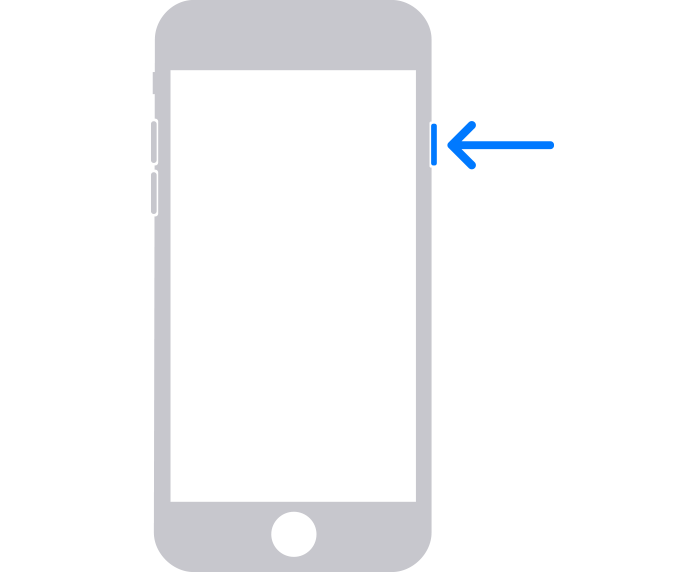
For iPhone 7 and earlier:
- Locate the Side button on your device.
- Press and hold the button until the ‘Slide to Power Off’ screen shows up.
- Move the slider to the right to turn off your device.
Wait for a few seconds to ensure that your device is turned off.
Put Your iPhone in Recovery Mode
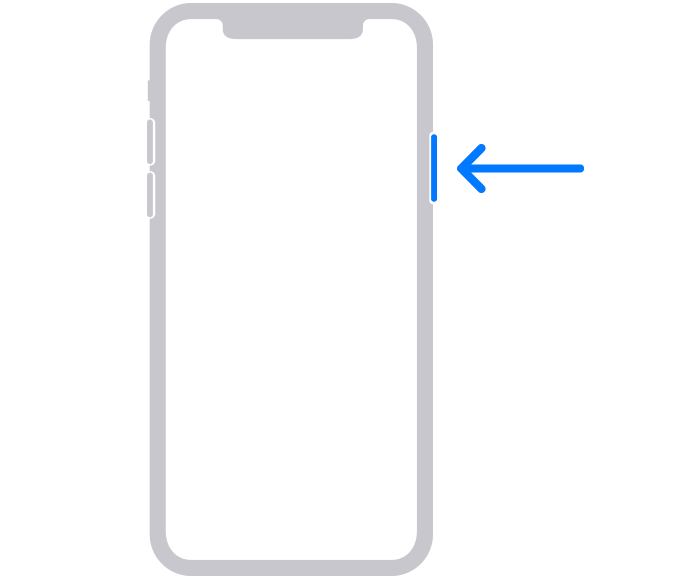
For iPhone 8, 8 Plus, X, and later:
- Ensure that your phone’s lightning cable is connected to your computer.
- Hold the Side button and immediately connect your device using the lightning cable.
- Continue holding the Side button until your device enters Recovery Mode.
For iPhone 7 and 7 Plus:
- Make sure your device’s lightning cable is connected to your computer.
- Press the Volume Down button and connect your device using the lightning cable.
- Hold down the Volume Down button until your iPhone enters Recovery Mode.
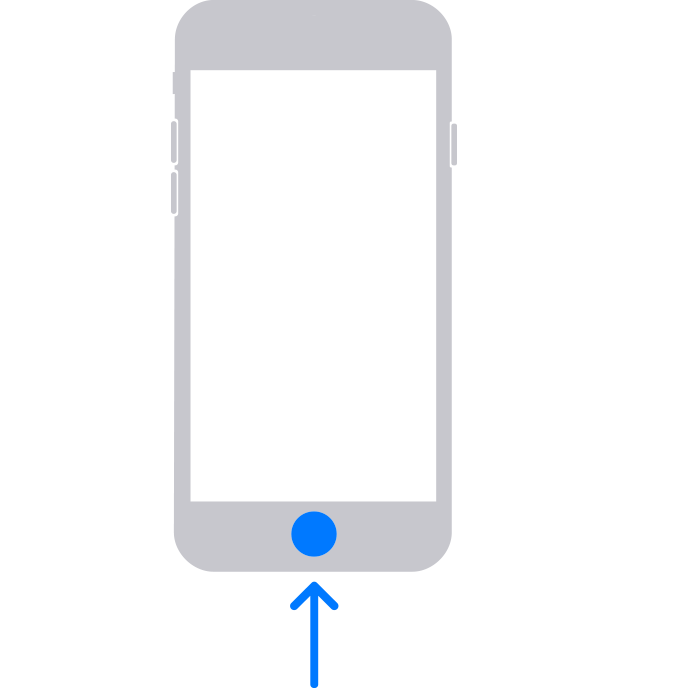
For iPhone SE, 6, and earlier:
- Connect your device’s power cable to your computer.
- Hold down the Home button and immediately connect the lightning cable to your iPhone.
- Continue pressing the Home button until your device enters Recovery Mode.
Restore Your iPhone
- Find your iPhone in the Finder or in iTunes if you are using a Windows PC.
- Next, click on it and a prompt should appear.
- Choose Restore when you are prompted to select between Restore and Update.
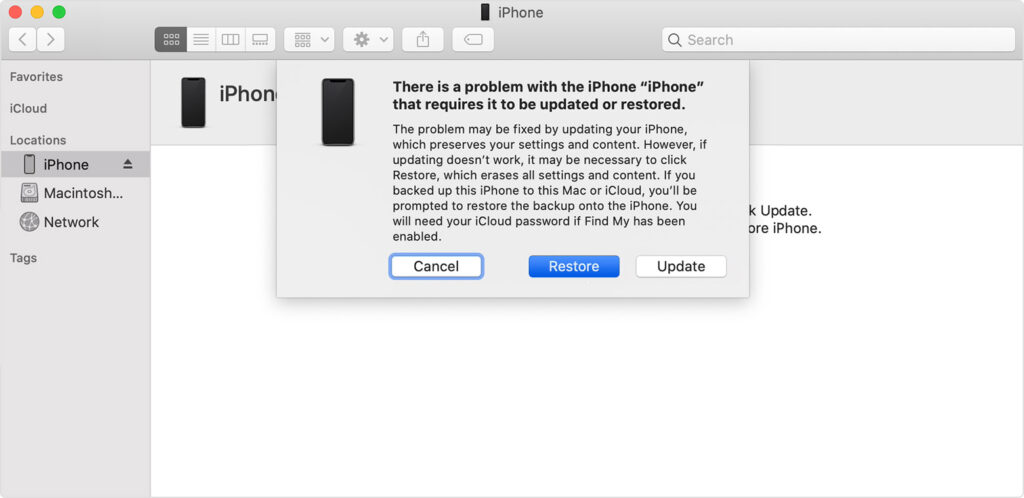
- Wait for your computer to download the software for your iPhone.
- Follow the on-screen prompts to restore your iPhone.
Once done, go through the initial setup to restore your data and your iPhone should now be unlocked.
Related: How to Fix Your Apple Account Has Been Disabled from iTunes and App Store
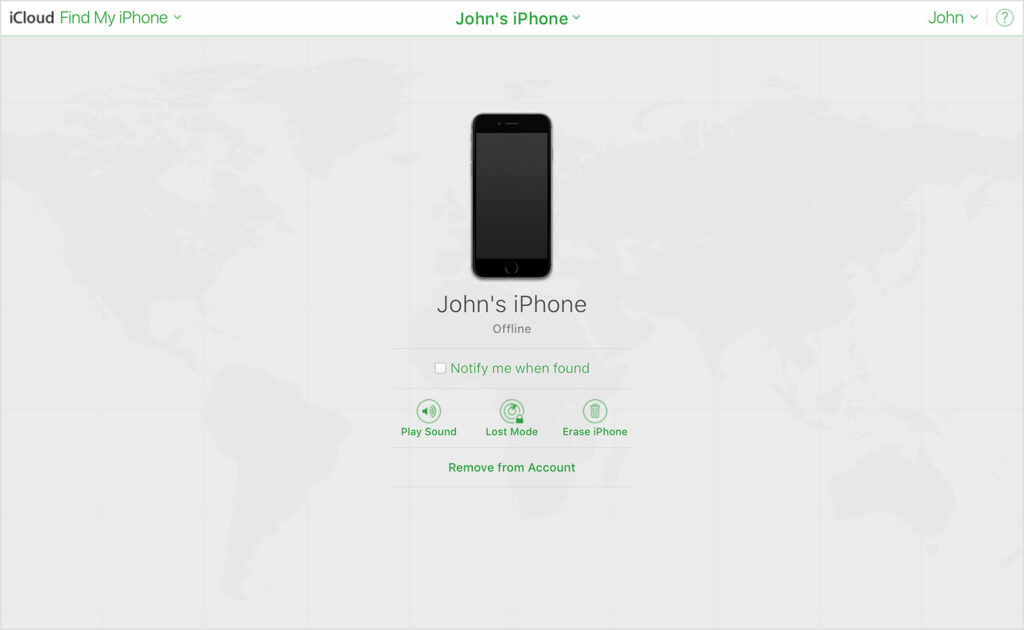
3. Use iCloud to Reclaim Your Disabled iPhone.
This is another method to get around the ‘iPhone is Disabled Connect to iTunes’ error. However, you can only use this process if you have set up Find My iPhone on your device. This will also erase your data so it’s recommended that you perform a backup first.
After creating a backup, follow the steps below to recover your device:
- Go ahead and visit iCloud’s official website.
- Next, log in to your account.
- Look over the devices you have and select your iPhone.
- Choose the Erase this iPhone option.
- Finally, confirm your action by clicking Erase.
If prompted, enter your Apple ID and password. Once done, your iPhone should now be empty and you’ll have to set it up as a new device.
Restore the backup you’ve created afterward to get all your data back.
4. Use iTunes Backup.
If you still encounter the ‘iPhone is Disabled Connect to iTunes’ error, you can try restoring your device using a previous backup.
Here’s what you need to do:
- Connect your iPhone to your computer using the lightning cable.
- Launch iTunes.
- On the top-left corner of the window, click on your device’s icon.
- Now, choose the Back Up option from the dropdown menu.
- You’ll be prompted with an ‘iPhone is locked with a passcode’ message. Enter your passcode to continue.
Disconnect your iPhone from your computer afterward and see if it is now unlocked. If not, head to the next solution.
Related: How to Fix iTunes Error Code 3194
5. Contact Apple Support.
If none of the solutions above worked, we suggest that you let the professionals handle the situation.
Visit Apple’s support page using any browser. Contact their team to report the issue you’ve been experiencing on your device. When asking for help, make sure to include a screenshot of the error, your Apple ID, and the model of your iPhone.

This should make it easier for Apple’s team to provide you with the best possible solution. Depending on the situation, they can also instruct you to visit the nearest Apple Store to have your device checked by a professional.
While waiting for a response, you can also check the other guides on their page and see if you can find viable solutions.
If this guide helped you, please share it.