

Can’t figure out why your iPhone is not connecting to a known Wi-Fi network?
Your iPhone should automatically connect to a known wireless network when it’s in range.
However, this is not the case for many iPhone users who encounter problems connecting to their Wi-Fi.
There are various reasons why your iPhone won’t connect to Wi-Fi. It can be due to incorrect network configurations, outdated software, or faulty hardware.
Today, we’ll show you what to do if your iPhone is not connecting to a known Wi-Fi network.
Let’s jump right in!
1. Check Your Reception & Network.
Like any wireless technology, Wi-Fi has limitations when it comes to the range where you can connect.
By default, Wi-Fi can reach up to 50 meters in an open space. But since your house has walls, doors, and other obstacles, signals can degrade by 25% or more.
Due to this, we suggest that you only stay up 10 to 15 meters away from your Wi-Fi router for a stable connection.
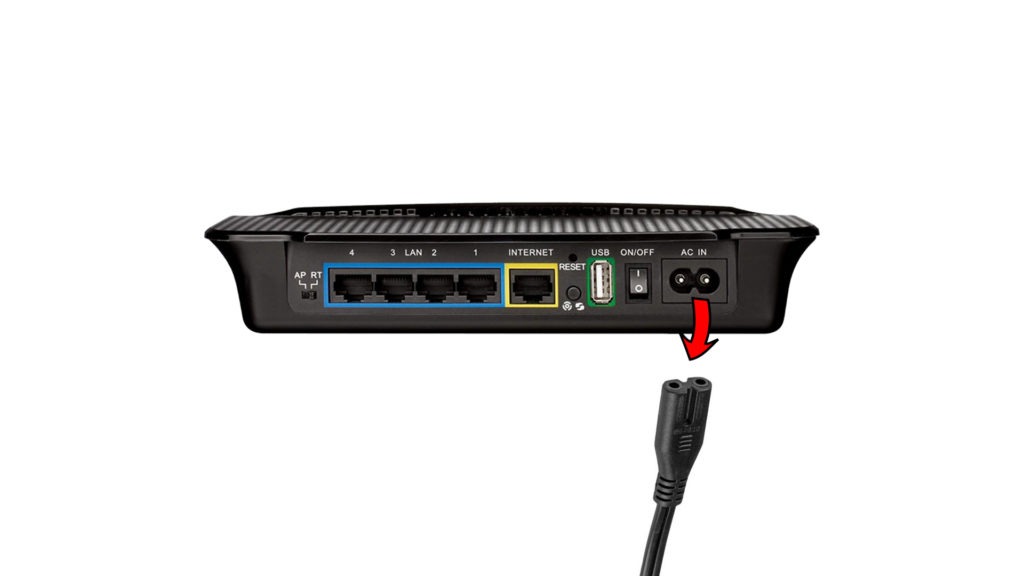
You can also try power cycling your router/modem to ensure that nothing’s wrong with it.
- Unplug your router from the outlet.
- Wait for 5 to 10 seconds.
- Reconnect the power cable to the outlet.
Try connecting to your Wi-Fi afterward to see if restarting your router helped.
2. Check Your Radio Settings.
Before tweaking your device, try to check if your radio settings are properly set. This includes your Wi-Fi, Bluetooth, and Airplane mode.
Airplane mode disabled all wireless connections on your device including Wi-Fi. If Wi-Fi is turned off on your iPhone, then it won;’t be able to detect your wireless network.
Meanwhile, Bluetooth can interfere with your Wi-Fi’s signal, preventing your iPhone from establishing a connection.
Here’s what you need to do:
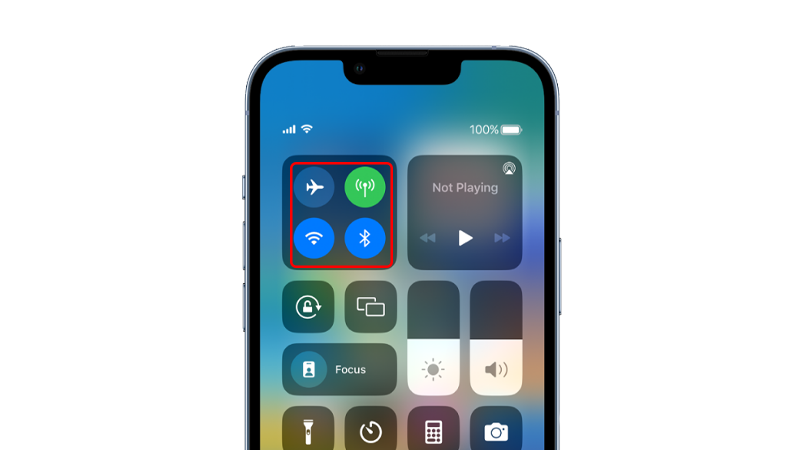
- First, swipe downwards from the bottom of your screen to access the Control Center.
- Look for the Airplane Mode and ensure that it is disabled.
- Tap on Wi-Fi to enable it. (Icon should turn Blue)
- Lastly, tap the Bluetooth icon to disable it. (Icon should turn Gray/White)
Once done, connect to a known wireless network to check if the problem is solved.
3. Disable Wireless Networking in Location Services.
Your iPhone can use location services to improve your Wi-Fi, Bluetooth, and Ultra-Wideband performance.
But this can also cause problems if your iPhone gets enough reception from your wireless network.
If you don’t need this feature, try turning it off to see if the issue gets fixed.
- Launch Settings on your iPhone.
- Now, go to Privacy & Security > Location Services.
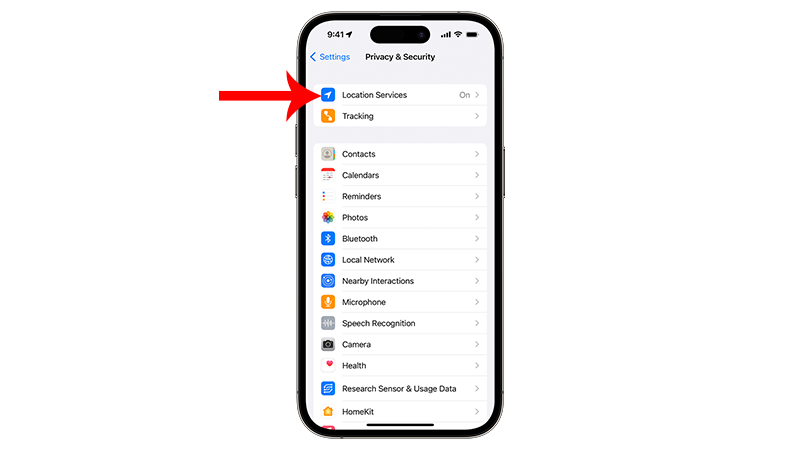
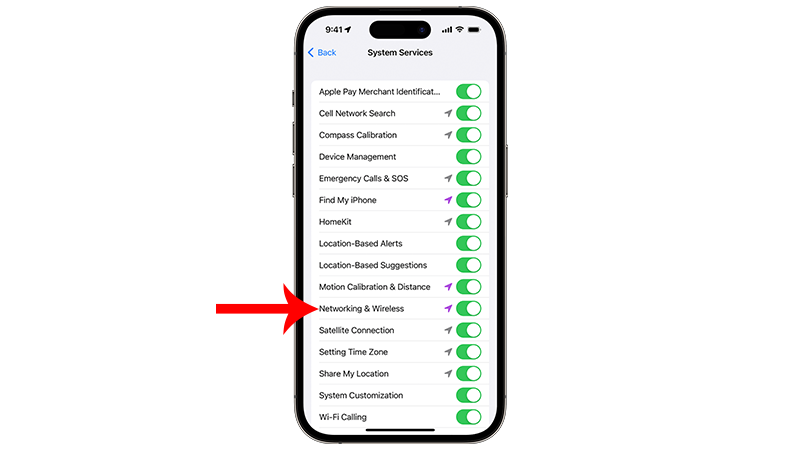
- Scroll down and tap on System Services.
- Find Networking & Wireless from the list and turn it off.
Connect to a known wireless network afterward to see if the problem is solved.
4. Forget The Network.
If you can join new wireless networks without problems, you can bypass the issue by forgetting your known network.
However, this can be a hassle since you’ll need to do this process everything you need to reconnect to your network.
Nonetheless, it is an effective workaround for the problem.
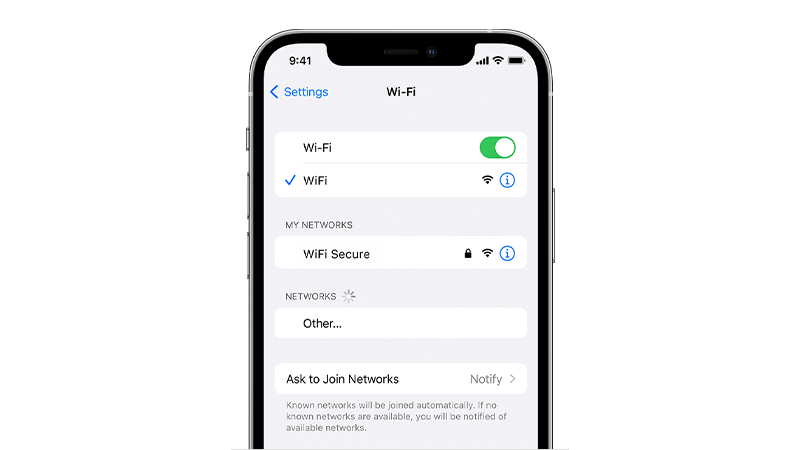
- Go to Settings on your iPhone.
- Tap on Wi-Fi and find the wireless network you want to forget.
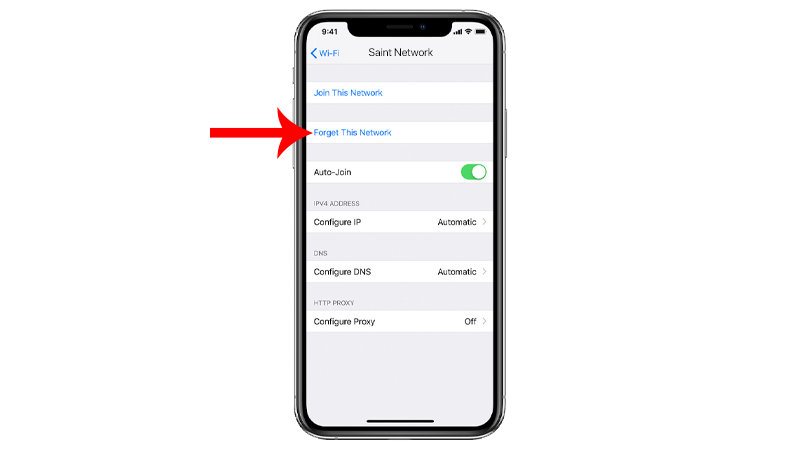
- Now, tap the (i) icon next to the network to open its settings.
- Tap on Forget This Network and follow the prompts.
Once done, go back to the previous page and see if you can now connect to your wireless network.
5. Restart Your iPhone.
If your iPhone is still not connecting to known Wi-Fi networks, try restarting it.
A temporary bug or glitch may have occurred on your iPhone, causing some features to malfunction.
Restarting your device should reload system resources and resolve any errors. This also clears corrupted data from the system memory.
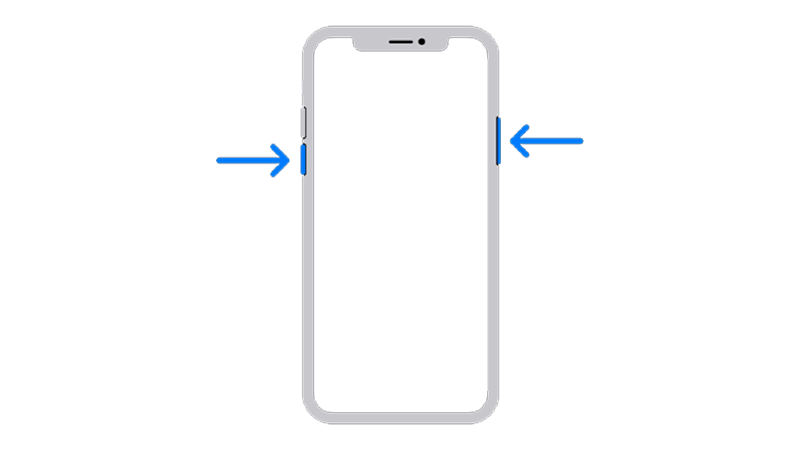
If you are using an iPhone X, 11, 12, 13, 14, or later, here’s what you need to do:
- Hold down the Volume Down button and Side button until the ‘Slide to Power Off’ prompt appears.
- Now, drag the slider to the right and wait for 30 seconds.
- Press the Side button afterward to turn on your device.
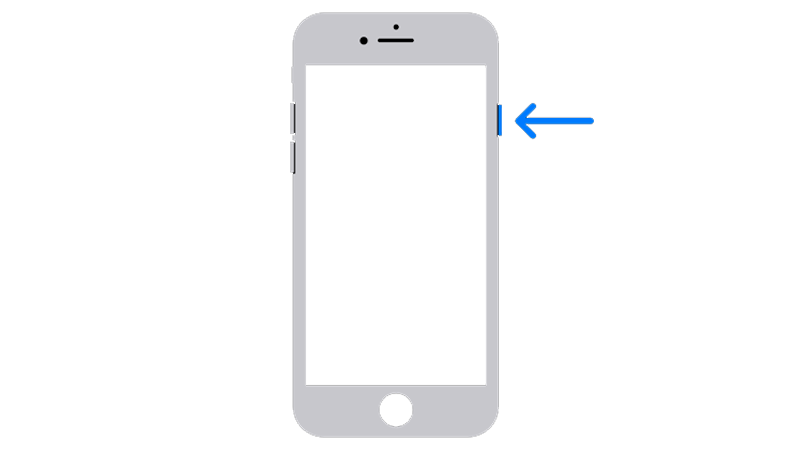
For older models, follow the steps below:
- Locate the Power button on your device.
- Now, hold the button until the ‘Slide to Power Off’ prompt shows up.
- Drag the slider to the right and wait 30 seconds before turning on your device.
Try connecting to your network afterward to check if the problem is solved.
6. Update Your iPhone.
The version of iOS you’re using might have an underlying issue that is related to Wi-Fi.
To rule this out, check if there are available updates for your iPhone and install them to patch errors and other issues.
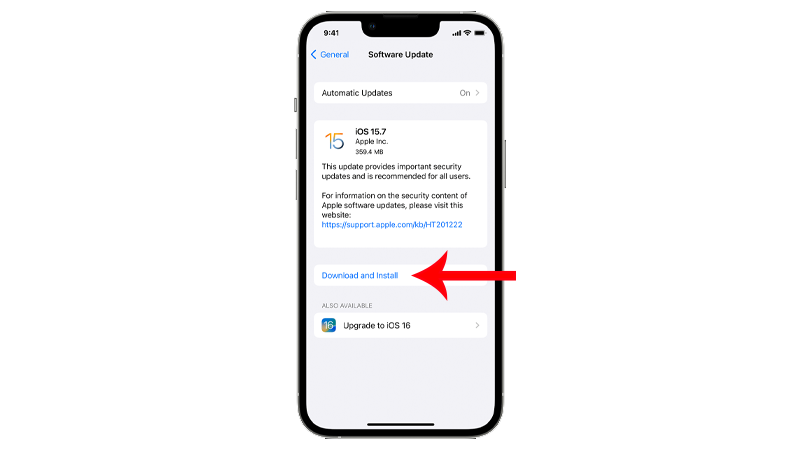
Here’s how you can update your iPhone:
- Open Settings on your iPhone.
- Navigate to General > Software Update.
- If there’s a new iOS version available, tap Download and Install.
- Once the new software is ready, follow the prompts to install the update.
Note
- Your device can restart several times while installing the update.
- Make sure that your iPhone has at least 50% battery before installing updates. It’s best to keep your device plugged into the wall charger to avoid interruptions.
- Allow at least 15 minutes for the update to install, especially if it’s a major update (iOS 14 to iOS 15).
Reconnect to a known wireless network afterward to see if the update fixed the issue.
7. Reset Network Settings.
If you still encounter problems connecting to a known wireless network, try resetting your network settings.
This should ensure that there are no conflicts with your iPhone’s configurations that prevent it from connecting to a network.
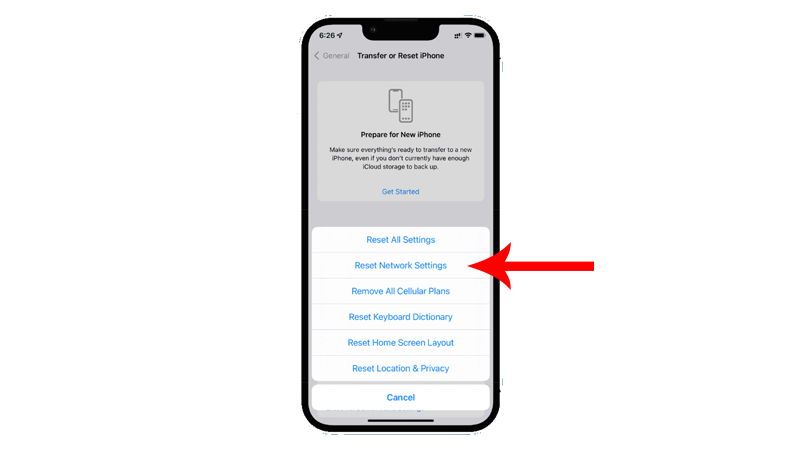
Follow the steps below to reset your network settings:
- On your iPhone, go to the main menu and open Settings.
- Now, tap on General.
- Look for Transfer or Reset iPhone and tap on it.
- Tap the Reset option and select Reset Network Settings.
- Follow the prompts to continue.
Note
- Your iPhone will immediately restart upon resetting your network configurations.
- It may appear to be stuck in the Apple logo. Wait for the process to complete, which usually takes 5 to 10 minutes.
Proceed to the next solution if resetting your network settings did not work.
8. Contact Apple Support.
At this point, we suggest that you leave the matter to the professionals.
Visit Apple’s support page and look up the issue you’re experiencing. Apple’s website should suggest some solutions for the issue along with related articles.
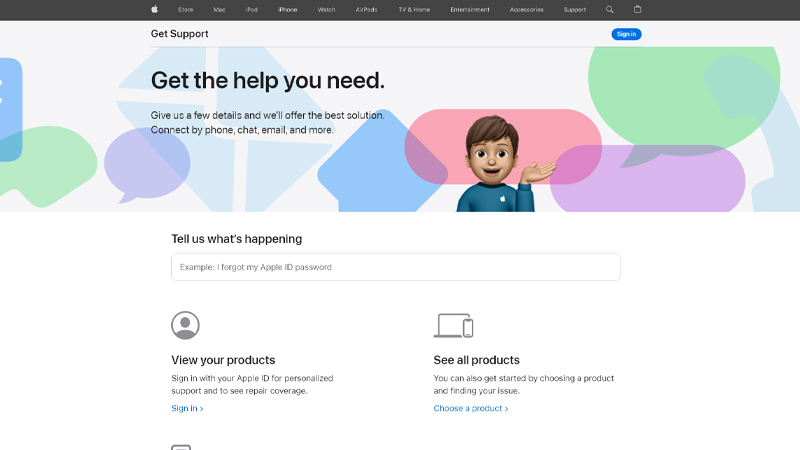
If you can’t find any solution that works, you can get in touch with their team through phone or chat for further assistance.
That ends our guide for fixing your iPhone if it’s not connecting to known Wi-Fi networks. If you have questions, drop a comment below, and we’ll do our best to answer them.