

Want to make a picture clearer on iPhone to enhance your photographs?
Photographs allow you to capture unforgettable moments and keep their visual proof with you for the rest of your life. And iPhone cameras, in this case, are a modern miracle. With most of the professional settings built-in, you can easily take high-quality photos without investing extra bucks on a DSLR camera.
While most parameters are automatically adjusted, you can alter them to match your preferences. However, certain areas of the images may get blurred occasionally. As a result, you may need to apply some touch-ups, just like any other professional photographer.
This is why we bring you this guide that contains all the information you need to make a picture clearer on iPhone. We’ll walk you through several embedded camera settings along with multiple applications that will assist you in the process.
So without further delay, let’s get started right away!
1. Adjust Camera Settings.
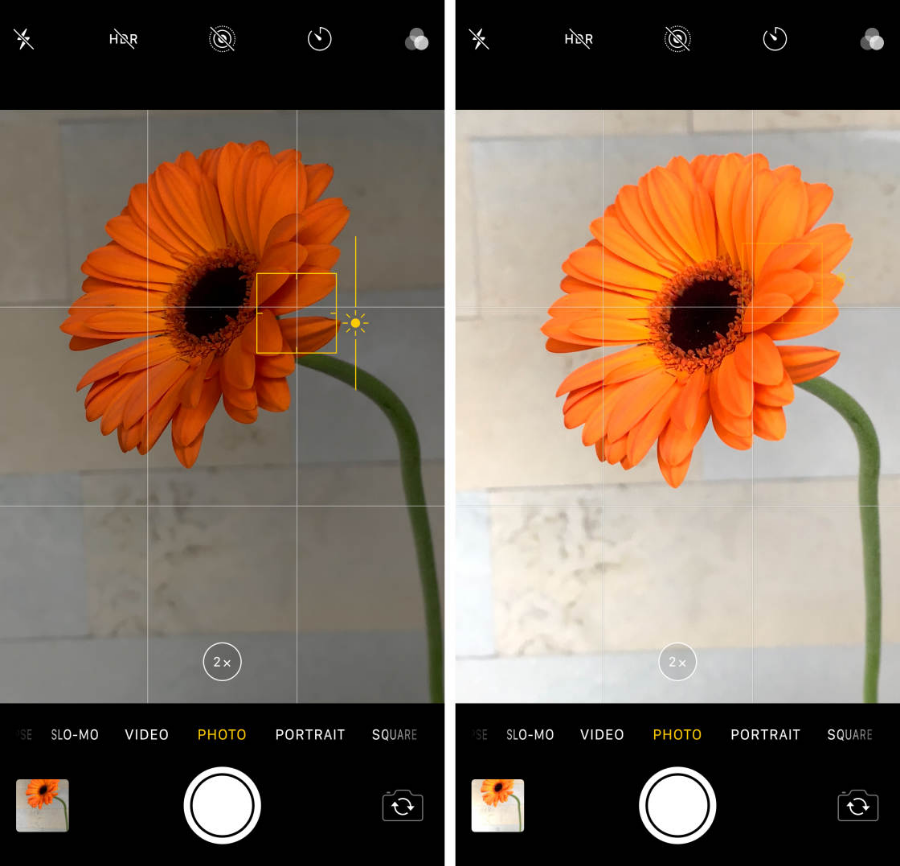
Many people believe their iPhone can adjust all the settings on its own. However, that’s not entirely true. Sometimes, you need to manually adjust focus, exposure, etc., to get the perfect shot you desire.
By default, the iPhone camera will try to focus on as many objects as possible. This sometimes leaves your main subject unfocused. To fix this, simply tap on the screen where your subject lies. This will automatically adjust the focus, leaving you with satisfactory results.
2. With Apple Photos.
The previous method was about adding focus on photos you’re yet to take. But what if you already took a picture and later realized it was a bit blurred? Well, in post editing, you can fix that easily.
Luckily Apple also offers in-built features that let you edit pictures and get the desired outcomes. Here’s how you can do it:
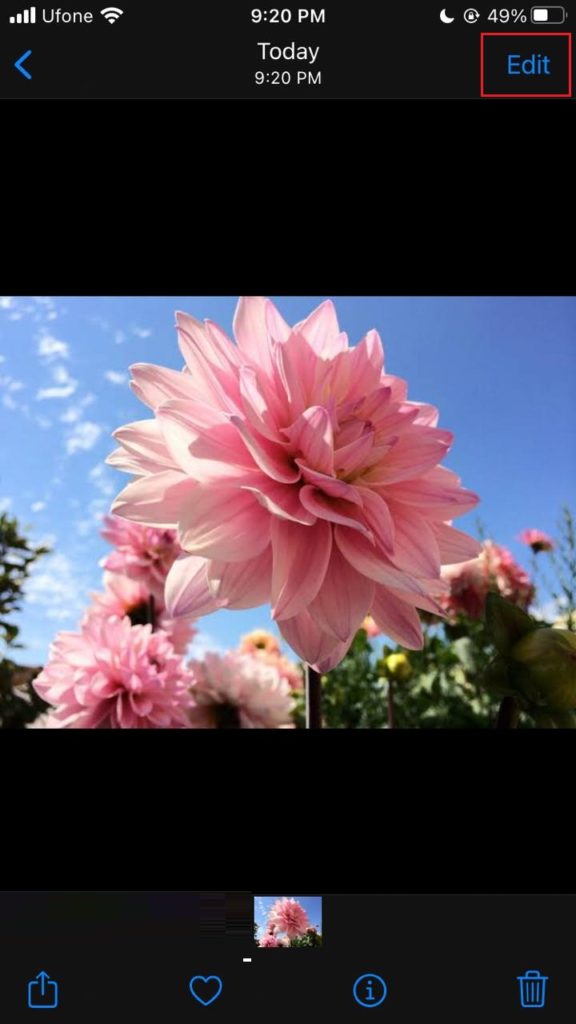
- Begin by launching the Photos app and selecting the image you want to edit.
- Then, tap on the Edit button at the top right corner.
- From the bottom, scroll through the set of tools and choose Sharpness.
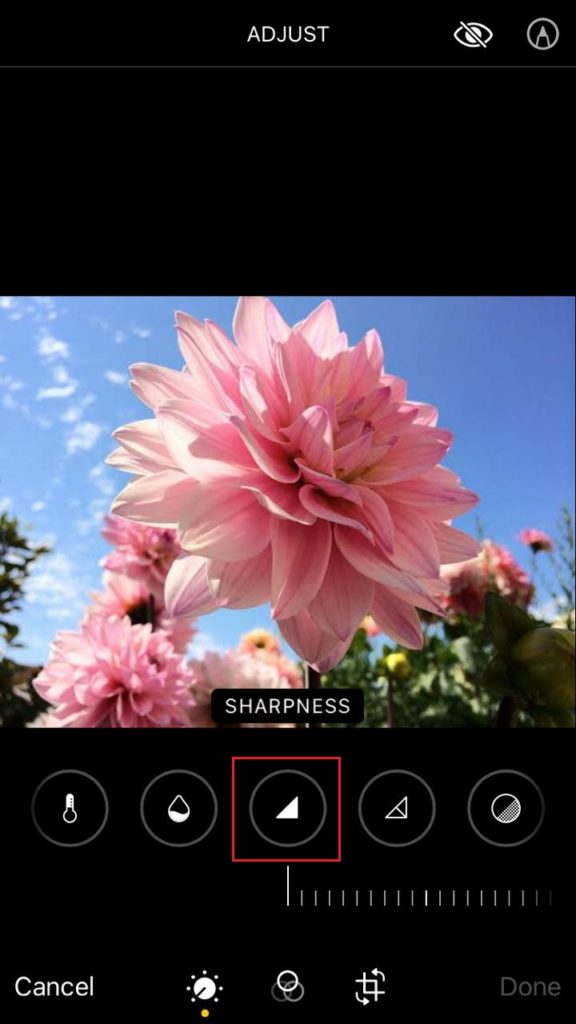
- Use the slider below it to adjust the sharpness.
- Now move to Definition and again use the slider to change it.

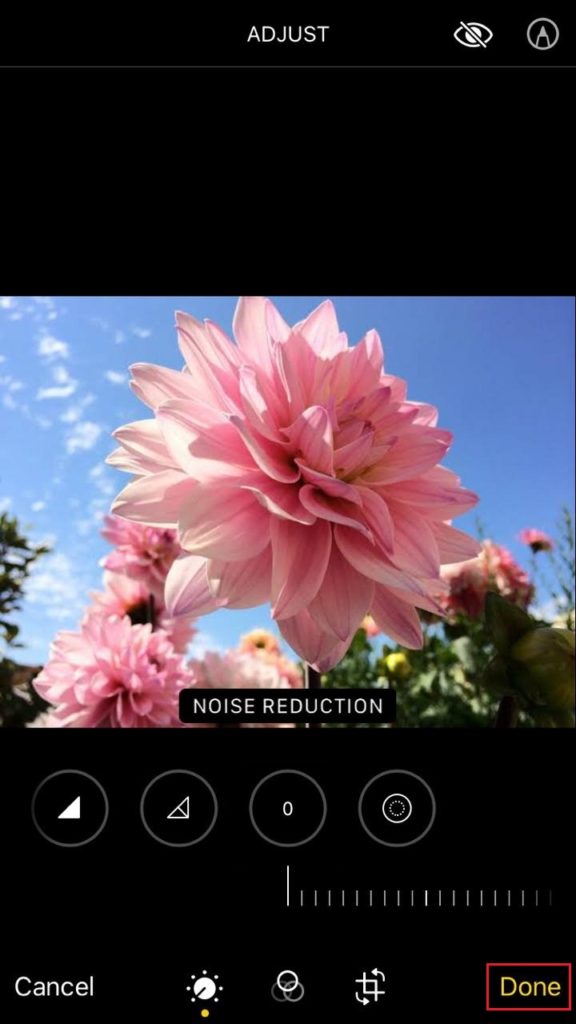
- Lastly, go to Noise Reduction and adjust that with the slider as well.

- If needed, switch between the three tools to obtain the desired results.
- Tap Done to save the settings.
3. With Snapseed.
If you’re not satisfied with the default edit features of iPhones, there are countless third-party apps on the App Store for this purpose. If you’re at a beginner level, your best shot would be Snapseed. It has a simple user interface and easy-to-use editing options.
Here’s how to make a picture clearer on iPhone using Snapseed:
- Firstly, download the Snapseed app on your iPhone.
- Once done, launch the application.
- Tap on the screen with the + sign to add the photo.

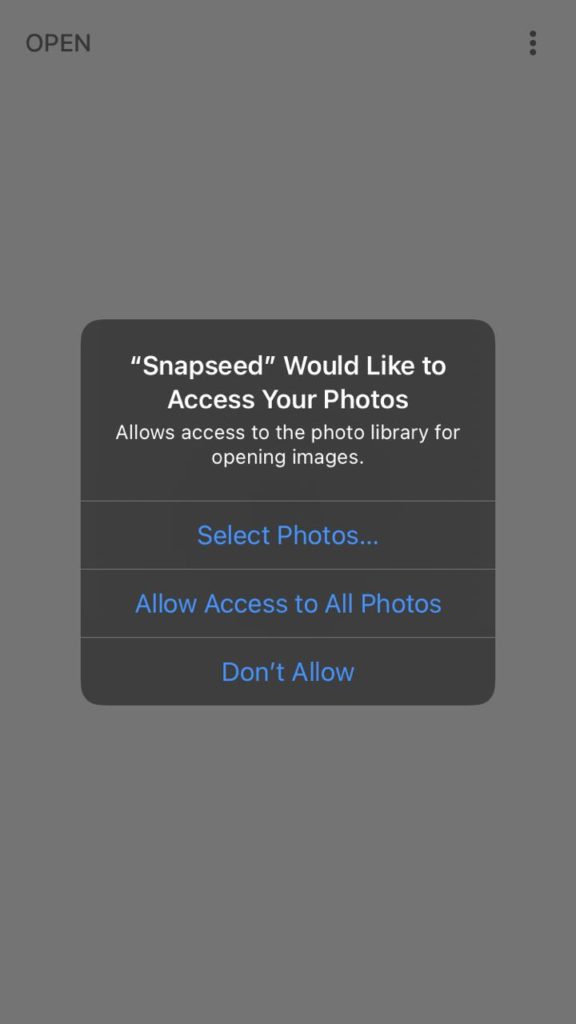
- Grant the application access to your photos.
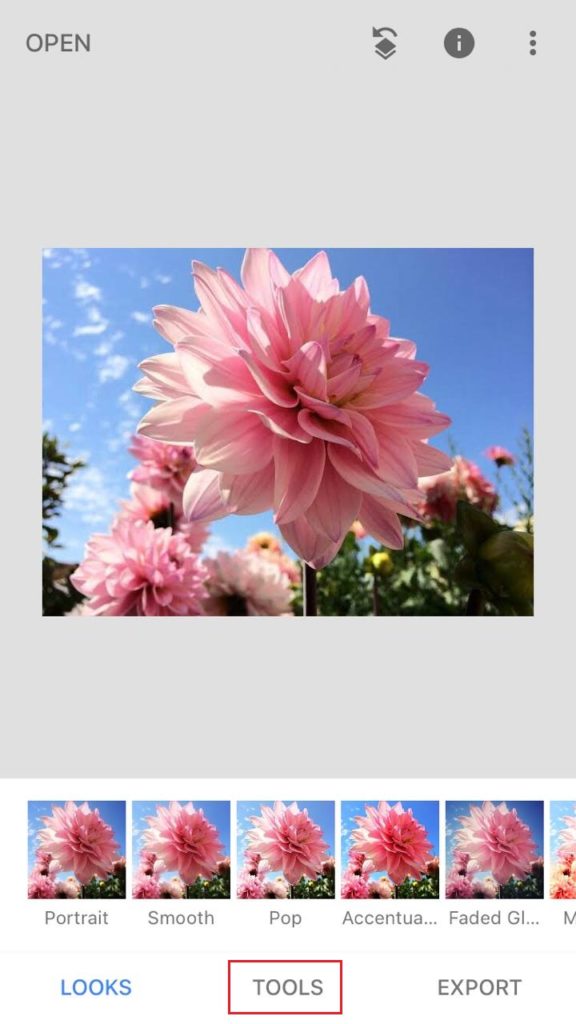
- Next, go to the Tools tab from the bottom.
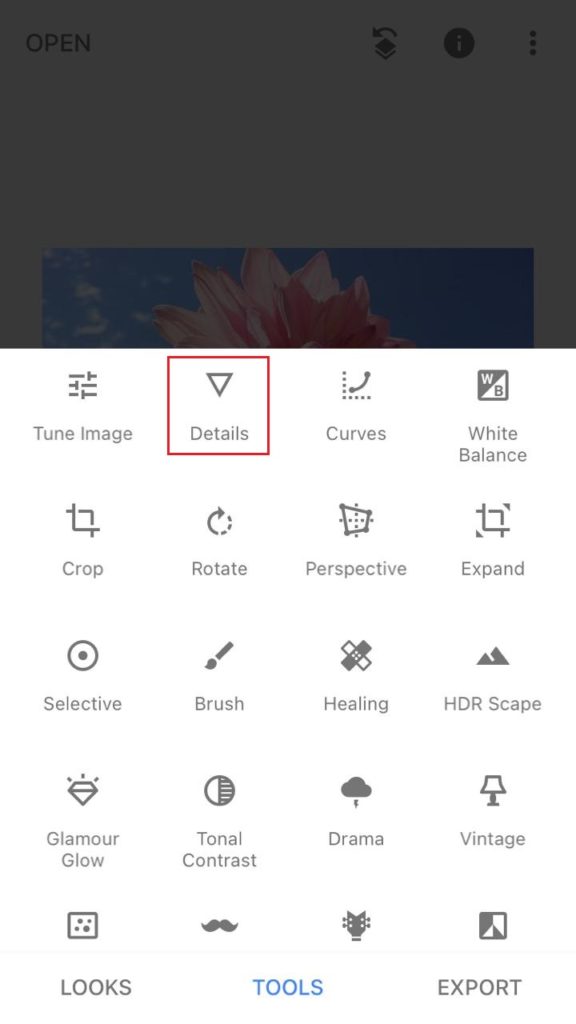
- From the menu, choose Details.
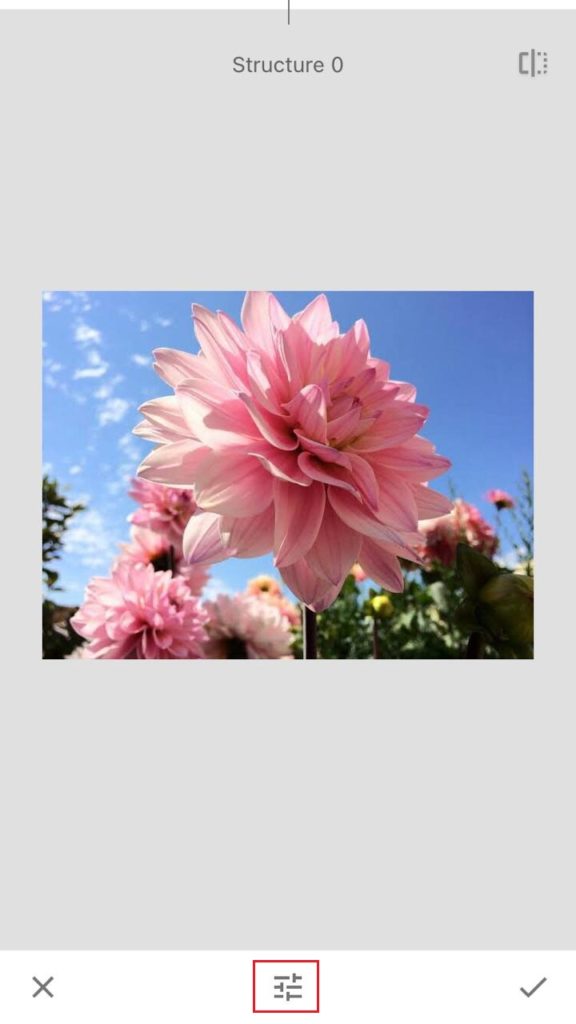
- First, adjust the structure by using the slider at the top.
- After that, tap on the Options icon at the bottom.
- Select Sharpening.
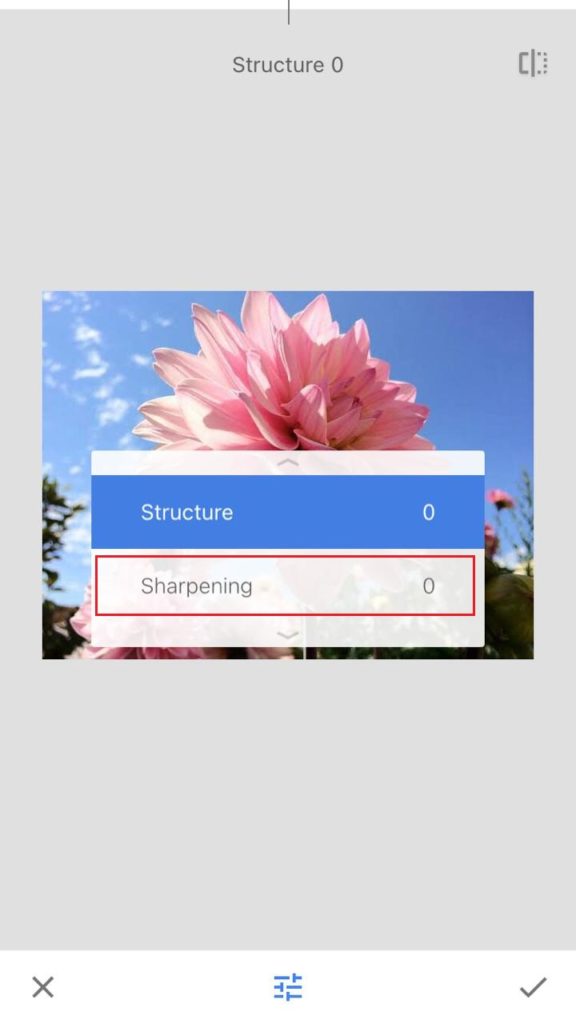
- Again use the slider at the top to adjust the sharpness of the photo.
- When done, tap on the Checkmark icon.

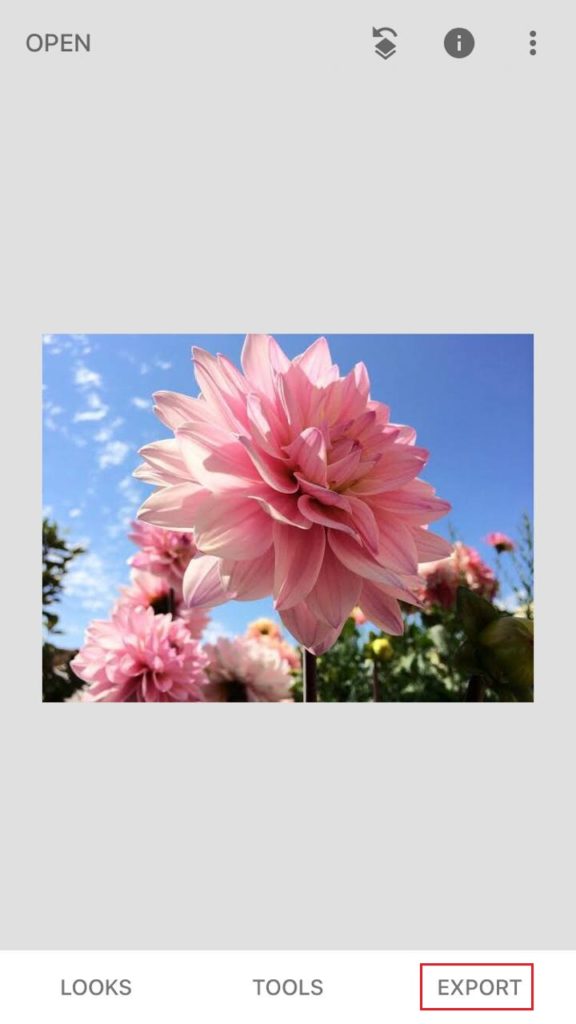
- Then, tap on Export and select from the options to save the edited image.
4. With Adobe Lightroom.
If you want to go for a little professional effect but with less complicated editing options, Lightroom is the way to go. It is developed by Adobe, and the application for iPhone is free on the App Store.
Below are the steps you must follow:
- To start, download Lightroom on your device and launch it when done.
- Tap on the Add Photo icon.
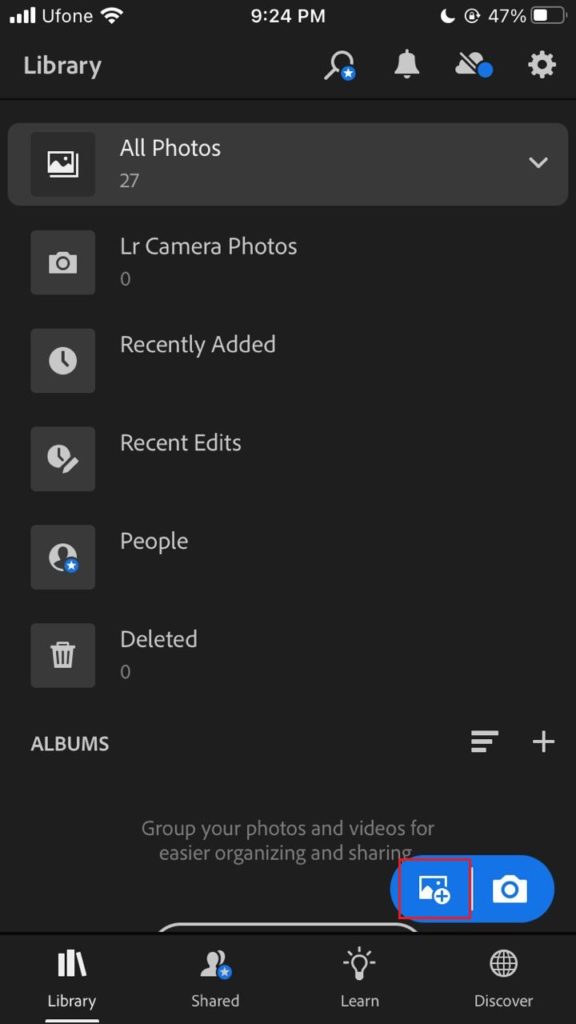
- Sign in the app if this is your first time using it.
- Choose the location of the photo and grant access when prompted.
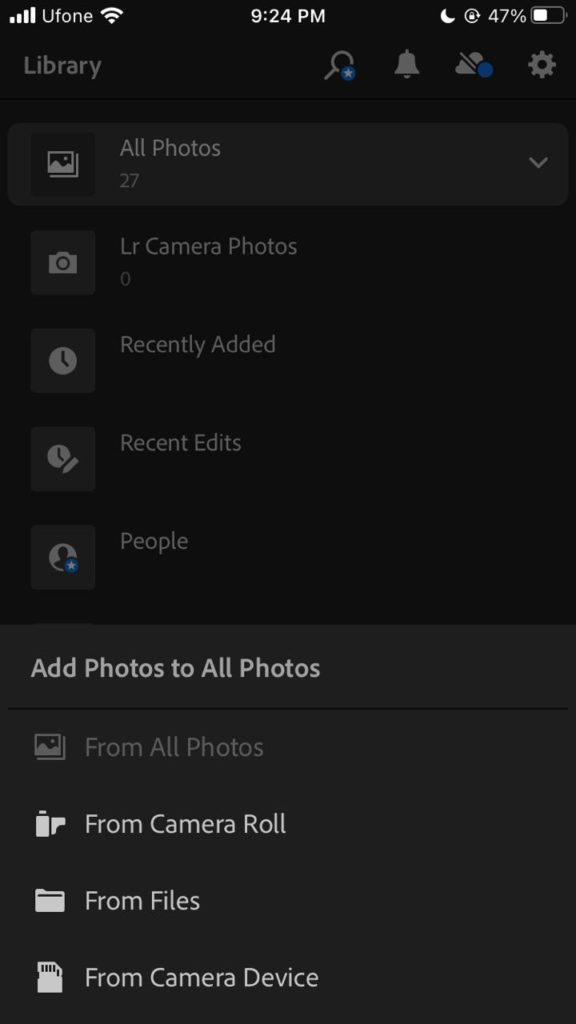
- Once given access, select the picture you wish to edit and tap on Add. This will import the image to Lightroom.
- Now tap on All Photos and select the picture.
- Go to Detail from the bottom.
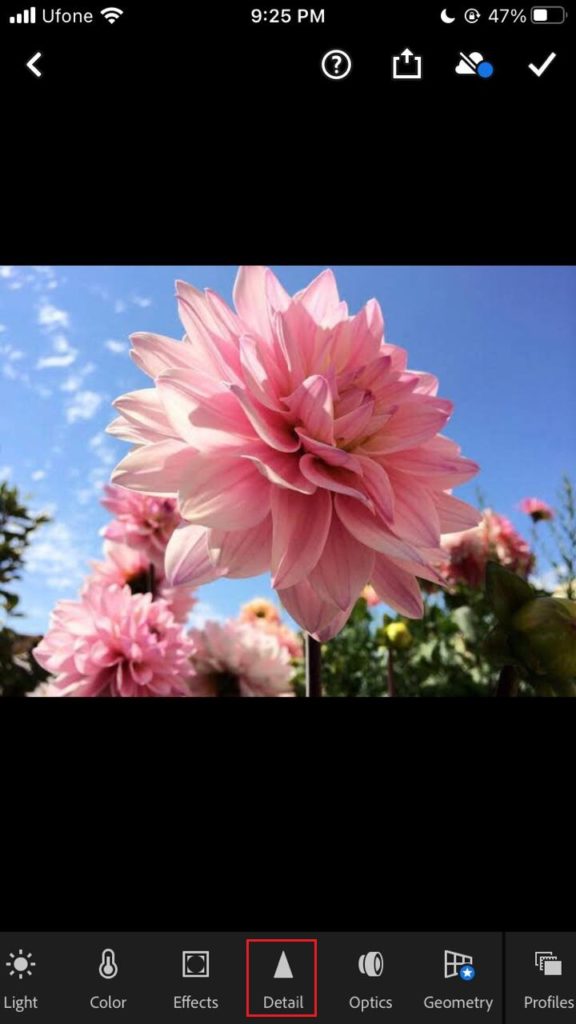
- Then, use the sliders for different settings to adjust the effects on the image.
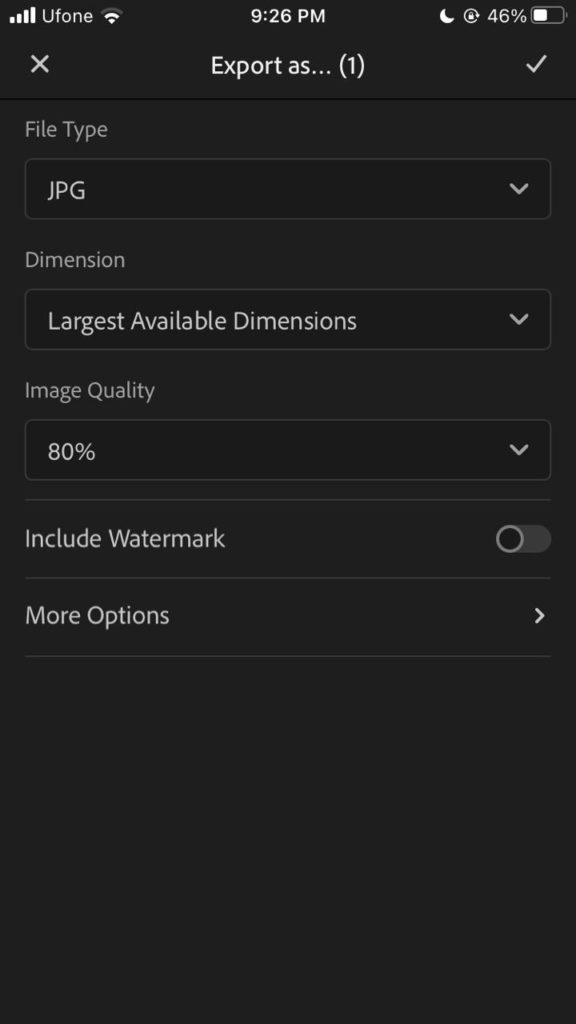
- Tap on the Export icon at the top when done.
- From the options, select Export as.
- Adjust the options that appear and choose how and where you would like to export the edited picture.
5. With Adobe Photoshop.
An advanced version of Adobe Lightroom is Adobe Photoshop. Developed by the same company, Photoshop aims for a more flawless effect on your photos with advanced editing options. To use the application, you need to get familiar with the interface. Photoshop also has a free version on the App Store for iPhone users.
Here’s how to make a picture clearer on iPhone using Photoshop:
- To begin, download the Photoshop app for iPhone and launch it.
- Hit OK, then grant the app access to your Photos.
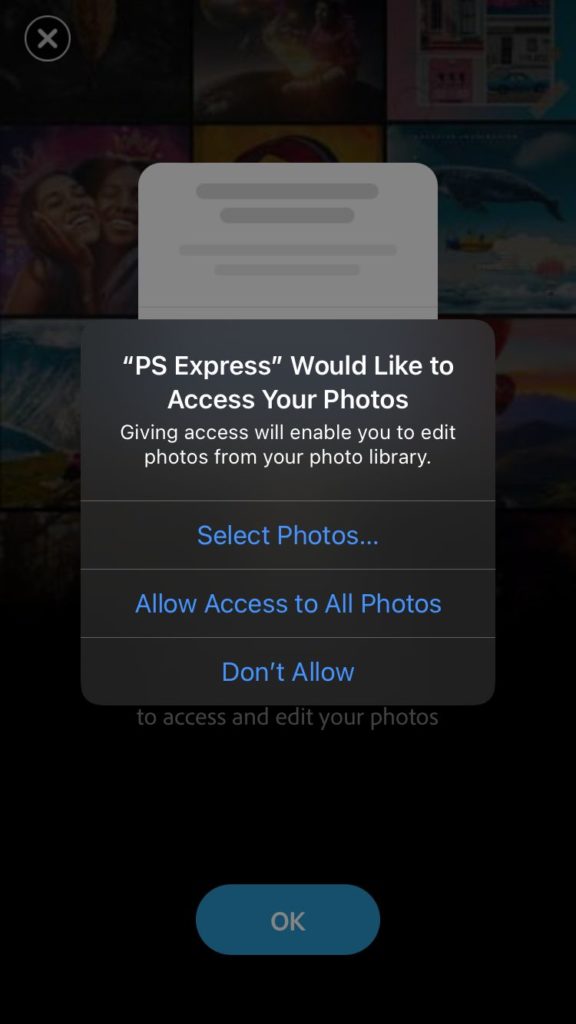
- Now, choose the photo you’d like to edit.
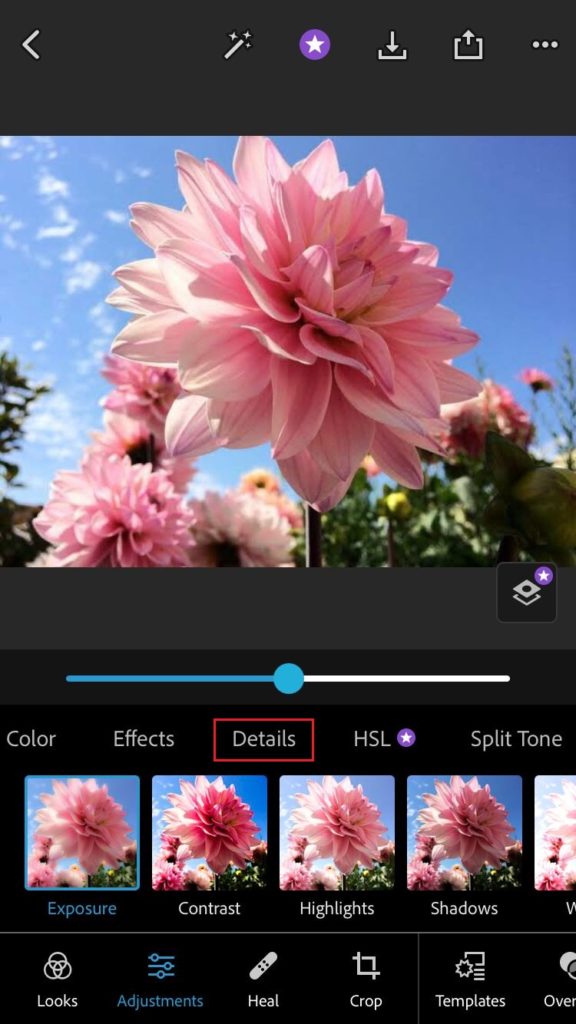
- Go to Adjustments from the bottom of your screen.
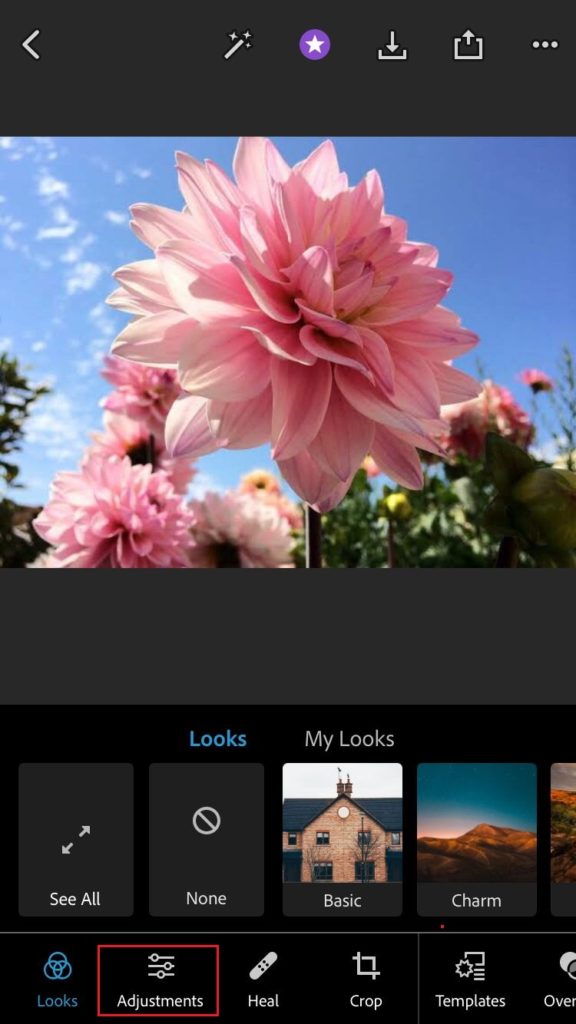
- Then, select Details.
- Now tap on Sharpness and adjust it using the slider.
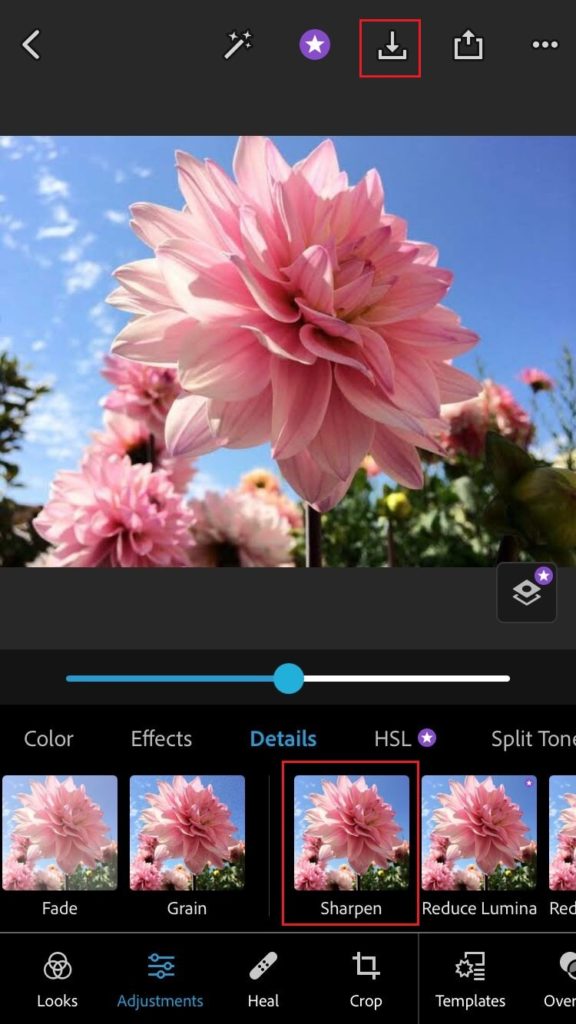
- Next, choose Reduce Lumia and change that as well with the slider.

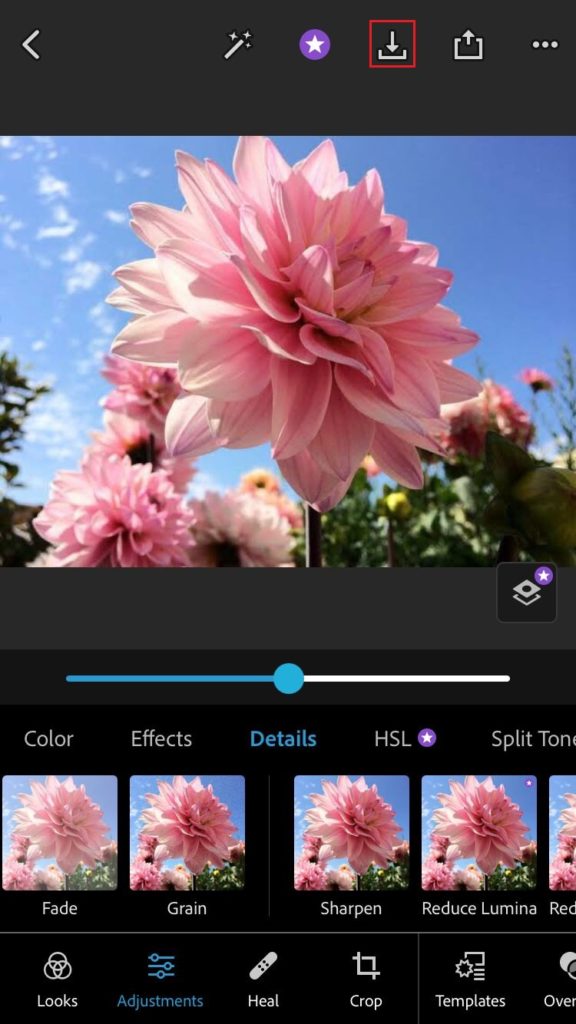
- Once satisfied, tap on the Download icon at the top to save the picture on your device.
6. Other Third-Party Apps.
The mentioned applications were some of the more widely used applications with the highest ratings and great user feedback. However, there are also other alternatives. For many, the settings may seem a bit complicated. But don’t worry, as the App Store is filled with several photo editing software.
Some popular alternatives to the apps mentioned above include Afterlight, VSCO, PhotoLeap, Focos, Peachy, Pixelmator, Darkroom, and more. They are similar to use with comparable results.
Just remember that to clear pictures, you need to adjust the detailing on the photo, sharpness, definition, and also noise reduction, which is a side effect of adding sharpness to the image.
This brings us to the conclusion of our guide on how to make a picture clearer on iPhone. If you have more queries, do let us know through the comment section below. We’ll be happy to provide further assistance.
If this guide helped you, please share it. 😊
