

Want to learn how to map a drive on Windows 11?
Mapping a drive is an efficient way to connect to a shared drive or remote folder. Fortunately, Windows 11 brings various methods to set up a mapped network drive on your computer.
So, if you’re looking for just that, you’re on the right page. In this article, we’ll go over the different ways that you can employ to map a network drive, folder, or file on Windows 11.
So, let’s dive right in!
1. Configure Windows for Network Drives.
Before you can map a drive on Windows 11, you must allow your computer to find other devices and share folders and files with other devices on your network. You can set this setting from the Control Panel on your PC. After which, you can easily map a drive through various methods.
Here’s how to do it:
- Firstly, go to the Start menu and type in ‘Control Panel’ in the search bar at the top. From the search results, click on the Control Panel to launch it on your PC.
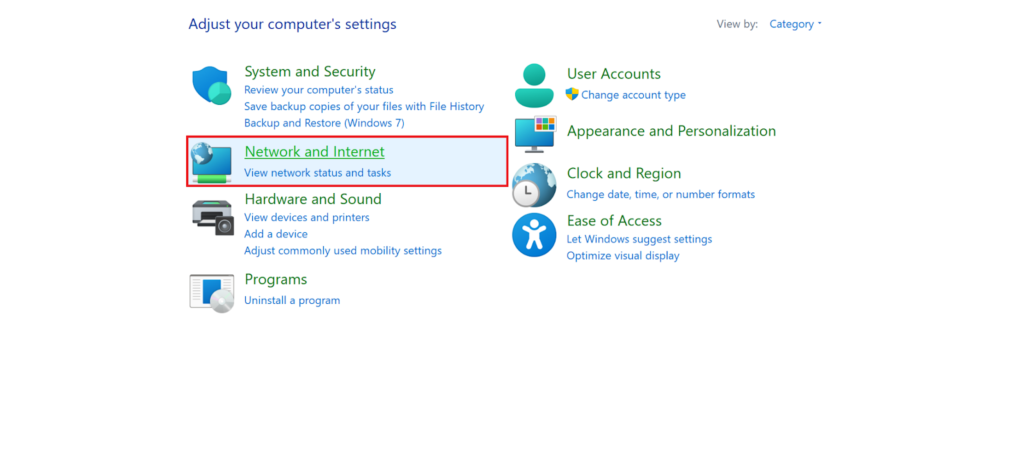
- Next, click on Network and Internet.
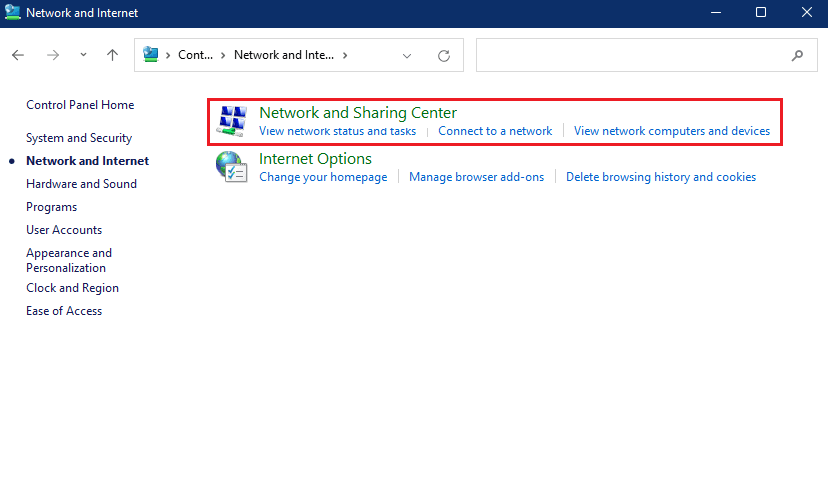
- Choose Network and Sharing Center.
- From the left sidebar, click on Change advanced sharing settings.
- Under the Network Discovery section, click on Turn on network discovery.

- Lastly, select Save changes and click on Yes from the confirmatory prompt that appears.
Once the network discovery is turned on, your computer can now find other networks and devices as well as be discovered by other networks. Next, follow any of the methods mentioned in the next section of this guide to map a drive on Windows 11.
2. Map a Drive via File Explorer.
As you map a drive via File Explorer, it will be mapped to a specific drive letter that you can later access easily without looking for its network address or type every time. It’s an easy and simple method.
Below are the steps you must follow:
- Begin by going to the File Explorer from your taskbar. Alternatively, right-click on the Start menu and choose File Explorer from the power menu options.
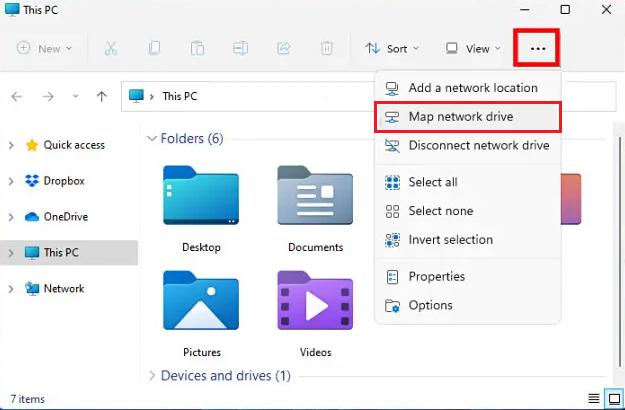
- From the left sidebar, click on This PC shortcut.
- Next, click on the three horizontal dots from the top bar and select Map network drive.
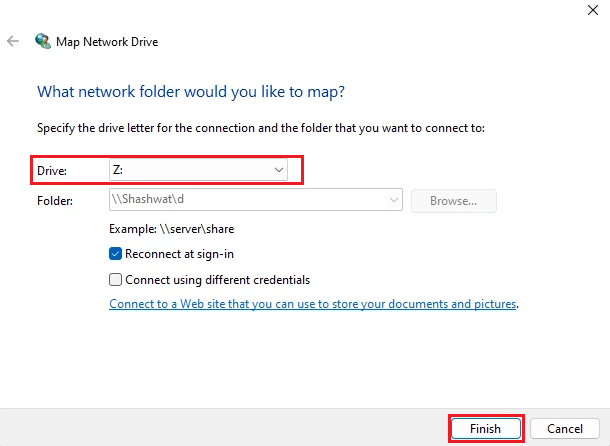
- This will open a Map Network Drive window. From there, click on the drop-drop menu icon next to Drive and choose a preferable drive letter.
- For the Folder field, type in the network folder URL. In case you can’t remember it, click on the Browse button and choose a shared folder.
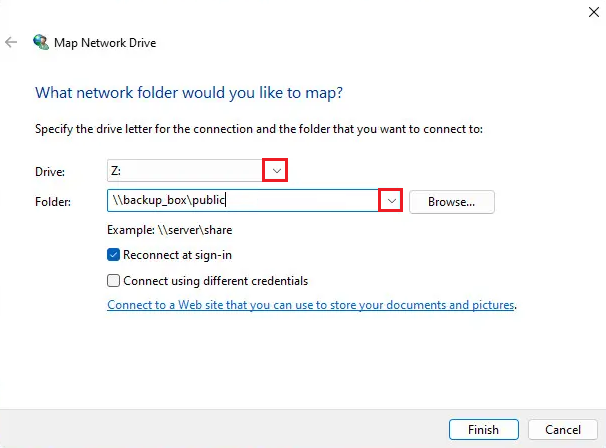
- Once done, click on Finish.
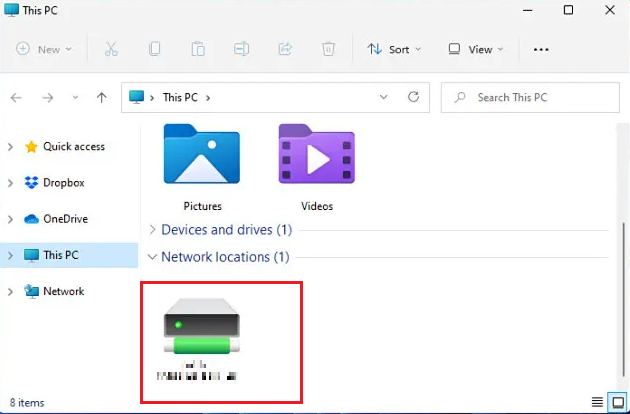
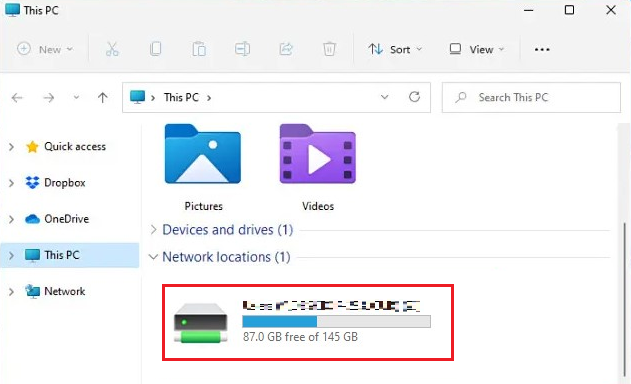
- In This PC window, you will see this newly created drive under Network locations. You may also access this drive in the Network folder from the left sidebar.
3. Map a Drive Using CMD.
Another way to map a drive on Windows 11 is by using Command Prompt. This method is quite simple and only requires that you access Command Prompt with administrative privileges. Afterward, a single command will map your drive in no time.
Here are the steps you must follow:
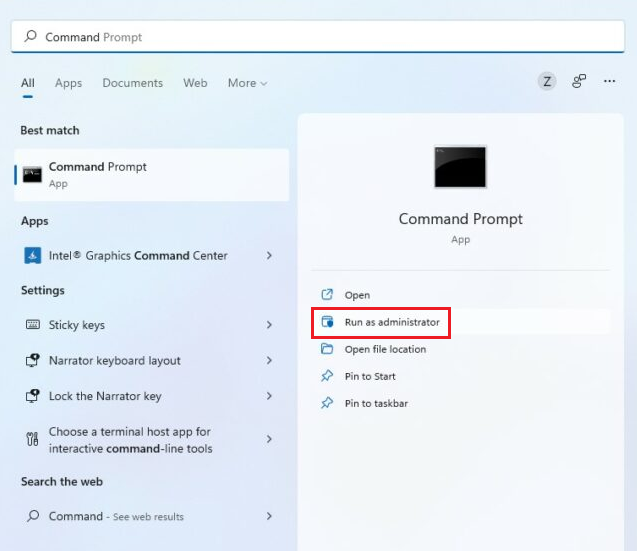
- Go to the Start menu.
- Type in ‘command’ in the search bar and click on Run as administrator to launch Command Prompt with administrative rights.
- Once the Command Prompt opens, copy and paste the following command and hit the Enter key from your keyboard. Remember to change the ‘DLetter’ from the command to your preferred drive letter. Also, enter the path of the specific folder you want to map instead of ‘PATH’ in the command.
net use DLetter: \\PATH /PERSISTENT: YES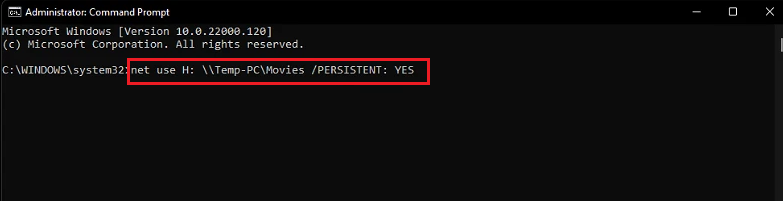
- You can access this new mapped drive from File Explorer on your PC.
4. Via PowerShell.
PowerShell is a command-line tool that allows users to automate tasks using codes. Similar to Command Prompt, you may also use PowerShell to map a network drive on Windows 11.
Simply follow the steps below:
- Go to the Start menu and type in ‘powershell’ in the search bar.
- Then, click on Run as administrator to access PowerShell with administrative privileges.

- Now, enter the following command and press the Enter key from your keyboard to execute it. Remember to replace ‘DLetter’ with a drive letter that’s not in use and change ‘PATH’ with the location of the network folder that you want to map.
New-PSDrive -Name "DLetter" -PSProvider "FileSystem" -Root "\\PATH" -Persist
- Once done, the drive and path you choose will be mapped on Windows 11. This mapped drive should now appear in File Explorer, under the Network folder.
5. Using the Context Menu of the Shared Drive.
One of the easiest ways to map a drive on Windows 11 is by going to the shared network drive in File Explorer. Afterward, utilize the context menu of the shared drive to map it as a drive on Windows.
Follow the steps below to do it:
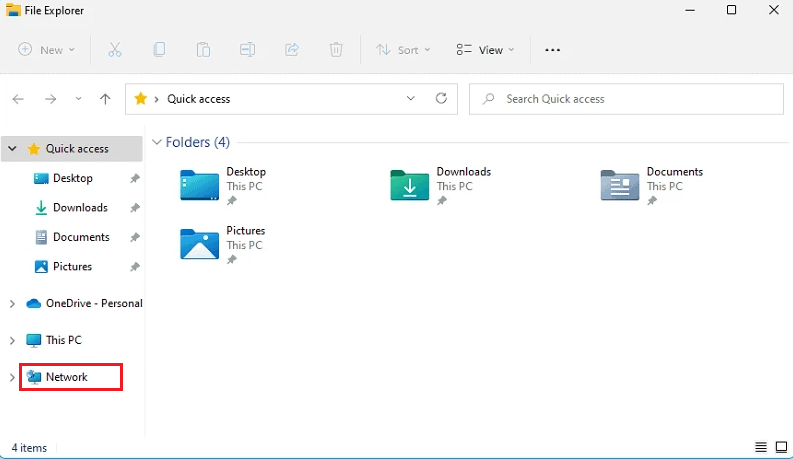
- Launch File Explorer from the taskbar. Alternatively, you can press the Win + E keys from your keyboard to access File Explorer.
- After that, select Network from the left sidebar.
- Double-click on the system sharing a network drive to open it.
- Now, right-click on the drive you wish to map and choose Map network drive.
- A Map Network Drive window will appear. Choose a drive letter by clicking on the drop-down menu icon next to Drive.
- Once you’ve selected a letter for the mapped drive, select Finish.
- The drive you’ve successfully mapped will be available under the Network locations in This PC.
6. Map a Drive for All Users.
If several users on your PC want to gain access to the shared drive, an effective way to do it is by mapping a drive for all users at once. For this purpose, you will first need to make a batch file before you can map a drive.
Follow the steps mentioned below to do so:
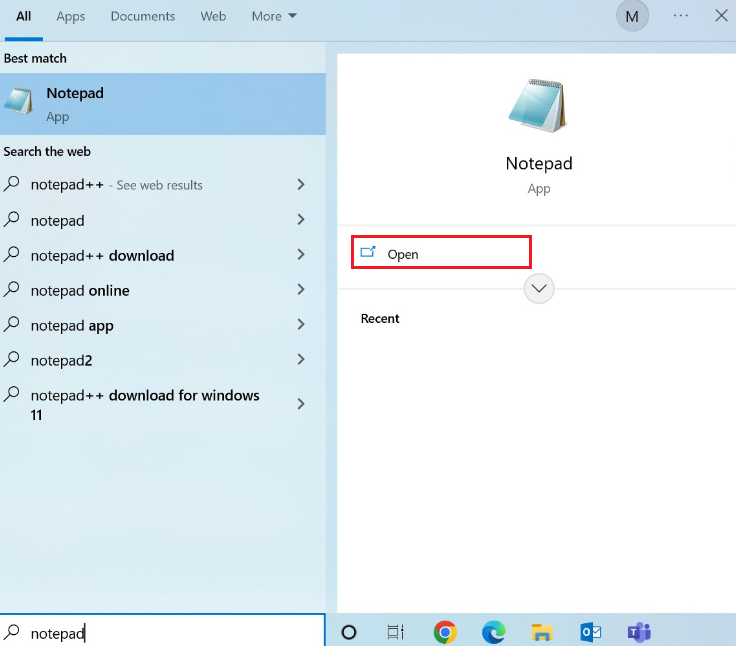
- Click on the Start menu.
- Type out ‘notepad’ in the search bar and click on Open from the search results.
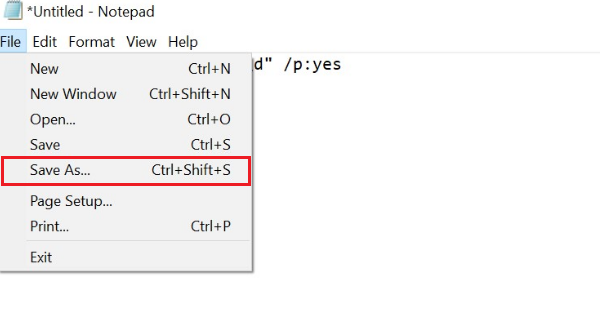
- Now, enter the following command. Be sure to change the ‘server’ with the IP address of the user sharing the drive and replace ‘files’ with the drive or folder that you want to map.
net use * "\\server\files" /p:yes- Choose Files from the top bar.
- Then, click on Save as, enter a name for this file, and select a location for it.
- Type in ‘.bat’ to change its file extension.
- Click on the drop-down menu icon next to Save as type and choose All files.
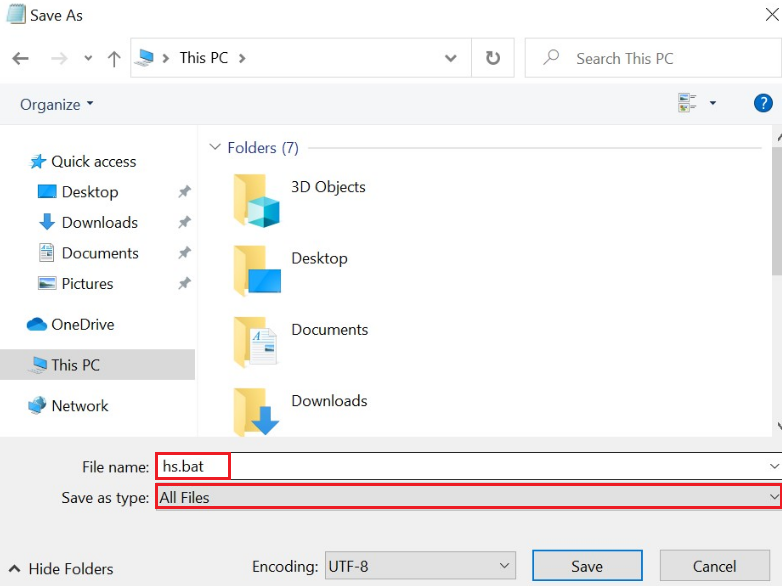
- Select Save.
- Now, go to the location where you saved this file, right-click on it, and select Copy. You may also press Ctrl + C keys to copy it.
- Launch the Run box by pressing the Win + R keys.
- Enter the following command in the text field and click on OK:
shell:common startup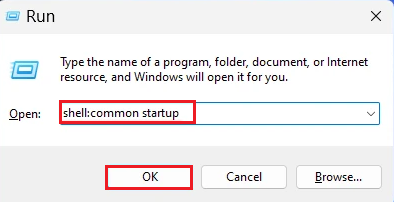
- The Startup folder will appear. Now, paste the .bat file in it by right-clicking and choosing Paste.
- Click on Continue from the prompt that shows up.
After you’re done, any user that logs in from your Windows 11 PC will have access to the network drive you’ve just created.
This brings us to the end of our guide on how to map a drive on Windows 11. Hopefully, one of the methods from this guide has successfully enabled you to map a network drive on your PC. In case of any questions regarding this topic, feel free to use the comments section below. We’ll be more than happy to provide further assistance.
If this guide helped you, please share it. 😊
