Want to know how you can fix printing errors on Microsoft Excel?
Microsoft Excel is the leading spreadsheet tool in the world. It has over a billion copies sold and works well with other MS Office apps. Despite being the best, this doesn’t mean that the app is flawless.
Unfortunately, Microsoft Excel also suffers from errors, glitches, and other problems. If you are reading this, we can assume that you are currently experiencing one.
Besides managing large data, you can also print your Excel worksheets if you need a hard copy of them. However, users have complained about printing errors in Microsoft Excel. This prevents them from printing their workbooks, which can affect their productivity and workflow.
Depending on the situation, this issue could be hardware or software-related. Most of the time, this problem occurs due to improper configurations.
On the other hand, it can also be due to outdated software or missing drivers.
In this guide, we have decided to make a guide on how to fix printing errors on Microsoft Excel.
Let’s dive right in!
1. Restart Your Computer.
When you encounter issues with Microsoft Excel, the first thing you should do is restart your computer. This should allow your computer to reload its resources and eliminate problems in the process.
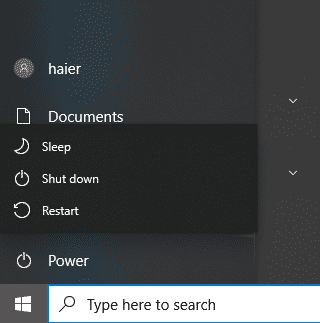
Here’s how you can restart your PC:
- First, press the Windows key on your keyboard to open the Start Menu.
- After that, access the Power Options tab.
- Lastly, choose Restart and wait for your system to reboot.

Go back to Microsoft Excel and check if the problem is solved.
2. Check Your Printer.
One of the main reasons why you encounter printing errors on Microsoft Excel is if your printer is not connected or turned off. Before printing anything on your computer, make sure that your printer has initialized properly, and the cables are connected.
Go back to Microsoft Excel afterward and try printing your worksheet.
3. Update Microsoft Excel.
The version of Microsoft Excel you are running might have an underlying problem that is related to printing. To rule this out, we recommend updating your software to the latest version available to patch errors.
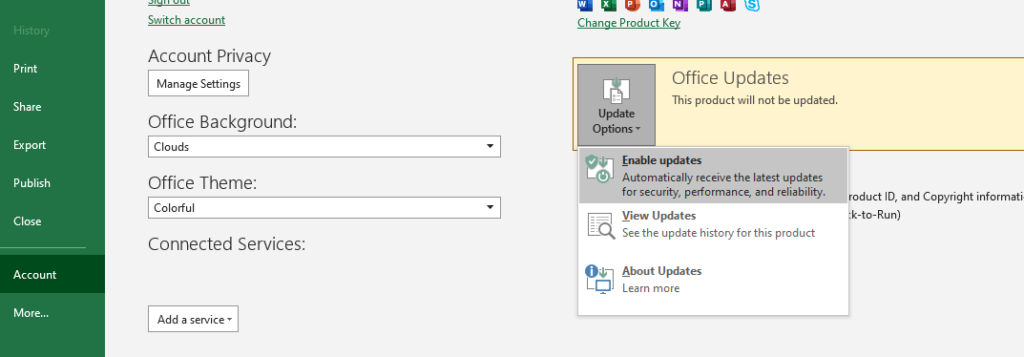
Here’s how you can update Excel:
- First, launch Microsoft Excel on your computer.
- After that, click on File > Accounts.
- Lastly, access the Update Options tab and click on Update Now or Enable Updates.

Relaunch Excel and check if the problem is solved.
4. Update Your Printer Drivers.
Your printer drivers might be outdated or not installed correctly, explaining why you encounter printing eros on Excel. Try updating your drivers to the latest version to fix bugs and other issues.
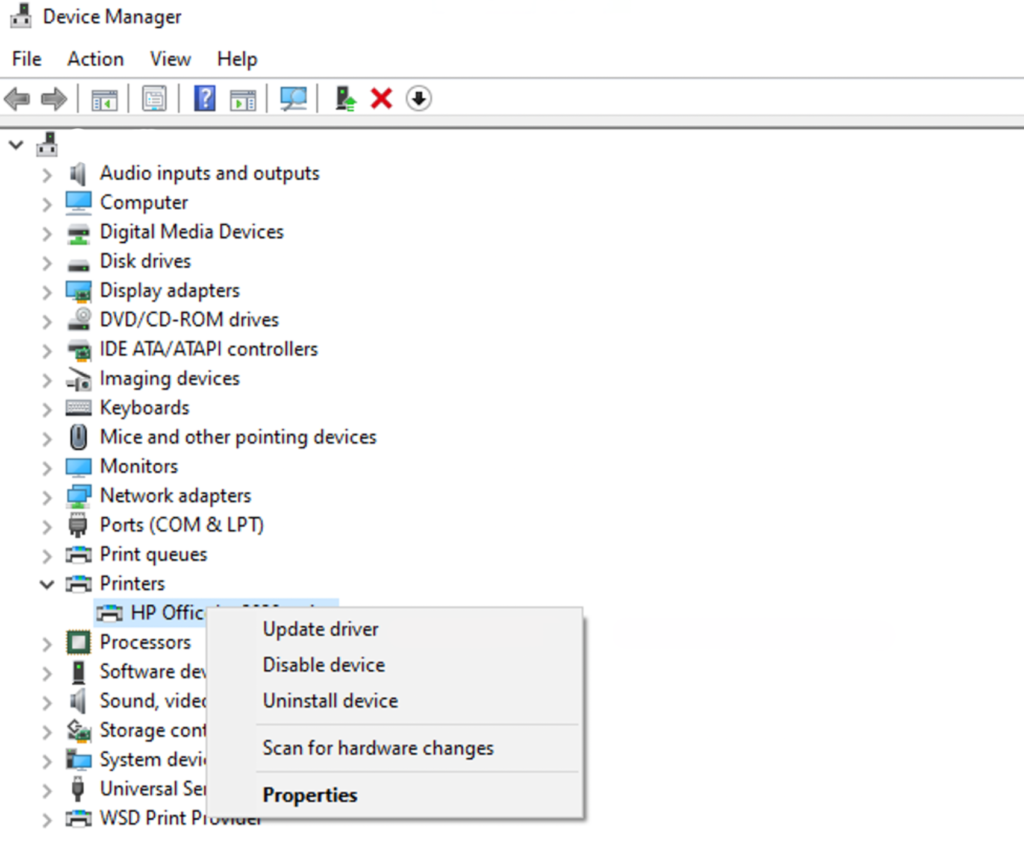
Check out the steps below to update your drivers:
- On your keyboard, press the Windows key to open the Start Menu.
- Next, look for ‘Device Manager’ and open it.
- Inside the Device Manager, access the Printers tab.
- Finally, right-click on your device and choose Update Driver.

Once done, restart your system to apply the changes. Go back to Microsoft Excel and try printing your worksheet.
5. Update Windows.
If updating your drivers and Excel did not work, you can try updating Windows. This should patch underlying issues on your operating system, which could be causing your printer to malfunction.
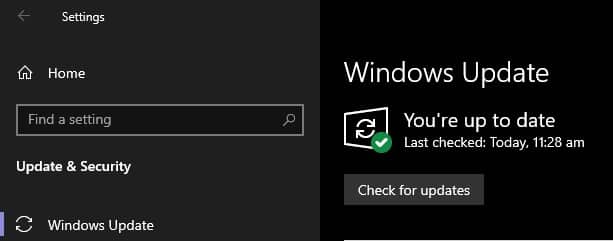
Follow the steps below to update Windows:
- First, open the Start Menu by clicking the Windows icon in the Taskbar.
- After that, go to Settings.
- Lastly, click on Windows Update in the side menu and follow the prompts to install the update.

Restart your system to complete the update and check if the problem is solved.
That sums up our guide for fixing printing errors on Microsoft Excel. If you have questions, please drop a comment below, and we’ll do our best to help.
If this guide helped you, please share it. 🙂


