Looking for effective ways to fix Time Machine not backing up on Mac?
It can be frustrating to know that Time Machine isn’t working on your Mac. Its key role is to protect your data. It’s supposed to back up all your files automatically. But like any other apps, it has its flaws. Luckily, you can troubleshoot it in just a few steps.
There could be several reasons behind this Time Machine issue. Your external drive probably has insufficient storage. Automatic malware scans can also be a culprit. No matter the reason, Saintlad is here to guide you in resolving this backup problem.
In this article, we’ve listed several potential fixes. We hope one or two could help restore the optimal performance of your Mac’s built-in backup technology. Here’s how to fix Time Machine not backing up on Mac.
Let’s get started!
1. Perform General Troubleshooting Methods.
There are more complex ways to fix Time Machine not backing up on Mac. But before you do those, make sure to perform these general troubleshooting methods.

- Ensure you have an updated device. Check for macOS updates.
- Reboot your Mac to remove any garbage memory or random bug that might have affected the performance of Time Machine.
- Check if the backup drive is connected to the same network as your Mac.
- If you’re using an external drive, make sure it is on. Connect it to your Mac securely.
- See if your backup drive has enough available storage.
Does the problem persist after doing these general troubleshooting methods? It’s time to move on to more complex yet effective ways to resolve your Time Machine issue.
2. Reformat External Drive.
One thing that keeps Time Machine from doing backups is an incompatible external disk. FAT and NTFS are usually the default file systems for many external drives. But Time Machine can’t use them. The app only recognizes a native macOS format.
It pays to check the format of your external drive. If it isn’t compatible, reformat it to APFS Encrypted or Mac OS Extended (Journaled). Below are the step-by-step guides.
Here’s how to check the format of your external drive:
- Plug your external drive into your Mac.
- In Finder, click the drive from the left sidebar. Then, click Get Info.
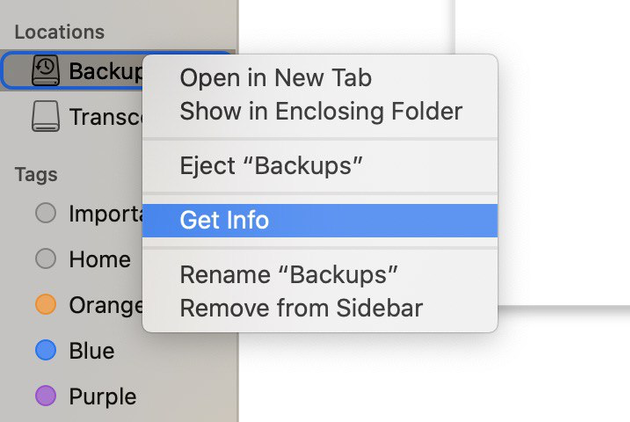
- On the list of general information about the drive, find Format. Check the information written beside it.
- If your drive is in one of those unsupported formats, you’ll need to reformat it.
Here’s how to use Disk Utility to reformat your external drive:
- Plug your external drive into your Mac.
- Launch Finder. Then, go to Applications.
- Next, select Utilities. Then, click Disk Utility.
- In the next window, click your external drive from the list on the left.
- Then, hit Erase on the top of the window.
- A pop-up window will appear. You’ll have the option to rename and reformat your drive. Change the format to APFS or Mac OS Extended (Journaled). Then, click Erase.
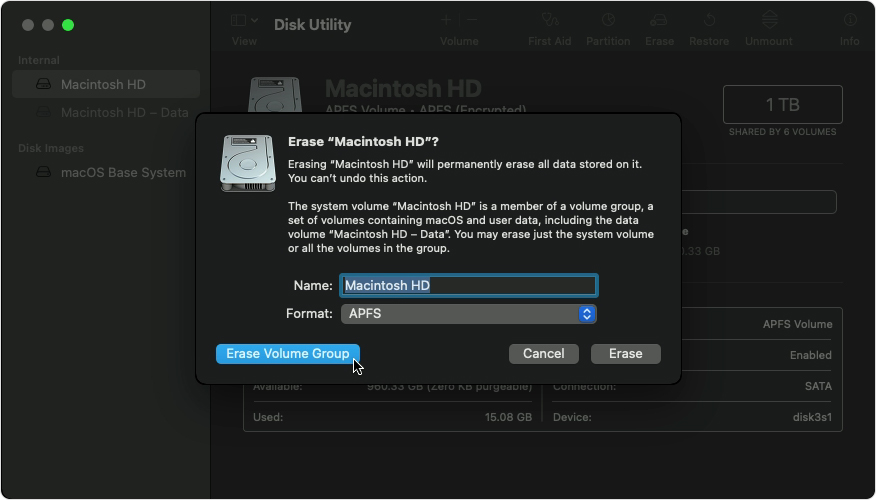
With a compatible external drive, your Time Machine should work just fine. Otherwise, browse through below for more workarounds.
3. Exclude Backup Disk from Automatic Malware Scans.
Does your Time Machine seem to be stuck? Do you see a message saying, “Preparing,” “Preparing backup,” or “Scanning X items” whenever you check Time Machine through System Preferences? We’ve also seen it before. Luckily, we’ve learned how to fix it.

Your Time Machine may look stuck because of the size of your backup. So, one workaround is to do a manual backup in the evening. That way, the backup can finish overnight. But if that didn’t work, your antivirus software can be the culprit.
Automatic virus scans can halt Time Machine’s backup. Open your antivirus or malware software settings. Make sure to list your backup disk “Backups.backupdb” folder in the exclusions. That way, the automatic virus scans don’t interfere with Time Machine. You can check out this sample exclusion guide from Avast to get more ideas.
4. Stop Spotlight from Indexing Time Machine.
Spotlight is a clever system-wide desktop search application for Mac. It helps you access documents, music, pictures, and other applications in an instant. But to do that, it continuously creates an index of all files and items on your computer.
When the Spotlight indexes the data on the backup disk, it can affect the performance of the Time Machine. There’s an easy fix, though. Exclude the backup disk folder from the list of items that Spotlight has to index.
Here’s how to do it:
- First, go to the Apple menu.
- Choose System Preference. Then, click the Time Machine icon.
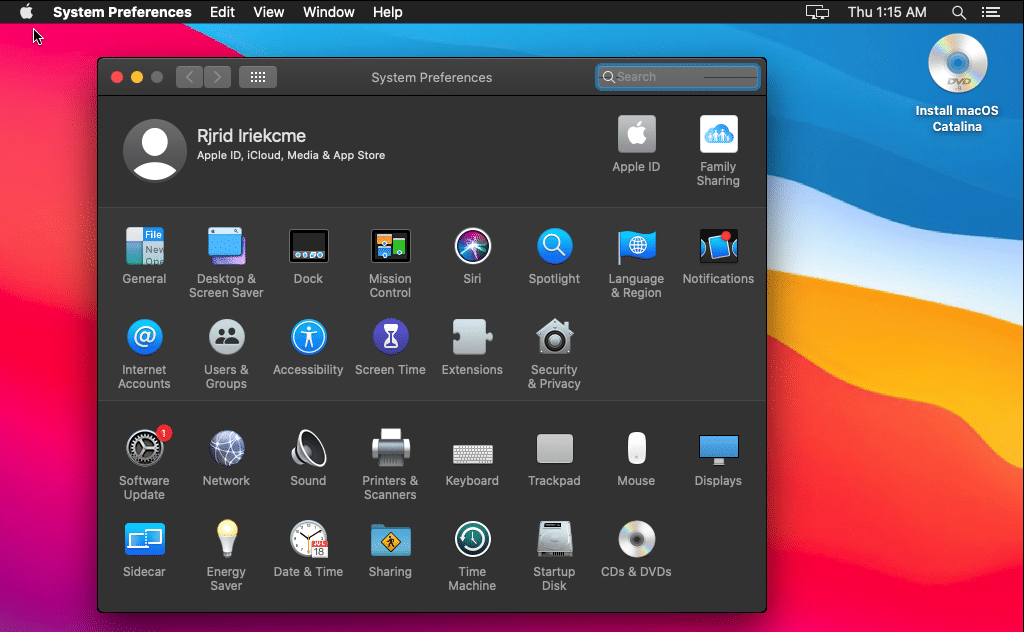
- If the backup is in progress, click the X button to halt the current process.
- Go back to the Apple menu.
- Click System Preference. Then, choose the Spotlight icon.
- Then, click the Privacy tab.
- Next, click the + button to browse and add the backup folder.
After that, you have to reinitiate the backup process manually. Here’s how to do it:
- Go to Finder.
- Navigate down to Go to Folder. Or try this trick: hit Command+Shift+G.
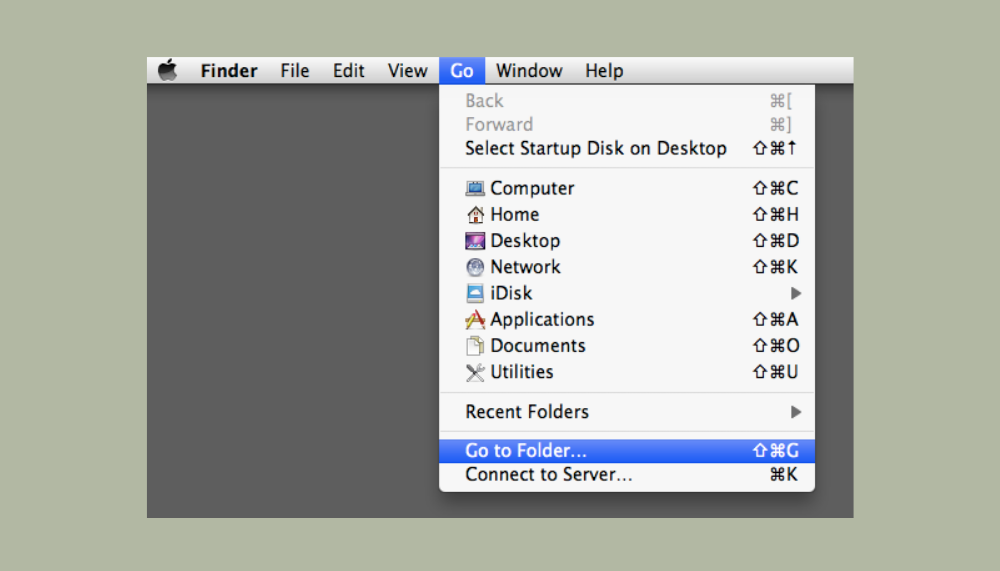
- Once the Go to Folder box pops up, type this path: /TimeMachineBackupDrive/Backups.backupdb/Backup Name. Note that Backup Name is the name you assigned to the backup folder.
- In the backup folder, find a file with .inProgress as the extension. Delete that file.
- Reboot your Mac.
- Once the computer is back on, launch Time Machine.
At this point, the Time Machine will start automatically backing up the files again. This should fix the issue. But if that isn’t the case, we have a few more solutions for you.
5. Use CleanMyMac X to Fix Time Machine Not Backing Up on Mac.
In some instances, malware is installed in your machine without your knowledge. This can prevent important applications like Time Machine from running properly. But it can be difficult to detect malware on Mac without using special tools.
This is where CleanMyMac X comes in. It can help your Mac detect malware and allow you to delete it quickly. Note that you have to make sure you follow Method 3 in this article. That is to exclude the “Backups.backupdb” folder from the malware scan.
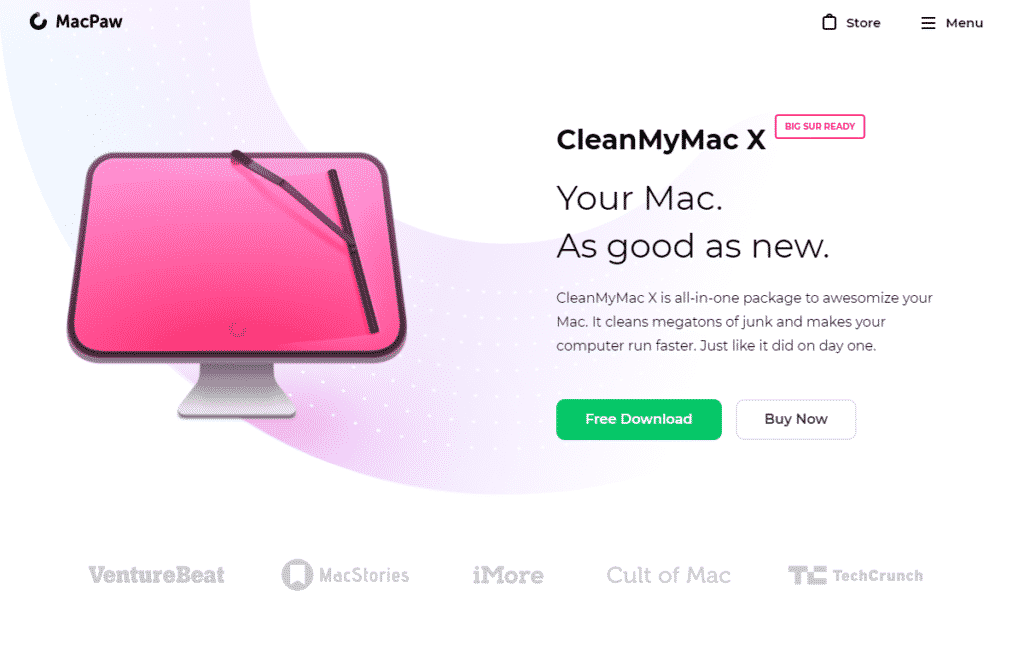
Here’s how to use CleanMyMac X on your Mac:
- First, download CleanMyMac X.
- Install and open the app.
- Find and click Malware Removal on the left sidebar. Then, click Scan.
- When the scan is complete, delete the threats that have been found.
6. Get in Touch with Apple Support.
Do you still need another way to fix Time Machine not backing up on Mac? It’s time to contact Apple Support. There could be other issues that need to be explored.
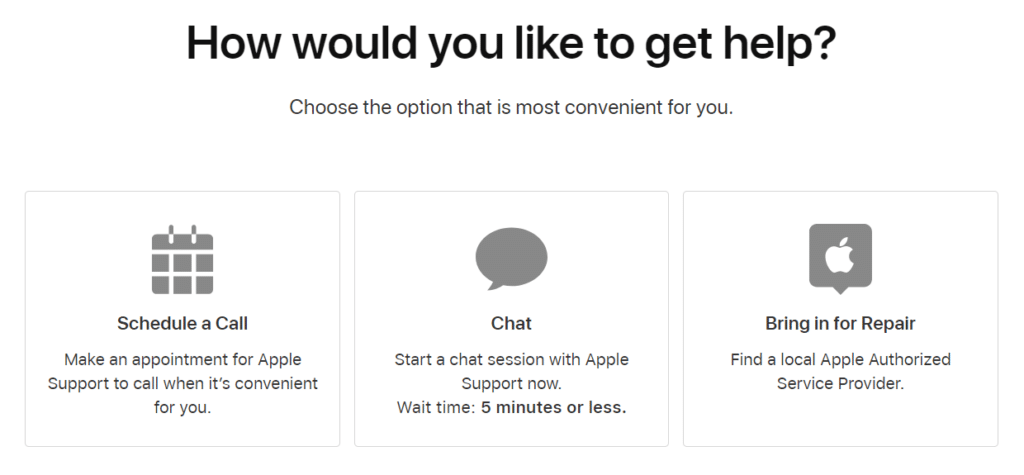
It’s easy to reach out to Apple Support. You can do it via phone, live chat, or mail. You can also visit an Apple Store. Just make sure to set a Genius Bar appointment online.
That wraps up this article. We hope the article was helpful. If you have more Mac-related tech issues, don’t hesitate to leave a comment below. Our team will do our best to address them and offer more troubleshooting tips for you.


