

Wondering how to fix the timestamp signature error on your PC?
If you have been facing the Timestamp Signature error while installing applications like DotNetFramework, LogMeIn Go to Assist etc, you are not alone. Several users recently reported that they have been facing the said issue upon their attempts to install .Net framework or similar applications on their Windows.
We had a look into this issue and discovered that the error under consideration can be caused due to several factors including:
- Outdated Windows version
- Incompatible or outdated Dotnet framework installer
- Unsigned system driver
- Outdated System Roots Certificates
Now that you understand the potential causes of the problem, you can jump to the troubleshooting steps to fix it. However, make sure that the time and date of your computer are correct before proceeding.
Let’s get started!
1. Install Pending Updates.
If you haven’t installed the latest Windows updates on your PC recently, then now might be a good time to do so because outdated programs and operating systems can cause errors like the one at hand frequently.
The easiest way to resolve this issue is to install every pending update on your PC. Doing so will provide you access to the latest features and resolve corruption errors since the latest updates are packed with bug fixes.
Here is what you need to do:
- Press Windows + R keys simultaneously to open a Run dialogue box.
- Type ‘ms-settings:windowsupdate’ in the dialogue box and hit Enter.
- Inside the Windows Update tab, click on Check for Updates and install the pending updates.
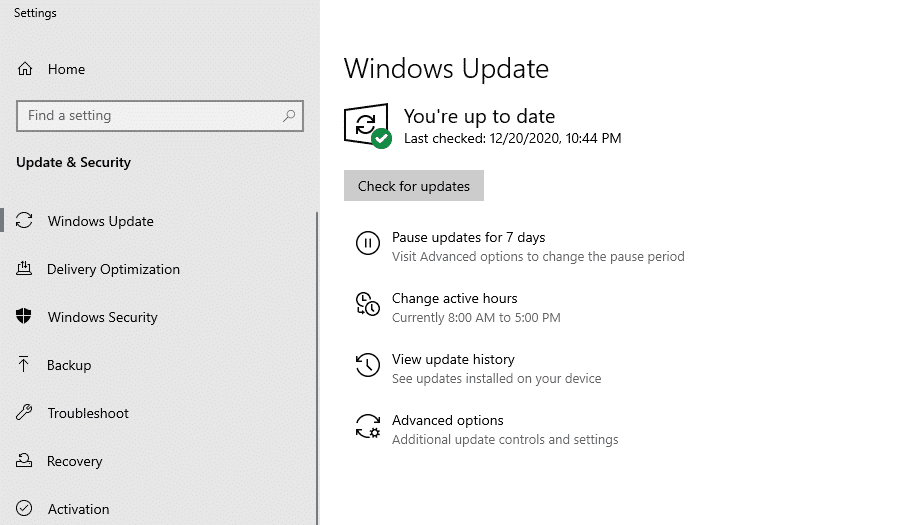
Finally, restart your PC and check if this resolved the issue.
2. Use the Latest .NET Framework Installer.
Net framework is a software development framework that consists of developer tools, programming languages, and libraries to build and run desktop and web applications.
Some applications require the latest .NET framework to function properly and if you are not using it, it will cause issues like the one at hand.
Here is how you can use the latest .NET framework installer:
- Launch your web browser and navigate to Microsoft’s website.
- Now select the latest and recommended .Net Framework.
- Next, click on the Download .Net Framework 4.8 Runtime and wait for the process to complete.
- Once the download is complete, click on the downloaded file to install it and check if the issue resolves.
If an outdated framework was causing the issue, installing the latest framework will resolve it.
3. Perform an SFC Scan.
As we mentioned earlier, errors like the one at hand can occur due to corruption errors within the system.
Fortunately, Windows comes with several built-in troubleshooting utilities that are designed for scanning the system for such errors and fixing them with little to no user input. One of these utilities is the System File Checker (SFC), which checks the system’s protected files for errors, and then automatically fixes them.
Here is how you can run an SFC scan on your operating system to eliminate errors:
- Type cmd in the search bar and click on Run as administrator. Doing so will launch Command Prompt with administrative privileges.
- Inside the Command Prompt window, type the command mentioned below and hit Enter to execute it.
sfc /scannow
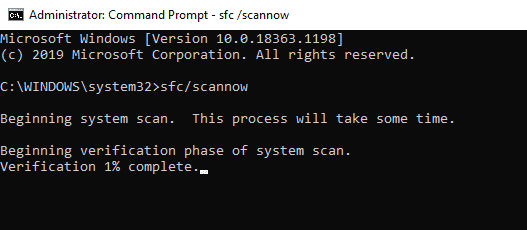
- Once the process is complete, restart your PC.
Doing so will eliminate the corruption errors, thus resolving the issue at hand in the process.
4. Disable Code Signing of the Driver Package.
Are you facing the timestamp error with a driver? If yes, then disabling the code signing of the driver package should fix the issue.
However, before proceeding, note that this is a risky method. Disabling the code signing will make your system vulnerable to several other security hazards, so proceed at your own risk.
Here is how you can disable code signing of the driver package:
- Press Windows + R keys simultaneously on your keyboard to open a Run dialogue box.
- In the text field of the dialogue box, type gpedit.msc and hit Enter. This will launch Group Policy Editor on your PC.

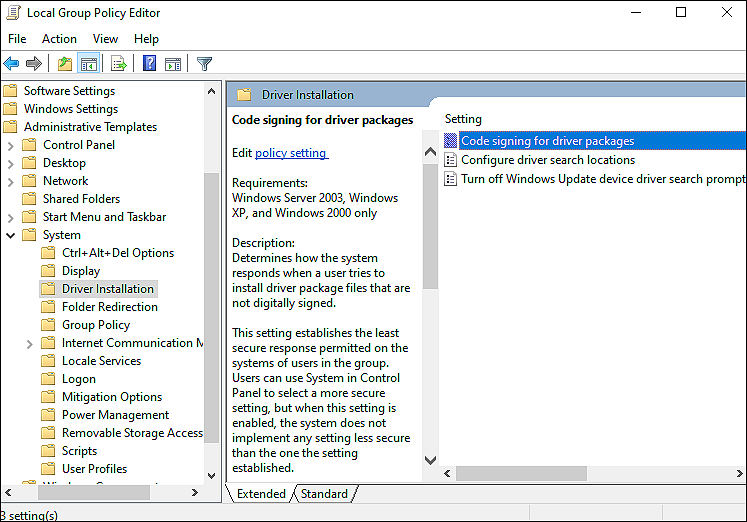
- Inside the Group Policy Editor window, navigate to the following path:
User Configuration/ Administrative Templates/ System/ Driver Installation
- Next, double-click on Code Signing for Device Drivers in the right pane and select Enabled.
- In the same window, expand the dropdown menu under When Windows Detects a Driver File Without a Digital Signature and select Ignore.
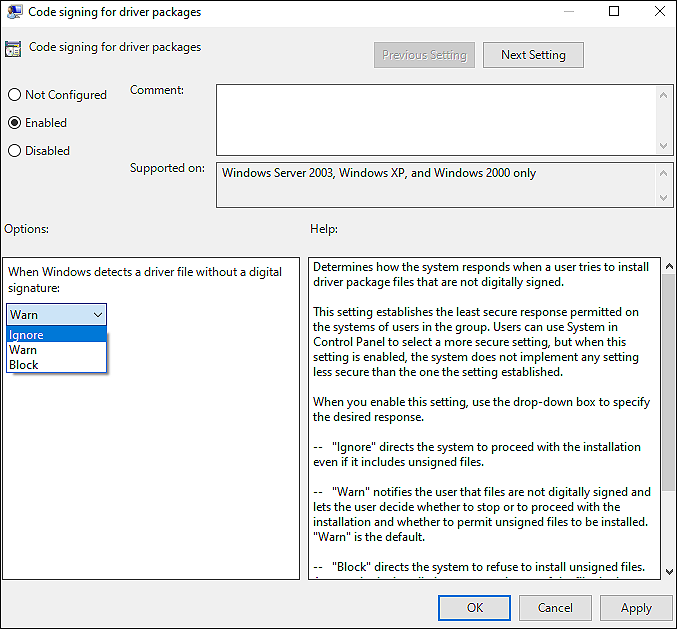
- Finally, click on Apply and restart your PC to save the changes.
This should make the required changes on an administrative level.
5. Try Using CleanMyPC.
As mentioned earlier, corruption errors and bugs within the operating system can frequently lead to errors such as the one under discussion. If running an SFC scan failed to fix the issue, you may need the help of a reliable PC cleaner.
The PC cleaner scans your system and programs, including Windows Registry, for damaged or corrupted files and tries to repair them without any user input. Nevertheless, the PC cleaner you use should be able to perform such advanced functions.
We recommend CleanMyPC as a cleaner for those who are having trouble finding one that is effective.

CleanMyPC is a comprehensive system-maintenance tool that can fix even complex issues with PCs, such as slow performance and privacy concerns.
If this is something your PC is in desperate need of, install CleanMyPC now and give your PC a much-needed performance boost.
6. Disable Auto Root Update of the Root Certificates.
There is a chance that your system is failing to update the root certificates automatically, which is causing the timestamp issue.
Several users managed to resolve the issue by disabling the auto-update of the root certificates using a third-party app, which is why you can try giving it a shot as well. However, be mindful that using a third-party application for this purpose can expose your system to certain security threats.
Here is what you need to do:
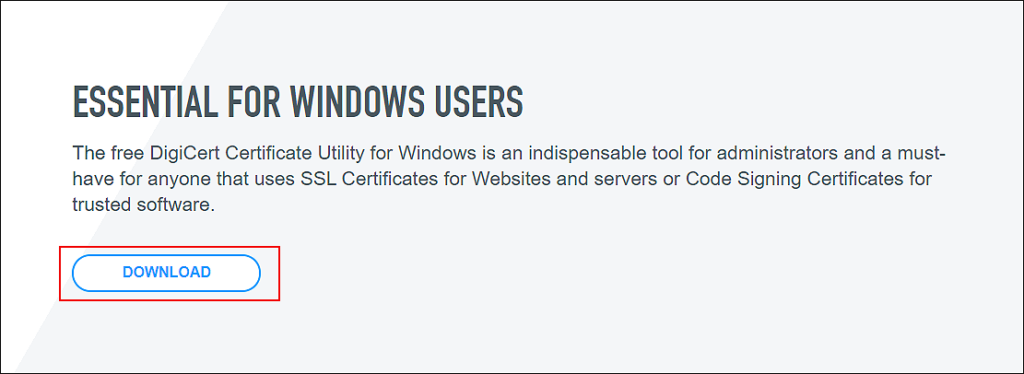
- Launch your web browser and head over to DigiCert download page.
- Hit the download button and wait for the tool to download.
- Once done, launch the utility and expand the Tools menu.
- In the right pane, click on Auto Root Update and change the setting to Disabled.
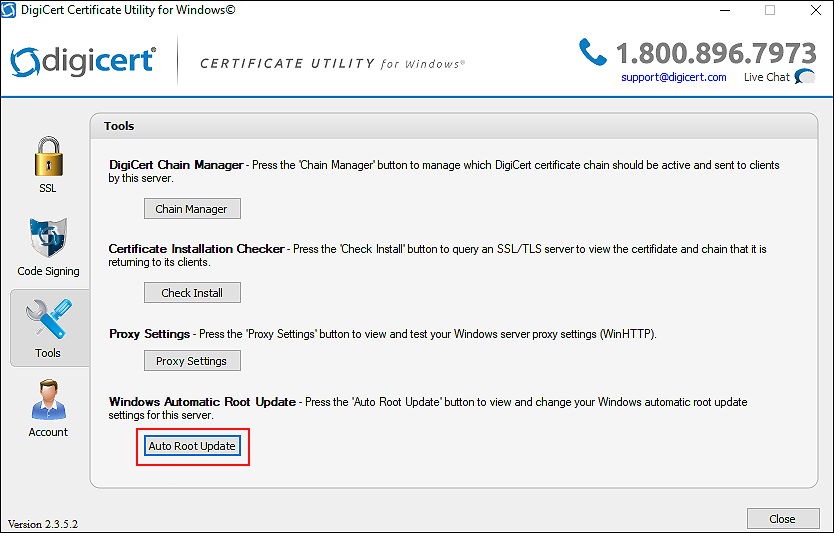
- Close the utility and reboot your PC to save the changes.
This should fix the ‘The timestamp signature and/or certificate could not be verified or is malformed’ error on your PC.
This brings us to the end of our guide on fixing the Timestamp signature error on your PC. We tried walking you through all the steps in detail and hope that one of the methods mentioned in this post did the trick for you. In case you still have any confusion about the troubleshooting steps, please let us know in the comment section below!
If this guide helped you, please share it. 🙂
