

Want to find out different ways to clear cache in Windows 11?
Caches are temporary files that your computer saves in order to improve its performance. Although cache proves to be beneficial as it helps load your web pages faster, it can also be the cause of why your PC may suddenly start freezing.
Caches on your computer tend to accumulate and, at one point, will take a lot of space in your storage or become corrupted. It can then start to interfere with your PC performance, resulting in it taking longer to shut down and causing numerous glitches, etc.
Windows 11 has multiple types of cache that a user should clear from time to time to improve the user experience by freeing up storage space. Fortunately, there are several easy ways to clear cache in Windows 11. In this post, we’ve covered a variety of approaches. To learn them, all you have to do is read till the end.
So, let’s get right to it!
1. Use the Disk Cleanup.
The most common and helpful way to clear the cache on your computer is through Disk Cleanup. Windows 11 comes with a built-in app known as Disk Cleanup, which helps clear out different types of cache from your PC.
Here’s how to do it:
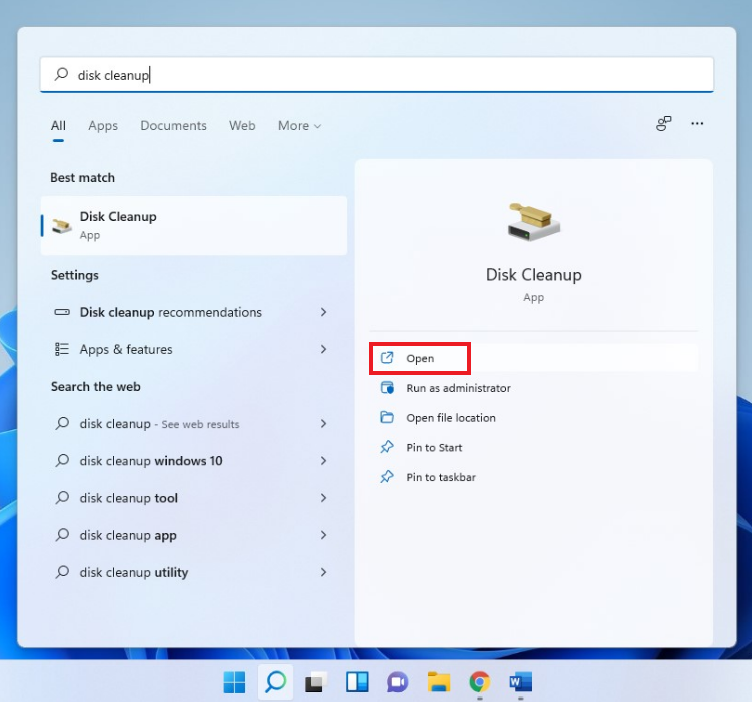
- To start, click on the Search icon from the taskbar and type Disk Cleanup in the search bar.
- Next, click Open from the right pane.
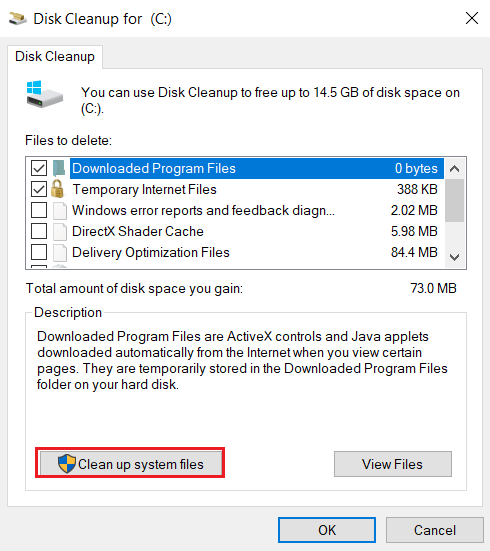
- From the pop-up window, select the Drive you wish to clear the cache from.
- Then, check the boxes next to the files you want to delete under the Files to Delete section.
- After that, click on Clean up system files and then OK.
- A confirmation box will appear. Press Delete files and wait for your files to be deleted from the system.
This method will specifically clear the cache files that you select. If you only wish to delete the temporary cache files, head to the following method.
2. Delete the Temporary Cache.
The numerous programs you run on your PC create temporary files for their own use. Even though these help your programs run quickly, an excessive buildup of temporary cache can slow down your computer. So, it’s a good practice to delete this temporary cache once in a while.
To do so, follow these steps:
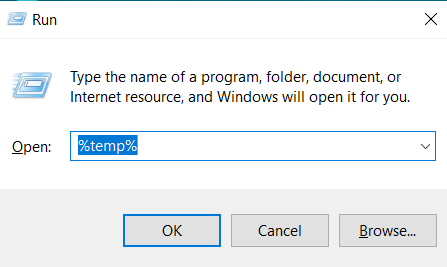
- Firstly, press the Windows key + R from your keyboard.
- A Run dialogue box will appear. Type %temp% and click OK.
- Then, click on the three dots icon from the top bar to expand its options.
- After that, click on Select all.
- Next, select the Trash can icon.
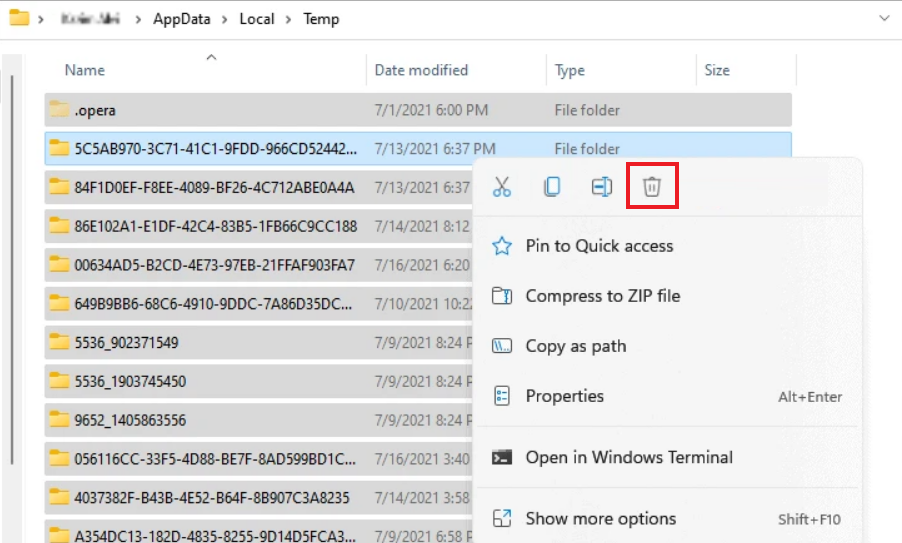
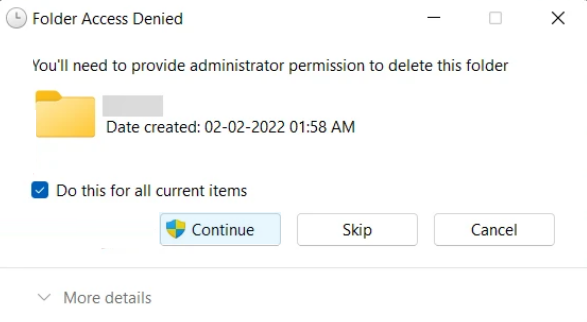
- A prompt box will appear. Now, check the box for Do this for all current items and select Continue to delete all the temporary cache files from your computer.
3. Remove the Temporary Cache Files from System Storage.
The cache on your computer is present in various types of files. So, if your PC is still lagging after deleting the files only in the temp folder, it’s time to clean up the cache files from your entire system storage.
To delete cache files from the storage settings, follow the steps below:
- Start by going to the Start Menu and typing in Storage settings.
- Then, click on Open from the right pane of storage settings.
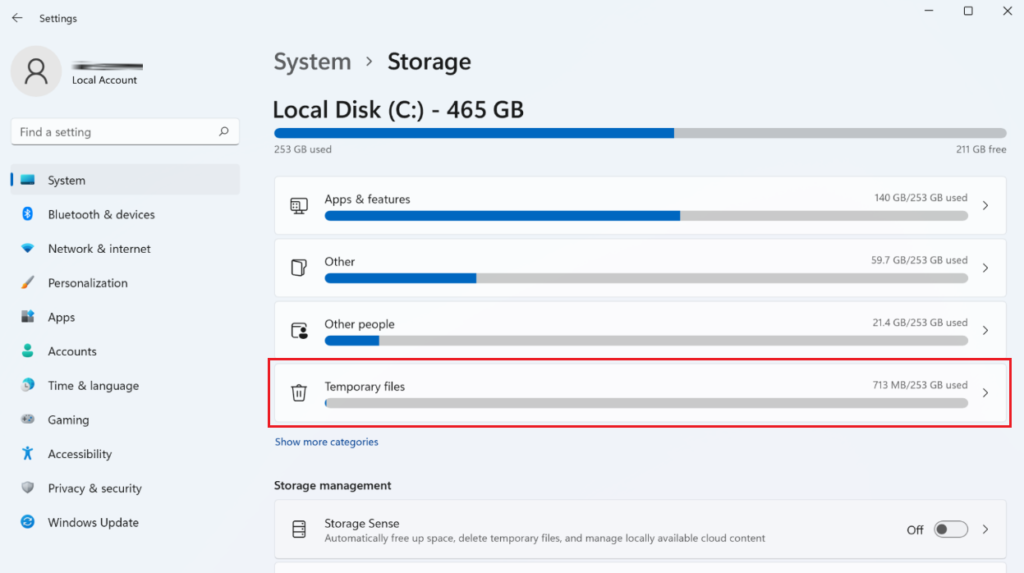
- Next, select Temporary files.
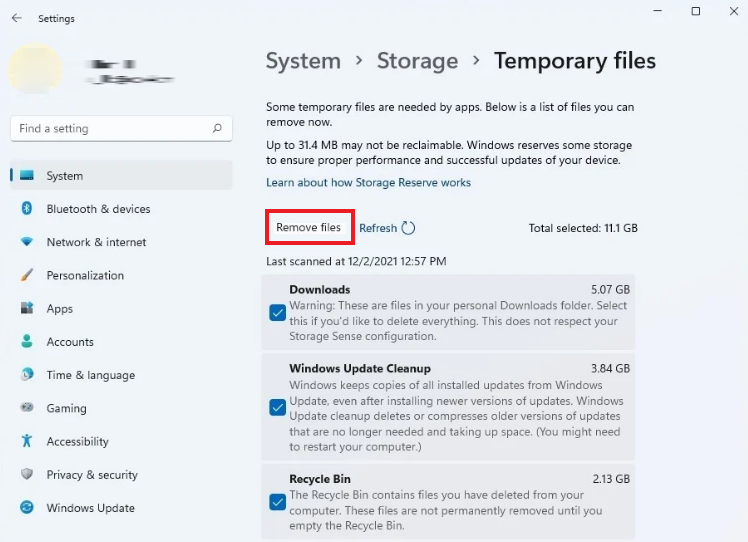
- Now, scroll down and check the boxes next to the files you want to delete. You may either select all or specific ones you wish to get rid of.
- After that, click on Remove files.
- Then, select Continue from the confirmation dialogue.
4. Flush the DNS.
The cache that your operating system stores also includes the websites you open. This helps your computer to load these websites faster on subsequent visits. However, with time, the DNS cache may pile up to such an extent that it may cause DNS cache poisoning or DNS Server Not Responding.
A preventive method to save your computer from such attacks is to flush the DNS. Follow the steps below to remove the DNS cache from your PC:
- Begin by launching Windows Command Prompt by clicking the Start Menu and typing in ‘cmd’.
- Next, select Run as Administrator from the right pane of Command Prompt.

- A confirmation message will show up. Click Yes to continue.
- Once in the Command Prompt, type the following command and press Enter from your keyboard.
ipconfig/flushdnsA Successfully flushed DNS Resolver Cache message will show up, letting you know that your computer has cleared your DNS cache.
5. Clear Windows Update Cache.
If you’re having trouble downloading or installing a Windows Update, deleting the Windows Update cache may help solve this issue. Clearing this cache can free up hard drive space that can be used to download and install the latest version of Windows 11.
Below are the steps you need to follow:
- First, press the Windows key + R to open the Run command.
- Now, type in services.msc and press Enter.
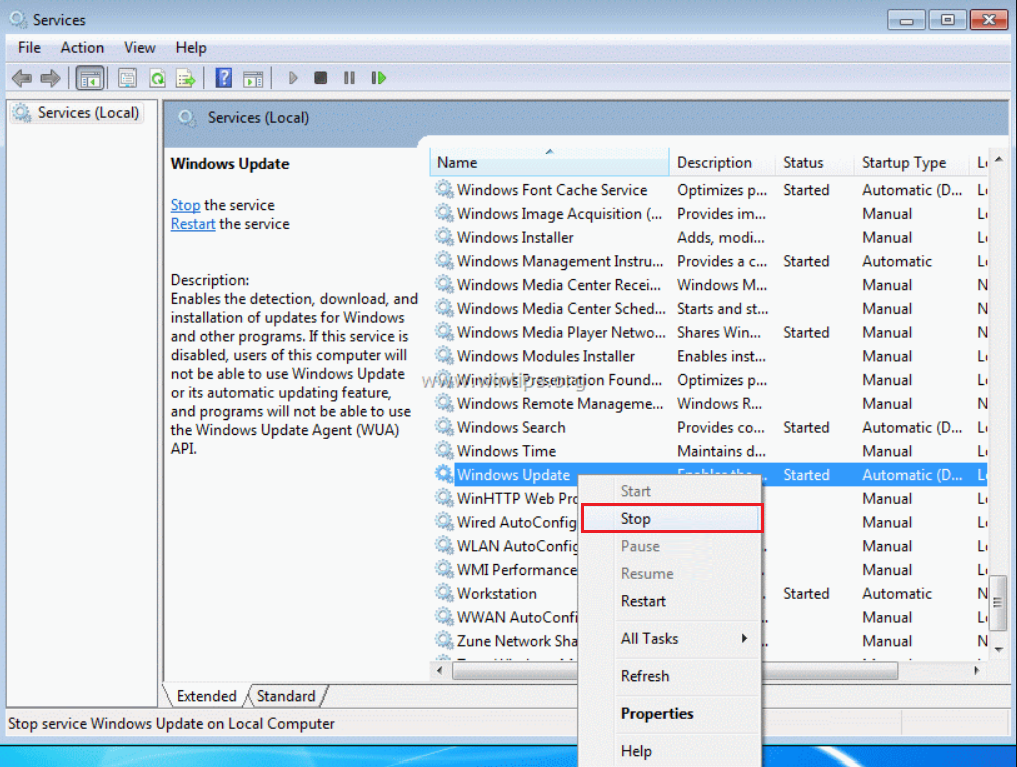
- After that, scroll down and locate Windows Update. Right-click on it and select Stop.
- Next, head to the C:\Windows\SoftwareDistribution\Download folder.
- Then, select all files and folders by pressing Ctrl and A simultaneously.
- Now, Press Delete from your keyboard to delete the selected items.
- Once again, launch the Run command and type in services.msc.
- Lastly, locate and right-click on Windows Update and then click on Start.

6. Clear Location Cache.
A large amount of location data kept on your computer slows down its speed while also reducing storage space. So, the location cache should also be cleared once in a while to boost your PC performance.
Here’s what you need to do:
- To begin, launch the Settings app by pressing Win + i from your keyboard.
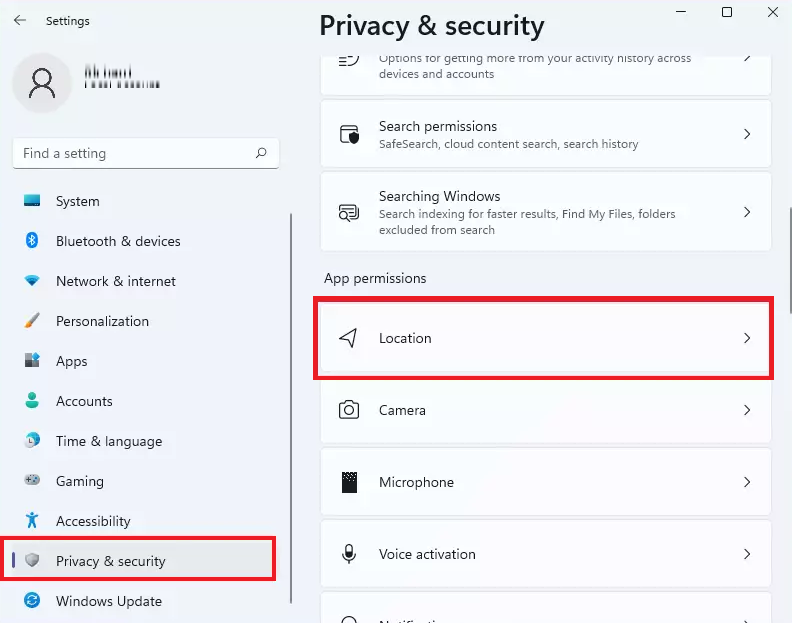
- From the left pane, click on Privacy & Security.
- Then, locate and select Locations under App permissions.
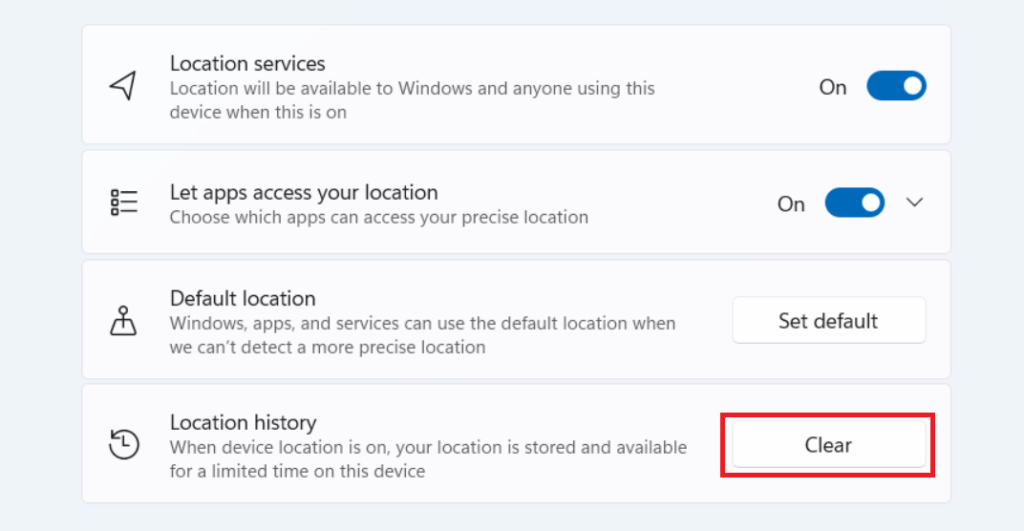
- Now, find Location history and click on the Clear button next to it.
7. Clear Microsoft Store Cache.
If you’re facing an issue with downloading, updating, or opening Microsoft apps, it’s possible that the Microsoft Store cache has accumulated. Microsoft Store also lets you delete this cache to empty up space, which may help resolve your problem.
Follow the steps mentioned below to clear the Microsoft Store cache from your computer:
- Firstly, press the Windows key + R to launch the Run command.
- After that, type in wsreset.exe and hit Enter.
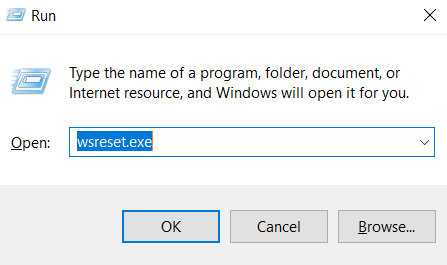
- A black window will appear and close automatically, letting you know that your Microsoft Store cache has been deleted.
8. Delete the Cache Automatically with Storage Sense.
Rather than clearing out different caches from your computer one by one, Windows 11 has made it easy for you to delete your caches automatically. With the help of a built-in feature known as Storage Sense, you can now clear cache automatically by setting it regularly at a specific time.
Follow the steps below to do so:
- Firstly, open the Settings app by pressing the Windows key + i.
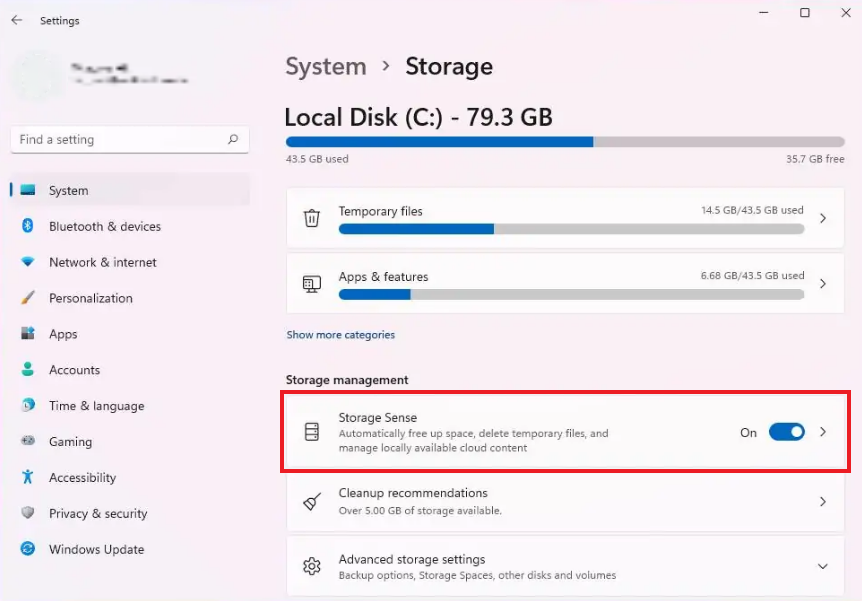
- Next, select System from the left pane.
- After that, scroll down to find Storage.
- Then, turn on the toggle for Storage Sense if you have it turned off and click on Storage Sense.
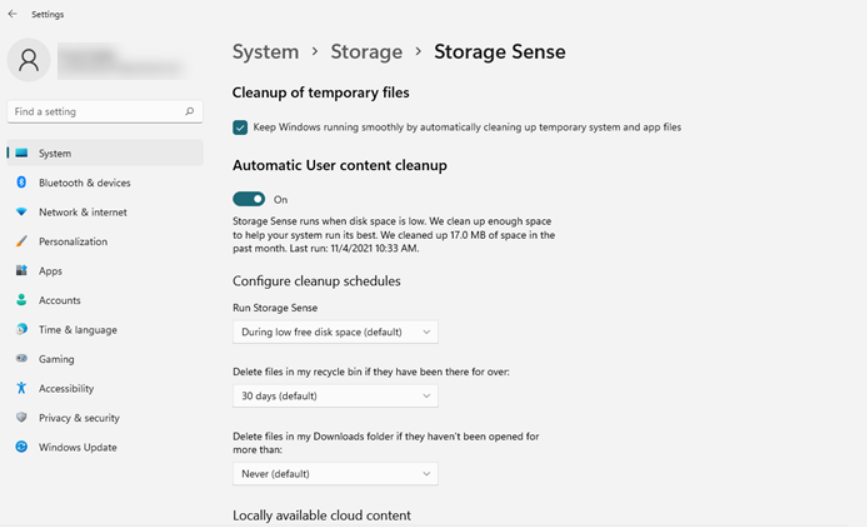
- Afterward, check the box under Cleanup of temporary files.
- Now, turn the toggle on under Automatic User content cleanup.
- Under the Run Storage Sense option, select how frequently you want Storage Sense to run automatically.
- Lastly, set a time to Delete files from my recycle bin if they’ve been there for a long time, and Delete files in my downloads folder if they haven’t been opened for more than options.
That’s it! Now you know eight different and easy ways to clear cache in Windows 11. Hopefully, by now, you’ve succeeded in clearing cache and freeing up some storage space from your PC. If you have further confusion or queries, let us know in the comments section below. We will try our best to help you out.
If this guide helped you, please share it. 🙂
