Are you looking for a quick fix to DNS issues on Windows 10?
To access the internet on Windows 10, your computer first has to go through what is known as a Domain Access Server (DNS). Your DNS needs to function without any hiccups for you to access the internet in the first place.
However, you may sometimes find that you cannot access the internet due to a DNS error. There are many DNS issues, one of them being the “DNS Server Not Responding”, and this is what most users encounter when faced with a DNS issue.
Fortunately, there are many solutions to your DNS server problems. So, in this article, we’ll show you how to fix these DNS issues so that you can access the internet once again.
Let’s dive right in!
1. Flush Your DNS Cache and Reset Winsock.
Your DNS cache stores information about your visits to other websites or anything else on the internet. At the same time, your Winsock (Windows Sockets API) stores information regarding your internet settings. Accordingly, they are essential when accessing the internet.
When having DNS errors, flushing your DNS cache and resetting your Winsock may help repair your DNS and restore your internet. Both can be done within the same window and only involve typing in commands in the Command Prompt.
Here’s how:
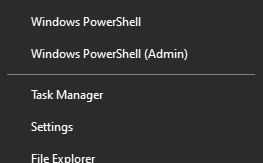
- Press the Windows and X keys at the same time to open the Power User menu.
- Once opened, select the Command Prompt (Admin) / Windows PowerShell (Admin).
- Inside the command window, press the Enter key after typing in each command:
ipconfig /flushdnsipconfig /registerdnsipconfig /releaseipconfig /renewNETSH winsock reset catalogNETSH int ipv4 reset reset.logNETSH int ipv6 reset reset.logExit
Once done, check if you’re still encountering DNS errors on Windows 10. If it does not work, please continue reading to the next solution found below.
2. Change your Power Option Settings.
Your power option settings control your battery usage. It controls and manages the order in which your PC’s processes and programs are prioritized. Individual components can be configured, allowing you to control how much power they consume based on the power plan you’ve chosen.
If you’re experiencing DNS errors while on Wi-Fi, then your power settings may be slowing down your wireless adapter. Your settings may have been configured in a way that slows down your adapter if your system is not plugged in.
Here’s how to configure your power settings:
- First, right-click on the battery icon at the lower right side of your screen.
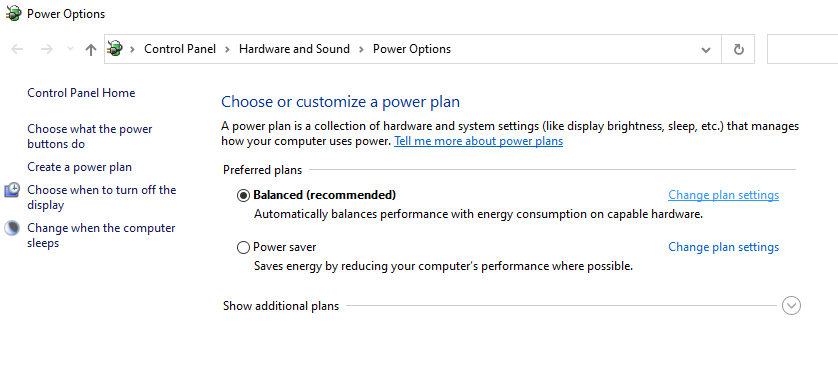
- Once opened, click Power Options.
- Look for your current power plan and select Change Plan Settings.
- Next, open Change Advanced Power Settings by clicking it.
- Once opened, expand Wireless Adapter Settings by selecting it.
- Expand Power Saving Mode.
- Afterwards, set On battery and Plugged In to Maximum Performance by clicking on them.
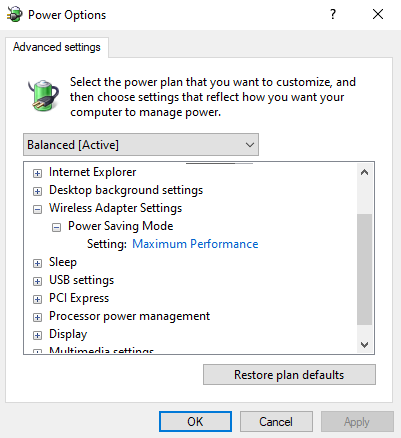
- Finally, click Apply, then the OK button.
Once finished, your power options settings should allow your wireless adapter to function at maximum performance, regardless of your system’s battery capacity.
3. Switch to Google’s DNS Server.
Google launched its Public DNS server way back in 2009. They featured it as a more secure and reliable DNS server that consumers can freely use. Google’s DNS server is readily available worldwide, and anyone can use it.
Your ISP (internet service provider) connects you to their DNS server. However, if you are having errors related to DNS, a possible solution is to use Google’s DNS server instead of your ISP.
Here’s how to switch to Google’s DNS server:
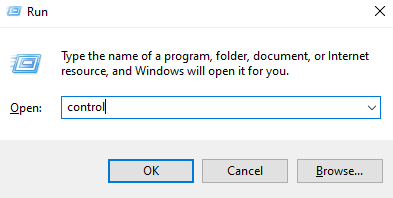
- Press the Windows and R key at the same time to open the Run window.
- Now, type ‘Control‘ to open your Control Panel.
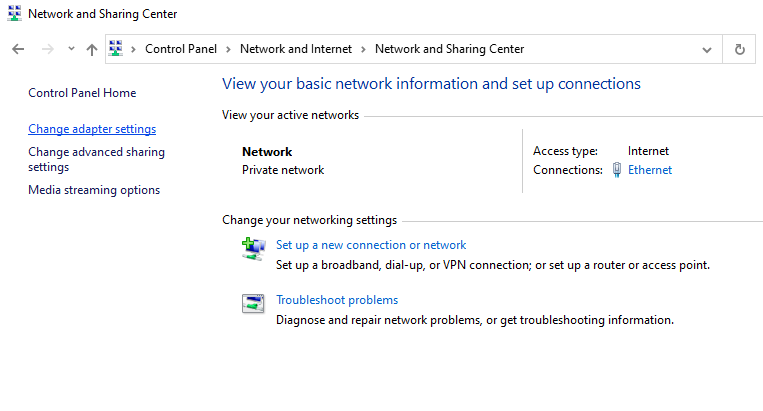
- Once the Control Panel is opened, click View Network Status and Tasks under Network and Internet or Network and Sharing Center..
- Select Change Adapter Settings found on the right panel.
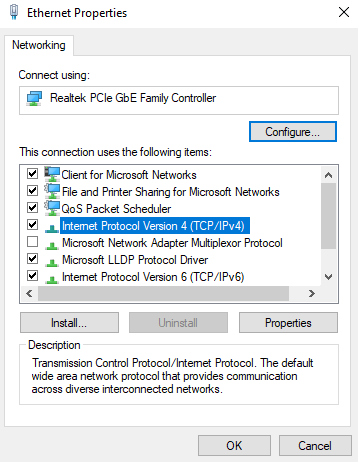
- Next, right-click on your network and select Properties.
- Once a window opens, select Internet Protocol Version 4 (TCP/IPv4), then select Properties.
- Mark the Use the following DNS server address box.
- After that, type in 8.8.8.8 for Preferred DNS server, and 8.8.4.4 for Alternate DNS server.
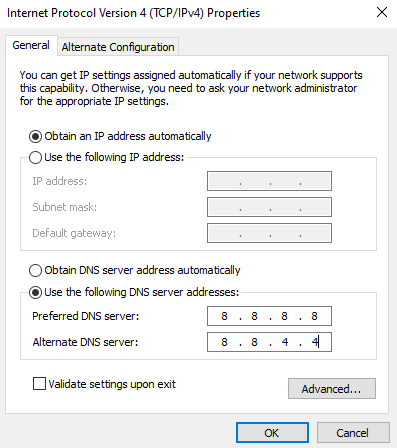
- Finally, click OK to save the changes.
You are now connected to Google’s public DNS server. If your ISP’s DNS server is causing the errors, they should now be fixed.
Proceed to the following solution below if you’re still experiencing DNS issues on Windows 10.
4. Disable Windows Update P2P.
A feature of Windows 10 is its peer-to-peer networking. This allows a system to receive and share resources with all the computers connected within the same local network. This allows a single computer to update once and easily share it with every computer that’s connected.
However, this feature may sometimes interrupt your DNS connection and cause errors in your internet connectivity. Therefore, a good solution is to disable this feature entirely to prevent any more DNS errors.
The steps in disabling peer-to-peer are found below:
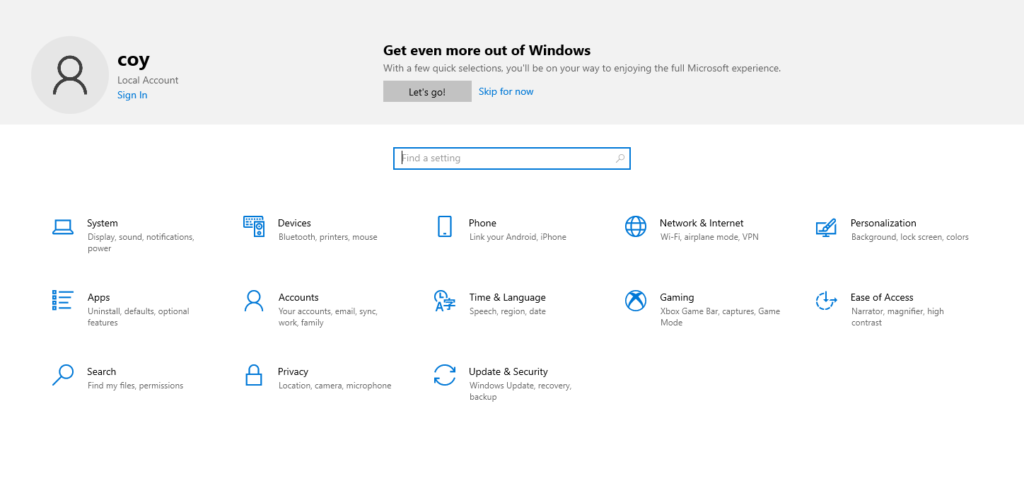
- Press the Windows and I keys at the same time to open Settings.
- Once opened, click the Update & Security category.
- Scroll down and select Advanced options.
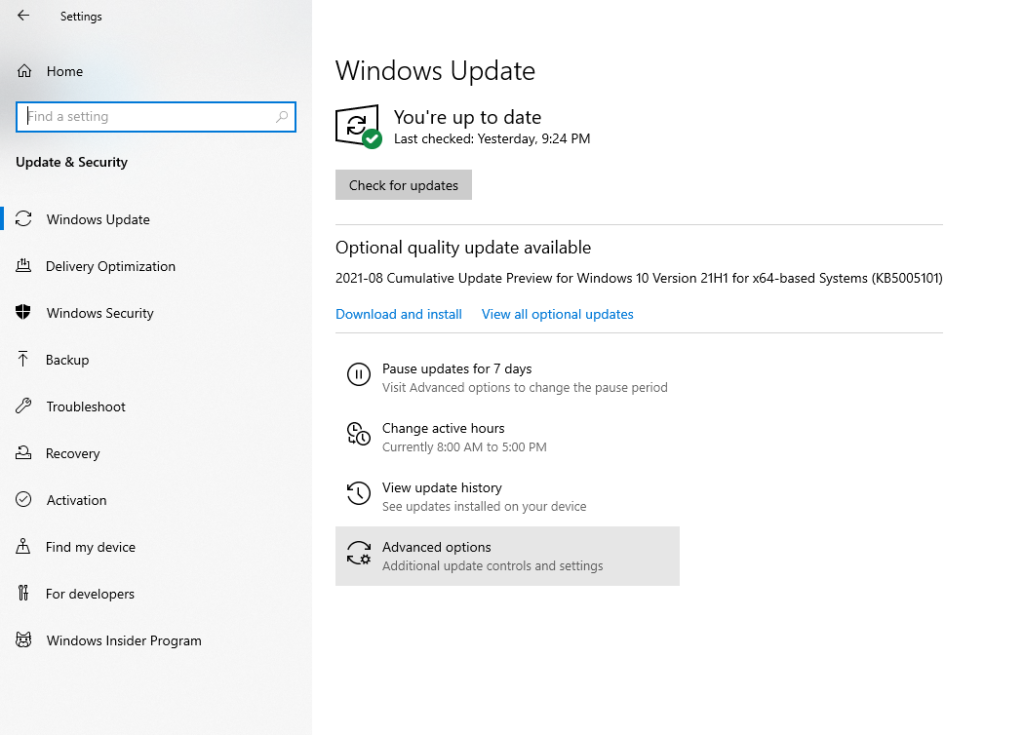
- After, select Choose How Updates are Delivered.
- Now, click on the PCs on My Local Network option.
- Lastly, disable the Updates from More than One Place option.
You have now disabled peer-to-peer updating on your computer. This should stop peer-to-peer interference with your DNS connection. If the problem persists, move on to the next solution found below.
5. Reinstall and Update Your Network Driver
A network adapter is a component found inside your computer that allows it to communicate with other computers over a network. And just like any other part on your computer, your network adapter has a driver that contains resources that allow the network adapter to work as intended.
Your network adapter may be the reason for DNS issues on Windows 10. There are two ways to fix this: to reinstall your network adapter driver and to update it. An outdated driver will cause bugs and errors, and reinstalling and updating them may fix the issue.
Here’s how to reinstall your network adapter driver:
- Right click on the Start button found on the lower-left corner of your screen.
- Select Device Manager from the menu.
- Once opened, expand the Network Adapters list by double-clicking.
- Next, right-click on your wireless adapter and select Uninstall Device.
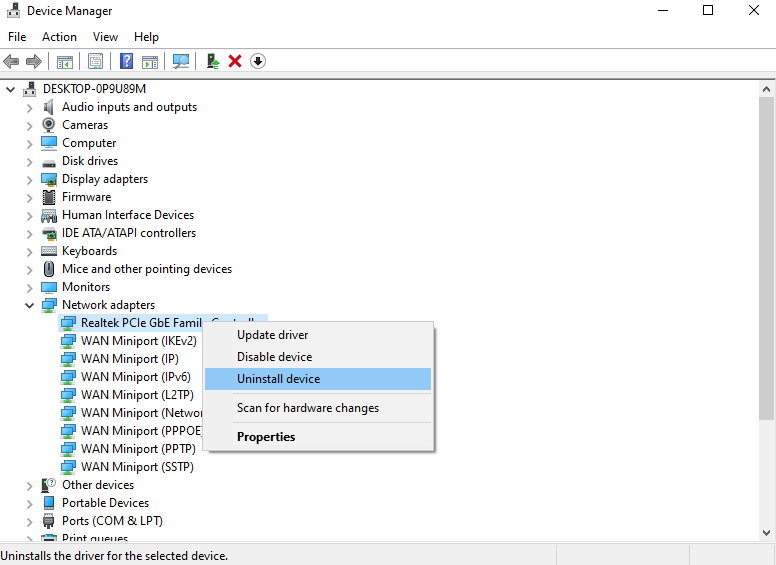
- A prompt will appear. Tick the Delete the Driver Software for this Device and confirm by clicking Uninstall.
- Now, choose Network adapters, then click Action found on the toolbar.
- After that, click on Scan for Hardware Changes. Your system should automatically detect your missing driver and reinstall for you.
- Finally, check again under Network Adapter to see if your wireless adapter is back.
Here’s how to update your network adapter driver:
- Right the wireless adapter you previously reinstalled.
- Select Update Driver.
- A prompt will pop up. Please select Search Automatically for Drivers.
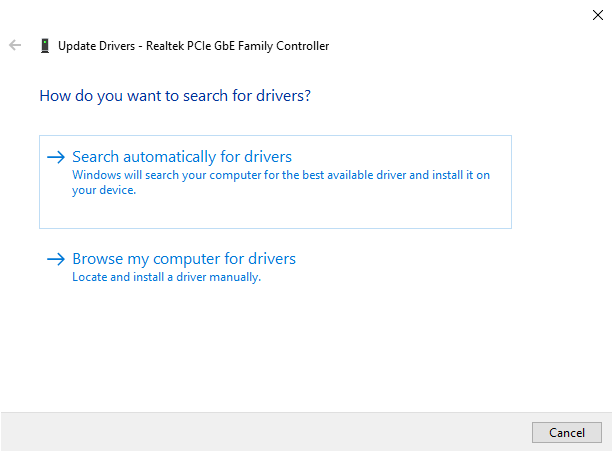
- Wait for the progress bar to load and finish your update.
- Lastly, restart your computer and recheck to see if your DNS error is gone.
You have successfully reinstalled and updated your network adapter. Your driver-related DNS issues should now go away, and you should be able to connect to the internet again.
That wraps it up for our guide on how to fix DNS issues in Windows 10. We hope you’ve successfully fixed this problem. If you have any comments, suggestions, or other inquiries, please don’t hesitate to leave a comment down below.
If this guide helped you, please share it. 🙂