

Wondering how to enable or disable ‘Remember window locations’ on Windows 11?
Windows 11 is here, and we couldn’t be more excited about this evolutionary update (quite literally) to the most popular desktop operating system.
It comes with a mac-like interface; a clean design and pastel shades. The Start menu has been moved to the center with the taskbar. You can also switch between virtual desktops that you can create for gaming, work, or personal interests to stay organized and productive.
Another interesting feature of Windows 11 is that it remembers window locations for different monitors. This is helpful for users who work on multiple displays and do not want to waste time rearranging them. Moreover, this feature is customizable, which means that you can enable and disable it according to your preferences.
In this guide, we will show you how you can enable/disable ‘Remember window locations’ on Windows 11 in a few easy steps.
Let’s get started!
1. Modify Windows Settings.
The easiest method of performing the task under consideration is by modifying Windows Settings.
However, all the standard users on your computer can use this method to enable/disable the window location feature. If multiple users use your PC and you do not want them to customize such features, perform the task using Windows Registry as described in Method 3.
Here is what you need to do:
- Press Windows + I keys simultaneously to launch Windows Settings.
- Select System from the left panel.
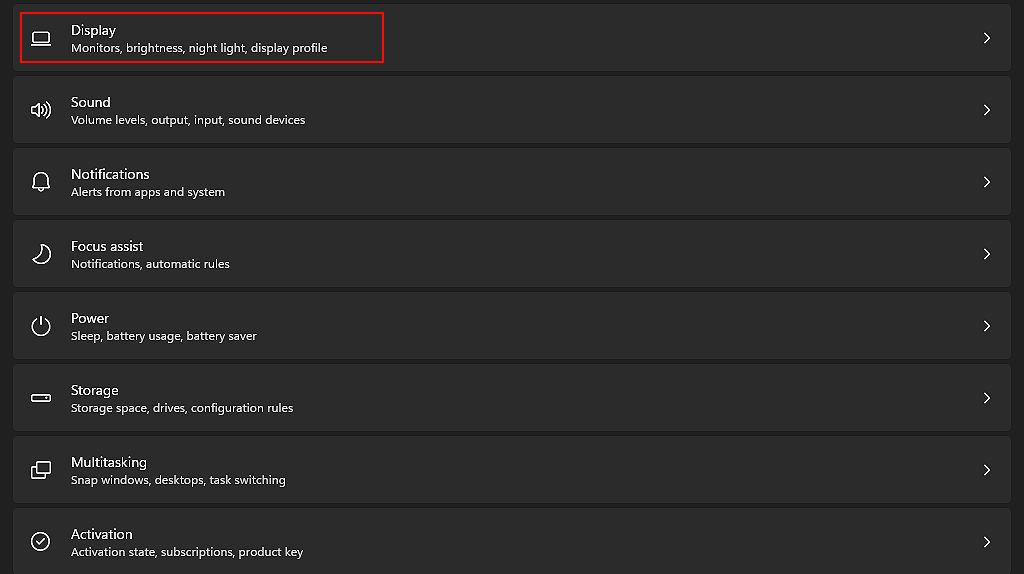
- Now click on Display in the right pane.
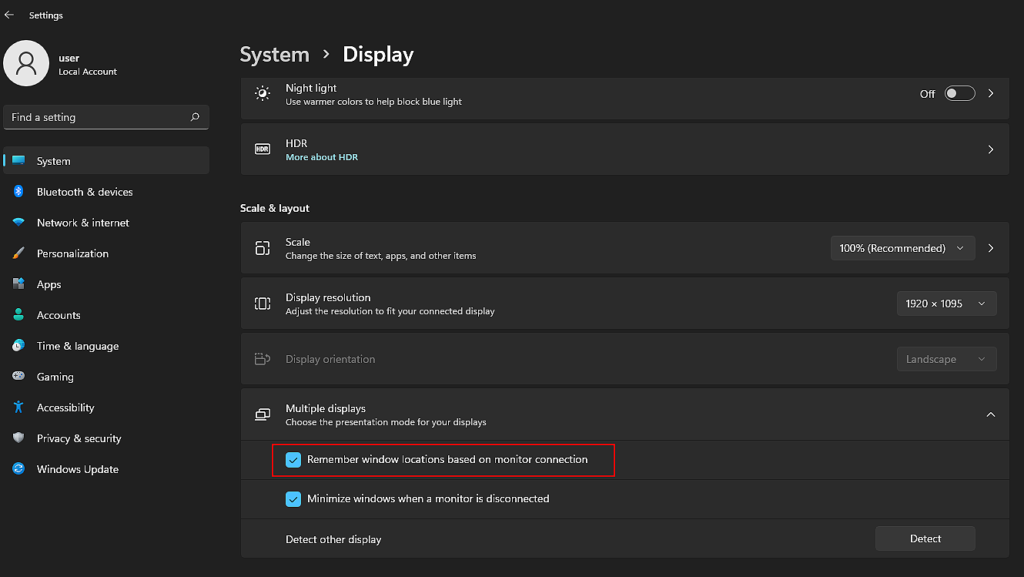
- Expand Multiple displays drop-down menu under Snap & layout.
- Now, checkmark the box against Remember window locations based on monitor connection if you want to enable the feature. Uncheck if you want to disable the feature.
This should make the desired changes in no time.
2. Try Using CleanMyPC.
In the event that you are unable to execute the desired operation after trying both methods in this guide, then your system may be corrupt.
For this reason, you should perform a deep cleaning of your PC first to remove any bugs or corruption errors before proceeding with the methods in this guide. We strongly recommend using an efficient PC cleaner in such cases, as manual cleaning can be very time and energy-consuming.
In case you’ve never used a PC cleaner before, we recommend CleanMyPC.

CleanMyPC lets you quickly and efficiently resolve all your PC issues. It comes with a number of tools, including a Multi-Uninstaller, a Speed Booster, and a Registry Cleaner, which will fix most issues with your system and improve its efficiency.
If this looks like something your PC desperately needs, install CleanMyPC now and get your PC up and running like new!
3. Use Registry Editor.
The Windows Registry plays a central role in how Windows works. Essentially, this is a huge database that your operating system’s functions, as well as other programs, use to identify relevant, essential information for their tasks.
Information about Windows programs and processes is stored in the form of Registry keys in Windows Registry. By modifying the relevant keys, you can easily make administrative-level changes in Windows 7, 8, 10, and 11.
Here is how you can modify Windows Registry to enable/disable ‘Remember window locations’ in Windows 11:
- Press Windows + R keys simultaneously to open a Run dialogue box.
- In the text field of the dialogue box, type ‘regedit‘ and hit Enter. This will launch Windows Registry on your PC.

- Once you are inside Windows Registry, navigate to the location mentioned below.
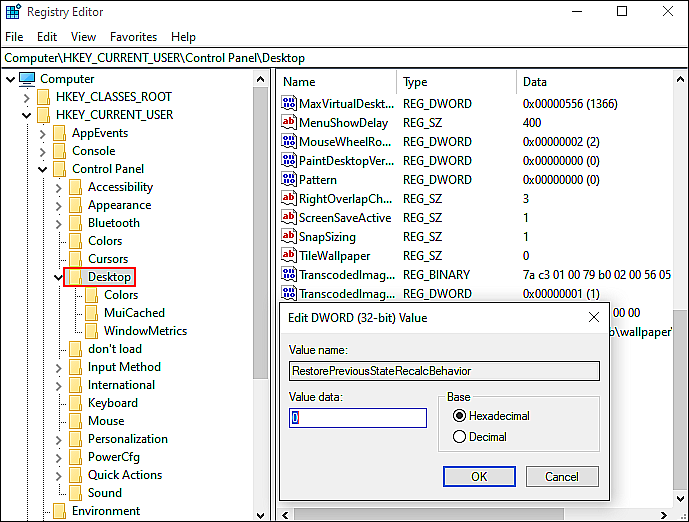
HKEY_CURRENT_USER\Control Panel\Desktop
- Right-click in the right pane and choose the NEW > DWORD (32-bit) Value option.
- Rename this value as RestorePreviousStateRecalcBehavior and press Enter to save the changes.
- Now double-click on RestorePreviousStateRecalcBehavior and set the base to Hexadecimal.
- If you want to enable the feature, type 0 under Value data. Type 1 if you want to disable it.
- Finally, restart your PC to save the changes.
That’s it. Following the steps mentioned above will help you enable/disable the window location feature as an administrator.
This wraps up our guide on enabling/disabling the window location feature in Windows 11. We hope that one of the methods mentioned in this guide did the trick for you. If you have any questions regarding the methods listed above, please let us know in the comment section below.
If this guide helped you, please share it. 🙂
