

Do you see an error code 9 when updating or restoring your iPhone?
One of the best things about diving into the Apple ecosystem is that their devices sync with each other. This means that your Mac can have the same music, photos, and videos as your iPhone, and you can access all your data using a single Apple ID.
Compared to other platforms, iOS devices tend to last a couple of years more, thanks to their more extended software support. However, it can be a problem if the update itself prevents you from accessing your device.
Usually, the error code 9 shows up when you restore a previous backup or update your iOS device.
Now, troubleshooting can get confusing since there are several factors to consider. To help you out, we’ve decided to make a guide to stop the error code 9 from appearing when updating or restoring your iPhone.
Let’s get started!
1. Check the Cable You Use.
Before making any changes to your device, inspect that lightning cable you use and ensure that it works. Find any physical damages on the cable and check its pins are bent or missing.
Also, make sure that you are using a lightning cable with data transfer. Some connectors are only meant for charging and don’t have a dedicated wire for file transfers.
2. Try A Different Computer.
If you cannot update or restore your iPhone, you can also try using another computer with iTunes installed in it.
Your current system could have a software or hardware issue that stops iTunes from restoring your backup or updating your iOS device.
3. Turn Off Antivirus or Firewall.
Some third-party antivirus programs can get too protective and flag any connection on your computer as suspicious or dangerous. In this case, your iPhone won’t be able to communicate with iTunes, and the update or restoration won’t be able to push through.
To ensure that there are no interruptions between iTunes and your device, disable any third-party antivirus software you have before proceeding with the process.
4. Update iTunes.
The version of iTunes installed on your computer could be outdated and no longer supported by Apple’s servers. Before restoring your iPhone, make sure that iTunes on your computer is up to date.
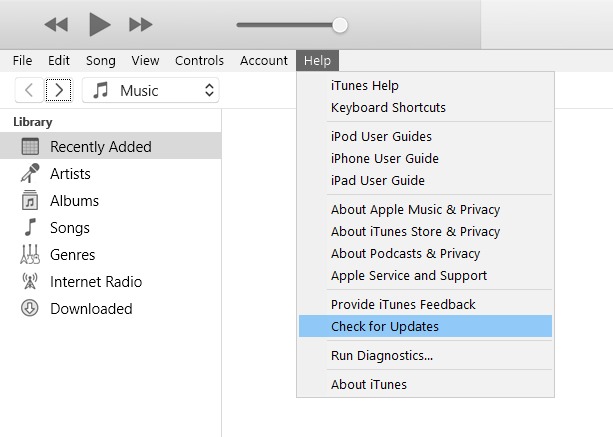
Follow the steps below to update iTunes on your computer:
- First, open the iTunes app from your desktop.
- After that, click on Help located inside the menu bar at the top of your display.
- Lastly, click on Check for Updates to prompt iTunes to check for a newer version. Follow the on-screen instructions to install the update on your computer.
Once done, connect your iPhone again and try updating or restoring it.
5. Restart Your iPhone.
Your device may have encountered a temporary error during the failed update or before connecting it to your computer. Whatever the case is, we suggest that you restart your iPhone to reload all of its resources.
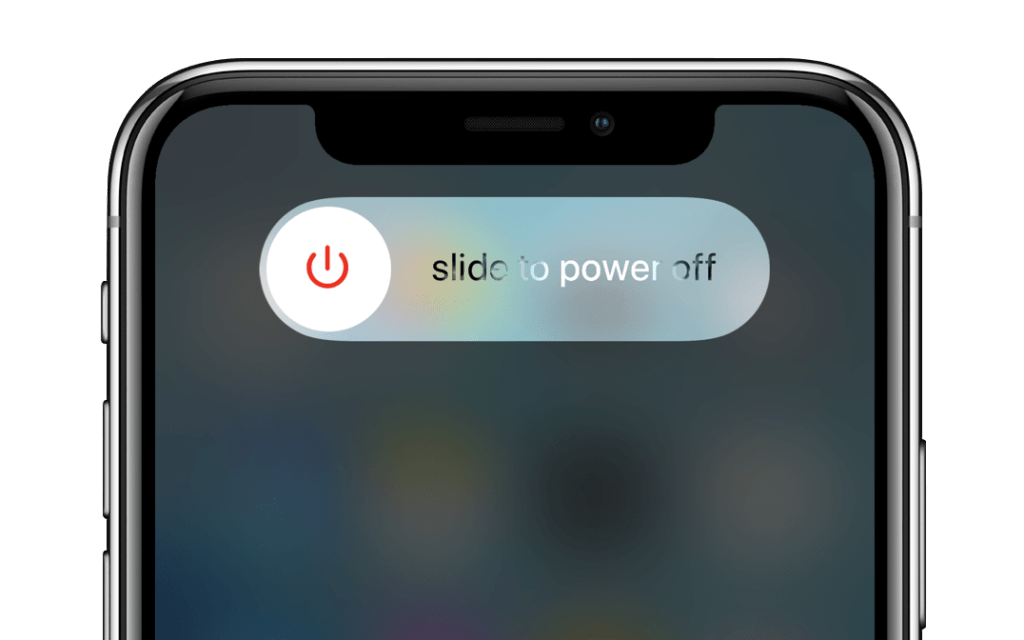
Check out the steps below to restart your iPhone:
- On your device, press and hold the Power button until the ‘Slide to Power Off’ screen shows up.
- After that, drag the slider to the right until your display shuts off.
- Finally, tap the Power button again to restart your iPhone.
After that restart, go back to your computer and try to restore or update your iPhone again.
6. Reset Your iPhone.
If the restart did not work, your device could be suffering from a much severe issue. Some of its system files may have gotten corrupted and causes the update to fail.
It is also possible that some applications interrupt the way your device works and triggers the error code 9 when updating or restoring your iPhone.
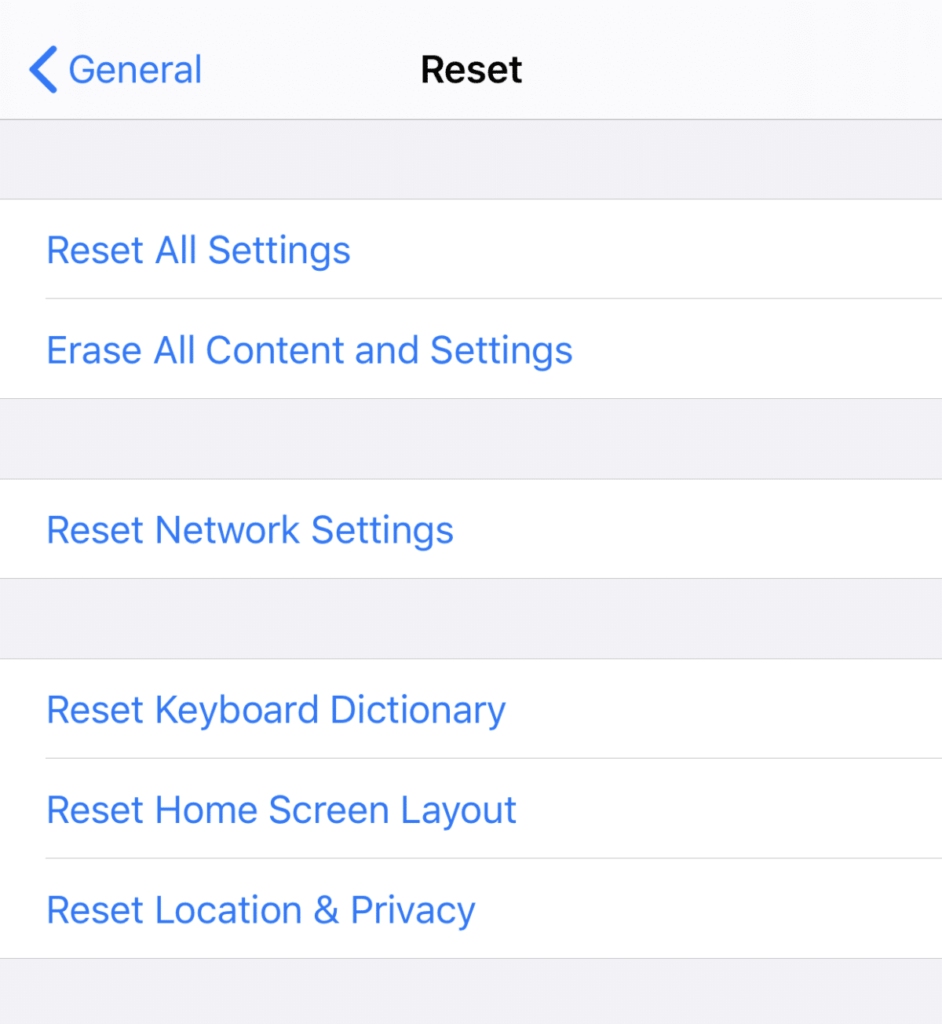
To fix this, follow the steps below to reset your iPhone:
- On your device, go to the home screen and open the Settings app.
- After that, open the General tab and tap on Reset.
- Lastly, tap on Erase All Content and Settings. Follow the on-screen prompts to confirm the action.
After resetting your iPhone, connect it to your computer again and see if you can now update or restore your backup.
7. Use Dr.Fone.
If you have issues with your iPhone or any iOS device, try using Dr.Fone to make your problems go away.

Dr.Fone is a system repair tool for iOS devices that suffers from booting issues, corrupted files, and other errors. The software is available for both Windows and macOS operating systems and works for all iOS devices.
It can fix known iOS system issues like white screen, stuck in recovery, white Apple logo, and more.
Use Dr.Fone now and fix the error code 9 on iPhone without losing data.
8. Restore iPhone in Recovery Mode.
If you’re still having issues updating or restoring a backup on your iPhone, you can try booting your device in recovery mode. Recovery mode will allow iTunes to troubleshoot any problems that may have occurred on your iPhone’s operating system.
For iPhone 8 and newer models, follow the guide below to boot your device into recovery mode:
- First, open iTunes on your computer and connect your iPhone.
- After that, press and release the Volume Up button, followed by the Volume Down button.
- Finally, release the Volume Down button and hold down the Side button until you see the Recovery Mode screen.
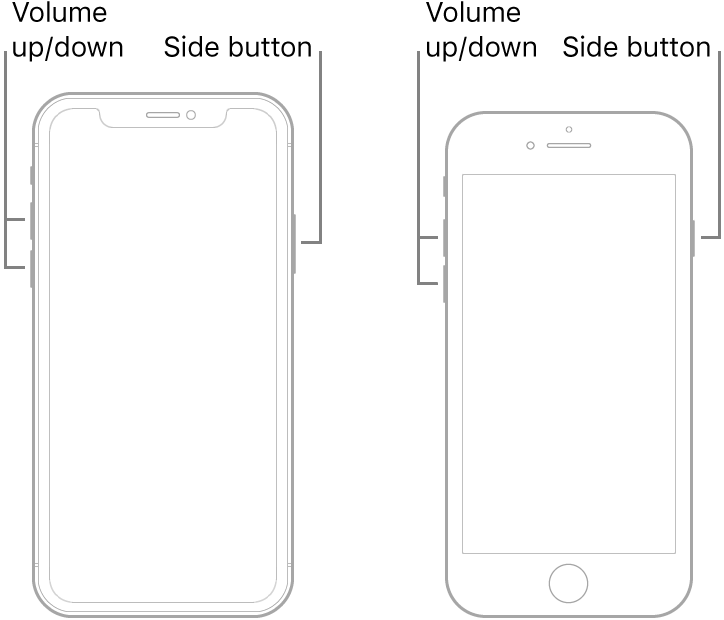
If you are using an older iOS device, follow the steps below to enter recovery mode:
- Connect your iPhone to the computer and open iTunes.
- After that, press and hold the Home and Power button.
- Lastly, release the buttons once you see the Recovery Mode screen.

Now that your device is in recovery mode, try updating or restoring it to see if the error code 9 would still occur.
9. Contact Apple Support.
If the error code 9 still occurs when updating or restoring your iPhone, we suggest that you ask Apple for help.
Visit the nearest Apple Store in your location and ask them to check your iPhone for possible hardware or software issues. However, keep in mind that due to the current situation with COVID-19, some stores could be closed in your area.
This wraps up our guide in fixing the error code 9 when updating or restoring your iPhone. If you have any questions, please let us know in the comment section below, and we’ll do our best to help you out.
If this guide helped you, please share it. 🙂
