

Facing Event ID 7023 error in Windows 10 and are clueless how to resolve the issue?
If you are one of the curious individuals who like to keep an eye on what is happening under the hood of their operating system, you may find yourself frequently scanning the Event Viewer.
Using the Event Viewer, users can view application and system messages, such as errors, information messages, and warnings, which gives them the ability to troubleshoot a variety of Windows problems.
Recently, a number of users reported that their Windows crashes unexpectedly, and the Event Viewer displays an error message with the Event ID 7023. We had a look into this matter and discovered that it can be caused by a number of reasons, including corrupt system files and termination of the Connected Devices Service.
If you are facing a similar issue, you are in the right place because in this guide, we are going to walk you through several relevant troubleshooting steps in detail.
Let’s get started.
1. Run DISM and SFC Scans.
It is common for the error at hand to occur due to corruption errors in the system. Luckily, Windows comes with several built-in troubleshooting utilities that are specifically designed to tackle issues like the Event ID 7023 error in Windows 10.
Two such handy utilities are DISM and SFC, which scan your operating system for issues, identify them, and then resolve them with little to no users input. If your screen is displaying the Event ID 7023 error, then the first thing that you should do is run DISM and SFC scan.
If a corruption error is a culprit behind the issue, these tools with resolve the issue in no time.
Here is what you need to do:
- Type cmd in the search bar and click on Run as administrator to launch elevated Command Prompt.
- Inside the Command Prompt window, type the command mentioned below and hit Enter to execute it.
sfc /scannow
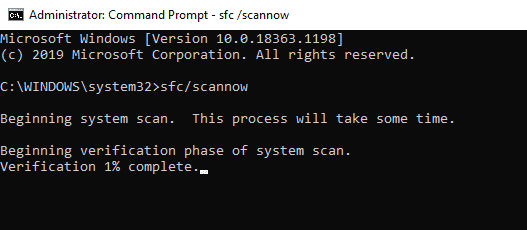
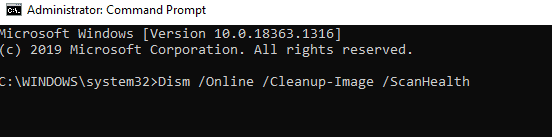
- If the System File Checker detects issues, it will resolve them. Once done, open Command Prompt by following the first step again.
- Now type the command mentioned below in the elevated Command Prompt and hit Enter to execute the command.
DISM /online /Cleanup-Image / ScanHealth
- Next, execute the following command.
DISM /Online /Cleanup-Image /RestoreHealth
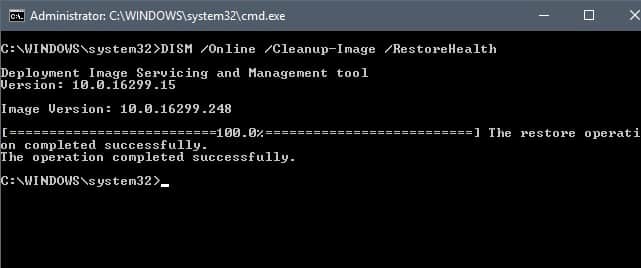
- Once done, restart your PC and check if doing so resolved the issue.
If a corruption error or bug within the system was causing the error at hand, running the SFC and DISM scans will resolve the issue.
2. Enable Connected Devices Platform Service.
As we mentioned earlier, the issue at hand can be caused by the termination of the Connected Devices Service.
However, before we proceed with finding a solution, you need to know that this service involves connecting external devices and peripherals. This includes Bluetooth, external storage, keyboard mouse, printers, cameras, and smartphones. In the event that the service is terminated, you may face issues using those devices.
If this scenario is applicable, then simply enabling the Connected Devices Service can help you resolve the issue.
Here is how you can do that:
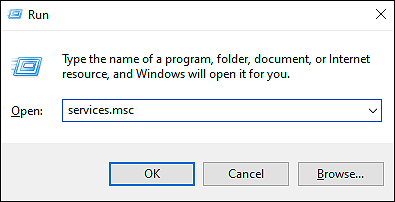
- Press Windows + R keys on your keyboard simultaneously to open a Run dialogue box.
- In the text field of the dialogue box, type ‘services.msc‘ and hit Enter. Doing so will launch Services window on your computer.
- Now locate and double-click on Connected Devices Platform Service.
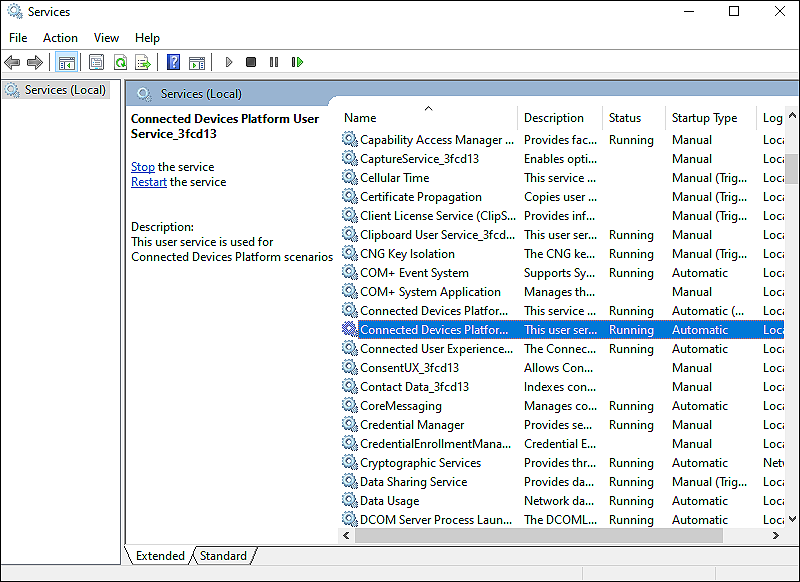
- Expand the dropdown menu against Startup type and select Automatic (delayed).
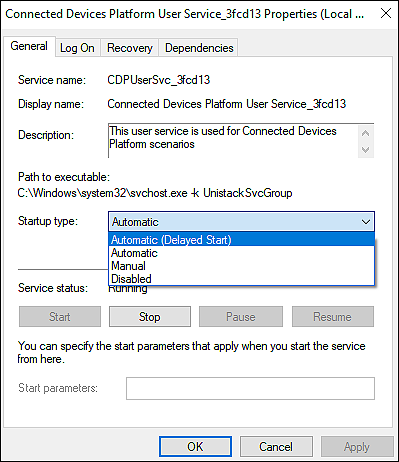
- If the service is not running already, click on the Start button and hit Apply to save the changes.
If the Connected Devices Platform Service was disabled, enabling it will resolve the issue at hand.
3. Enable Network Connection Broker Service.
If you are unable to enable the Connected Devices Platform Service, check whether the dependencies it needs are enabled, which includes Network Connection Broker Service.
In the event that the Network Connection Broker has been stopped, disabled, or is no longer functioning correctly, the Connected Devices Platform Service cannot be launched.
Here is how you can enable Network Connection Broker Service:
- Press Windows + R keys on your keyboard simultaneously to open a Run dialogue box.
- In the text field of the dialogue box, type ‘services.msc‘ and hit Enter. This will launch Services window on your computer.
- Locate Network Connection Broker service on your screen and double-click on it.
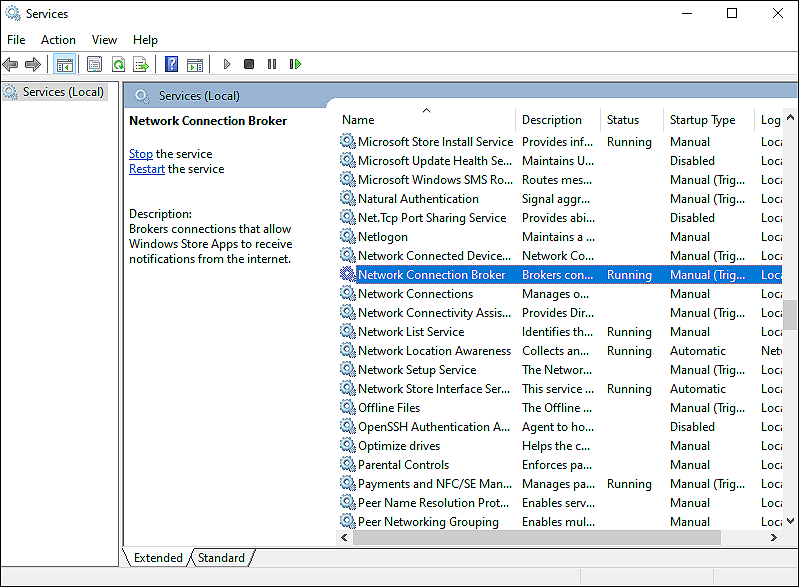
- Now expand the dropdown menu against Startup type and select Automatic.
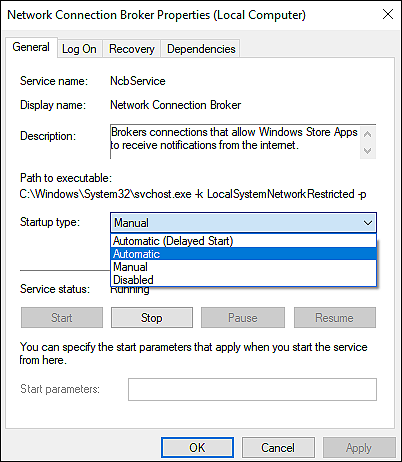
- Click on the Start button if the service isn’t running already and hit Apply to save the changes.
This should resolve the Event ID 7023 error in Windows 10.
4. Restart the Service.
In case the Connected Devices Platform Service was already enabled, try restarting it.
Restarting the service helps keep it running efficiently and can often speed up performance if you’ve been having issues.
Here is how you can restart the Connected Devices Platform Service on your PC:
- Open the Services window as mentioned earlier.
- Locate Connected Devices Platform Service and double-click on it.
- Go to the Recovery tab and expand the dropdown menu against Subsequent failures.
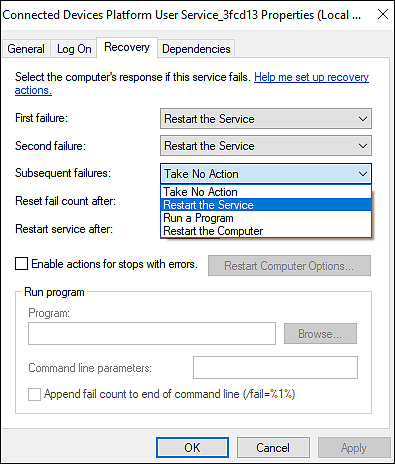
- Choose Restart the Service and press the Apply button to save your new service settings.
Hopefully, restarting the service will help you fix the error under consideration.
5. Enable the Share Across Devices Option.
There is a working solution reported on the Microsoft Forums, which relates to Shared experiences, strangely enough.
Several users managed to resolve the issue at hand by enabling the Share across devices option, which is why we encourage you to give it a shot.
Here is all that you need to do:
- Go to Settings and click on System.
- In the next window, select Shared experiences from the left pane.
- Locate Share across devices option in the right pane toggle it on if it’s off.
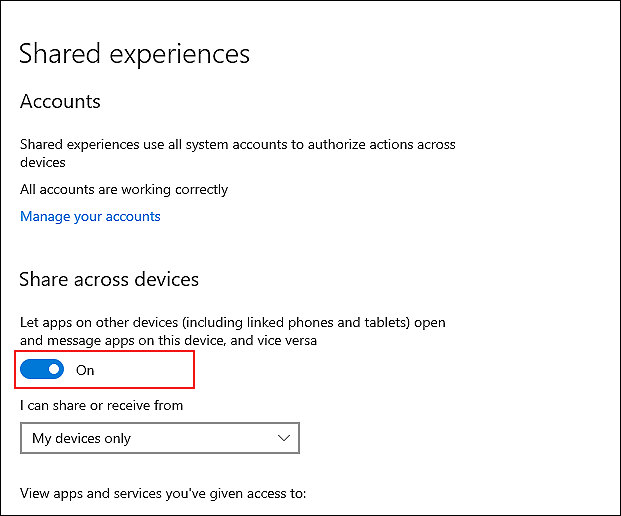
In case, the error at hand had to do something with the Shared experiences feature, following the steps mentioned above should help you resolve it.
6. Try Using CleanMyPC.
The corruption errors within your computer system are also commonly responsible for errors like the one under discussion.
In case you haven’t deep cleaned your PC and cleared the junk files in a while, now can be the time to do so, because not taking action now can lead to further issues in your PC.
You can get rid of junk files and viruses within your computer system using a well-to-do PC cleaner and we highly recommend using CleanMyPC if you’re looking for a recommendation.

CleanMyPC comes with a wide range of system maintenance tools including (but not limited to) a Multi Uninstaller, Registry Cleaner, and a Speed Booster. You can use these tools to address all your system-related problems such as slow performance, sluggish performance, or privacy threats.
The best thing about CleanMyPC is that it is a lot simpler to use than the other cleaners offered online, so even if you are a first-time user, you will be fine!
7. Clean Boot Windows.
In case none of the methods above work for you, there is a chance that a background program in your operating system is causing the problem.
With a clean boot state, you will be able to identify the faulty background program with a minimum set of drivers. Once the culprit is identified, you can uninstall that program and hopefully, the error at hand will be resolved once and for all.
Here is how you can clean boot your PC:
- Type System Configuration in the search bar and go to the Services tab.
- Checkmark the Hide all Microsoft services box and click Disable all.

- Now go to the Startup tab and click on Open Task Manager.
- Disable all the items inside the window and restart your PC.
- Upon restarting, try installing the updates again.
Hopefully, a clean boot will resolve the issue once and for all.
This brings us to the end of our guide on fixing the Event ID 7023 error in Windows 10. We tried walking you through all the steps in detail and hope that one of the methods mentioned above did the trick for you. In case you still have any confusion about the methods, please let us know in the comment section below!
If this guide helped you, please share it. 🙂
