

Is your Windows 11 showing the Windows 10 taskbar after installation?
The brand new Taskbar is the first thing you will notice when you install the newest version of Windows. Windows 11 includes a completely overhauled taskbar that places app icons and the start menu in the center.
However, several users recently reported that after updating their PC, they notice the same old Windows 10 Start menu and Taskbar on Windows 11. This problem was discussed on both Reddit and Microsoft’s website.
If you are facing a similar issue, you are in the right place because in this guide, we will walk you through relevant troubleshooting methods in detail. All the methods are easy to execute, and should not take much of your time.
Let’s get started!
1. Use Command Prompt.
The first way to fix the issue at hand is by using Command Prompt, which is a command-line interpreter included in Windows by default.
This is a temporary fix for the issue released by Microsoft engineers, and it will help you get rid of the Registry keys that are displaying the old version of the taskbar on your computer.
Here is what you need to do:
- Type Task Manager in the search bar and hit Open.
- If your screen displays a minimized version of Command Prompt, then click on More details to view the full screen.
- Inside the Task Manager window, click on File from the top-right corner and select Run a new task.
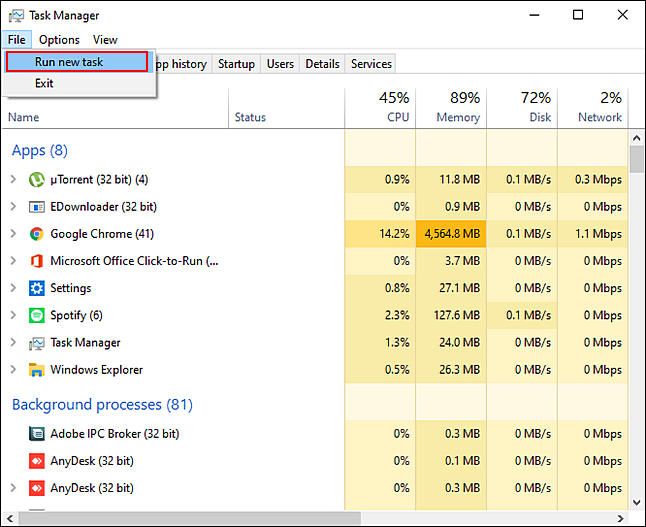
- Now type cmd in the text field of the Create a new task interface pop-up and hit Enter.
- Once you are inside the Command Prompt window, type the command mentioned below and hit Enter to execute it.
reg delete HKCU\SOFTWARE\Microsoft\Windows\CurrentVersion\IrisService /f && shutdown -r -t 0
- Your PC should now reboot.
Wait for the process to complete and then check if the issue is resolved.
2. Use Windows Registry.
Windows’ Registry is a database that stores information about an operating system’s processes and applications. During relevant operations, Windows relies on the Registry Editor for vital information. This makes the Registry Editor an important component of our operating system.
If you have multiple PC users and want to make administrative-level changes on all the standard user accounts, Windows Registry can help you.
Here is how you can modify Windows Registry to fix the taskbar issue on Windows 11:
- Press Windows + R keys simultaneously on your keyboard to open a Run dialogue box.
- Inside the text field of the dialogue box, type regedit and hit Enter. This will launch Windows Registry on your PC.

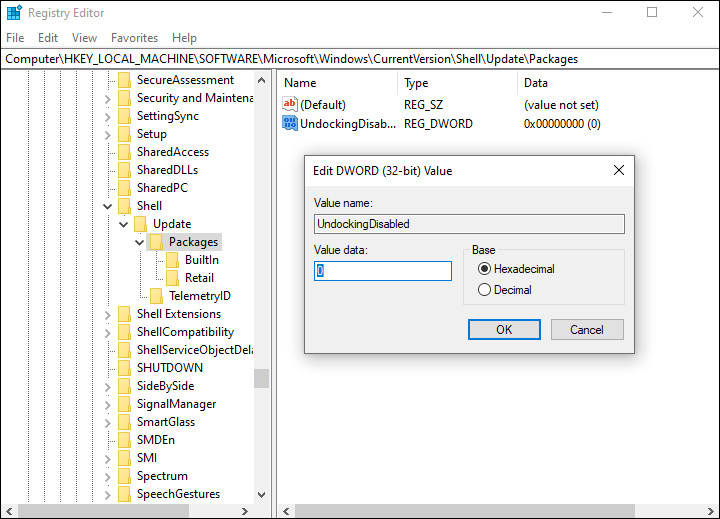
- Once you are inside the Registry Editor, navigate to the location mentioned below.
HKEY_LOCAL_MACHINE\SOFTWARE\Microsoft\Windows\CurrentVersion\Shell\Update\Packages
- Now right-click anywhere in the right pane and select the New > Dword (32-bit) Value option.
- Rename this newly created value as UndockingDisabled and hit Enter.
- Next, double-click on UndockingDisabled value and under Value data, type 1.
Finally, restart your PC to save the changes.
3. Try Using CleanMyPC.
Have you recently cleaned out your computer and removed files that took up too much space? You are likely experiencing the error under consideration because you haven’t removed these corrupt junk files recently.
The simplest way to remove these junk files is by using an efficient PC cleaner. If you’re looking for a recommendation, we recommend CleanMyPC.

A simple yet effective cleaner, CleanMyPC will scan your operating system and fix any issues on its own. It comes with a wide range of system maintenance tools like a Multi-Uninstaller, Registry Cleaner, and Speed Booster that can take care of all your PC-related issues in no time.
Install CleanMyPC now and get your PC up and running like new in no time!
4. Reinstall Windows 11.
If none of the methods mentioned above works for you, then we encourage you to go ahead and reinstall Windows 11.
Don’t worry, you will not lose your important data, since only mounting a Windows 11 ISO and then accessing setup.exe is going to resolve the error. In this process, we will only modify the system files.
Here is what you need to do:
- Navigate to the official Microsoft website and sign in using your credentials.
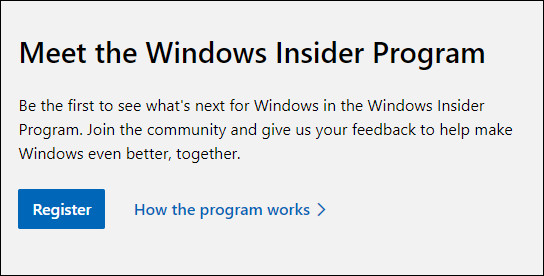
- In the next window, click on the Register button in the Meet the Windows Insider Program section.
- Now click on Register now button and in the next window, hit the Flight now button.
- Next, click on the ‘Download a Windows Insider Preview ISO’ link.
- Select a Windows 11 Insider Preview edition according to your preferences. We recommend going with the Windows 11 Insider Preview (Beta Channel) edition since it is more stable.
- Now hit Confirm and follow the on-screen instructions to proceed.
- In the last window, click on the download button and wait for the process to complete.
- Once the file is installed, open it and double-click on setup.exe from the list of options available.
- In the first prompt, click on Not right now and hit Next to proceed.
- At the next screen, select Accept.
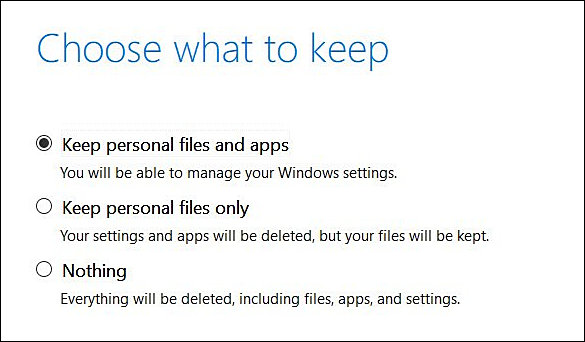
- Next, choose Keep personal files and apps and click on Next again.
Finally, wait for the process to complete and then reboot your PC.
This brings us to the end of our guide on ways to fix Windows 11 showing the Windows 10 taskbar. We tried walking you through all the steps in detail and hope that one of the methods mentioned in this post did the trick for you. In case you still have any confusion about the steps, please let us know in the comment section below!
If this guide helped you, please share it. 🙂
