

Are you planning to put your iPhone or iPad in ‘Recovery Mode’ but don’t know how to do it?
We always use our phones every day as it has become a necessity in our lives. However, it can be disappointing to see Apple’s well-loved iPhone or iPad suffering from really simple issues such as the screen not being responsive to touch or when it stops working after doing an update.
In case you have exhausted all kinds of troubleshooting on such issues, it is best to put your device in ‘Recovery Mode’ to resolve them. What is ‘Recovery Mode’, and how can it help fix your issues?
In this article, we will explain why you need to put your iPhone or iPad in ‘Recovery Mode’ and also guide you through the steps on how to do it.
Without further ado, let’s dive right in!
- 1. Why Should I Put My iPhone or iPad In Recovery Mode?
- 2. Recovery Mode VS Restore Factory Settings.
- 3. How to Put Your iPhone or iPad In Recovery Mode: Step-By-Step.
- 4. Use Dr. Fone.
- 5. FAQ: Help! Putting My iPhone or iPad In Recovery Mode Did Not Fix My Issues.
1. Why Should I Put My iPhone or iPad In Recovery Mode?
Suppose you are experiencing issues such as your device refusing to boot (wherein the screen is getting stuck on the Apple logo showing no progress bar for several minutes), or it probably crashes on startup. In that case, you can put your device in ‘Recovery Mode’, then restore it using your Mac.
Putting your iPhone or iPad in ‘Recovery Mode’ helps save your device by resetting it and reinstalling the iOS or iPadOS using iTunes on your Mac. This may be easy to do, but you need to take note that this always has to be the last step in your troubleshooting.
2. Recovery Mode VS Restore Factory Settings.
You must be wondering what is the difference between putting your iPhone or iPad in ‘Recovery Mode’ and restoring it to the factory settings. Are you ready to find out?
‘Recovery Mode’ allows your device to reinstall its OS without having to erase your data. However, a factory restore erases the information and settings on your device before installing the latest version of the OS.
If you have already put your iPhone or iPad in ‘Recovery Mode’ and still did not resolve your issue, you can try restoring it to the factory settings.
Here’s how you can ‘Restore’ your iPhone to its factory setting:
- Begin by opening your iPhone’s Settings app.
- Then go to General and look for Reset.
- Next, select Erase All Content and Settings.

- Once prompted, enter your passcode or Apple ID password.
- After that, confirm that you want to erase your device to proceed.
- Finally, it can take a few minutes to entirely erase your data, depending on your device.
Once you’re done with all of that, you should be all set. Hopefully, you won’t need to reach this step, and putting your iPhone or iPad in ‘Recovery Mode’ will be enough.
3. How To Put Your iPhone Or iPad In Recovery Mode: Step-By-Step.
Like what we previously mentioned, putting your iPhone or iPad in ‘Recovery Mode’ helps save your device by resetting it, then reinstalling its OS using iTunes on your Mac. This can repair even the most severe system errors like the screen being unresponsive to touch.
Before performing this, you need to ensure that your Mac or iTunes application is up-to-date. It will also save you time, plus it is a good habit to update your Mac or iTunes to the latest version.
Here’s how you can put your iPhone 8 or later in ‘Recovery Mode’:
- Begin by connecting your iPhone or iPad to your Mac.
- Next, open Finder (on Catalina) or iTunes (on Mojave or lower versions).
- After that, press and quickly release your iPhone’s Volume up button.
- Then repeat this step for the Volume down button.
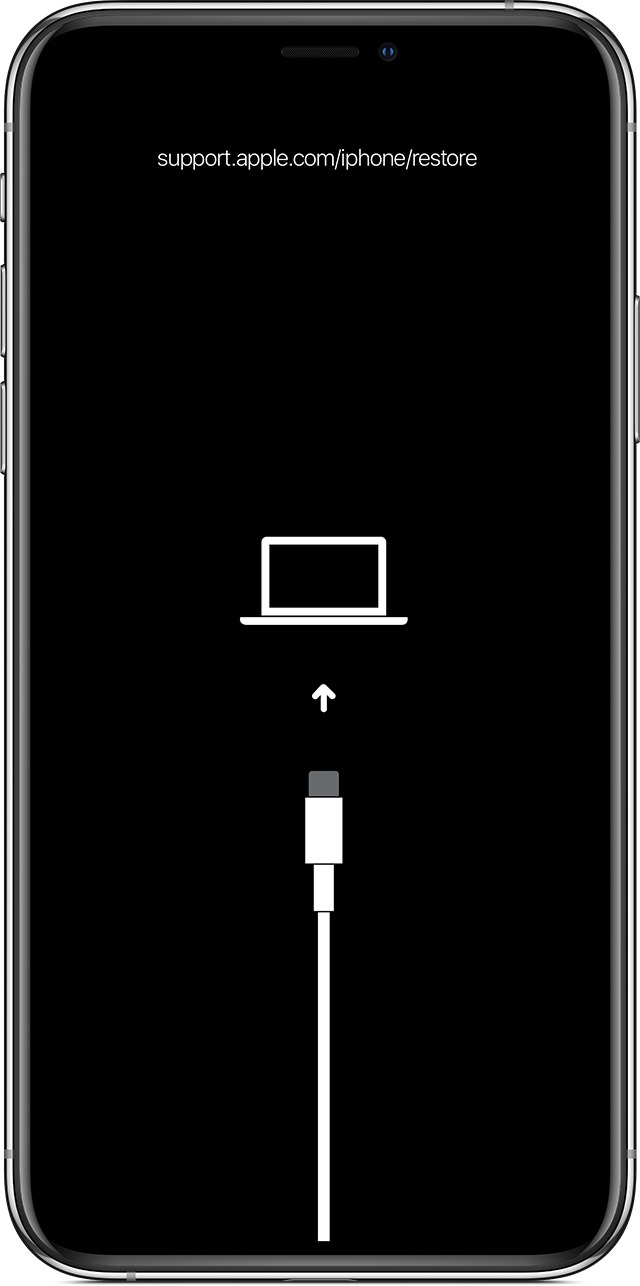
- Once that is done, press and hold the Side button until you reach the ‘Recovery Mode’ screen.
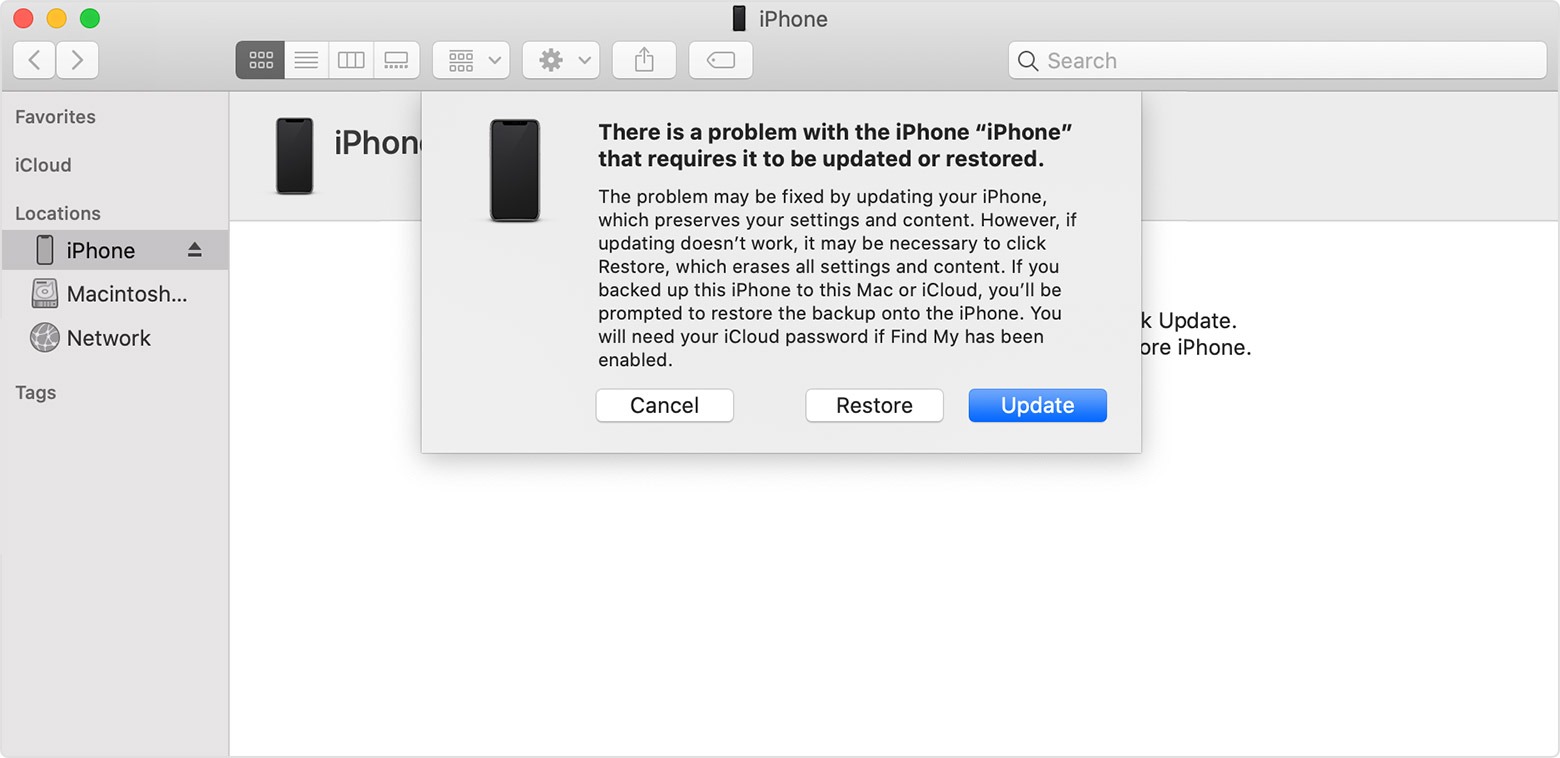
- A window should open up on your screen asking you to choose between Update or Restore. Choose Update.
- Finally, wait for a few minutes until the update has been completed.
Here’s how you can put your iPhone 7 and iPhone 7 Plus in ‘Recovery Mode’:
- Begin by connecting your iPhone or iPad to your Mac.
- Next, open Finder (on Catalina) or iTunes (on Mojave or lower versions).
- After that, press and hold the Top (or Side) and Volume down buttons at the same time.
- Then keep on pressing and holding both buttons until you reach the ‘Recovery Mode’ screen.

- A window should open up on your screen asking you to choose between Update or Restore. Choose Update.
- Finally, wait for a few minutes until the update has been completed.
Here’s how you can put your iPad without a ‘Home button’ in ‘Recovery Mode’:
- Begin by connecting your iPhone or iPad to your Mac.
- Next, open Finder (on Catalina) or iTunes (on Mojave or lower versions).
- After that, press and quickly release your iPhone’s Volume up button.
- Then repeat this step for the Volume down button.
- Next, press and hold the Top button until your iPad begins to restart.
- After that, keep on pressing and holding the Top button until you reach the ‘Recovery Mode’ screen.
- A window should open up on your screen asking you to choose between Update or Restore. Choose Update.
- Finally, wait for a few minutes until the update has been completed.

Here’s how you can put your iPad with a Home button and iPhone 6s or earlier in ‘Recovery Mode’:
- Begin by connecting your iPhone or iPad to your Mac.
- Next, open Finder (on Catalina) or iTunes (on Mojave or lower versions).
- After that, press and hold both the Home and Top (or Side) buttons simultaneously.
- Then keep on pressing and holding both buttons until you reach the ‘Recovery Mode’ screen.
- A window should open up on your screen asking you to choose between Update or Restore. Choose Update.
- Finally, wait for a few minutes until the update has been completed.

Now, check if your issue has been resolved. Fortunately, the same issue will not appear again, but if it does, you will know what to do now.
Furthermore, you have unlocked another skill in troubleshooting issues in your iPhone and iPad. Congratulations!
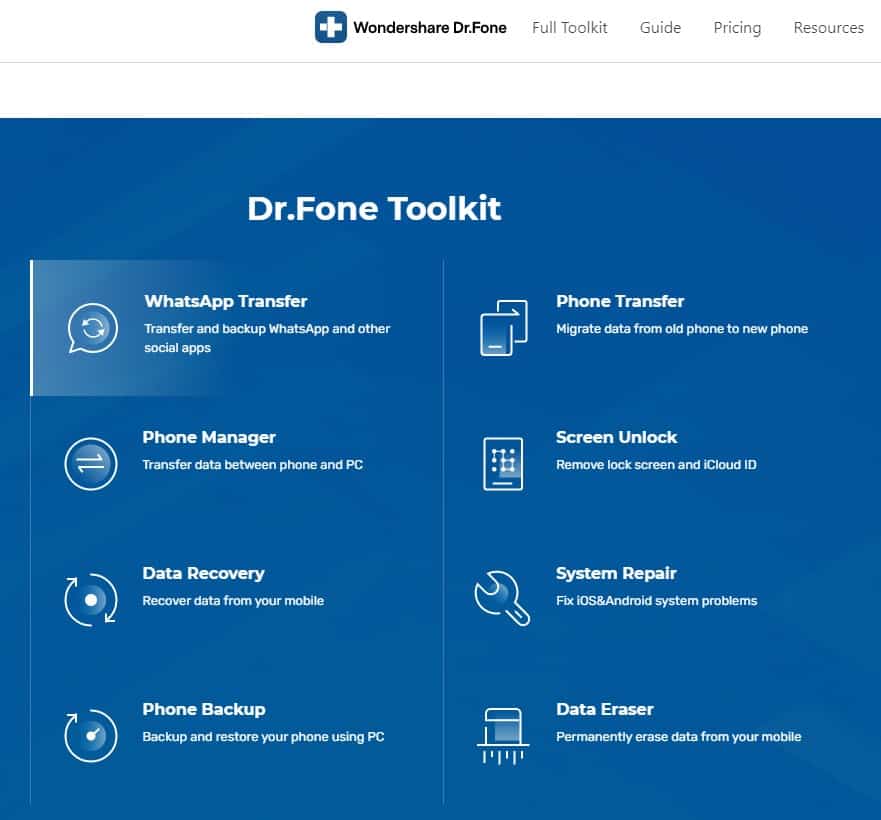
4. Use Dr. Fone.
Have you already used Dr. Fone?
If you haven’t heard about Dr. Fone, this amazing tool ensures that your privacy is thoroughly protected with its data encryption and advanced fraud protection features. To top it off, it is an all-in-one tool that you can use for data recovery and data eraser, phone transfer and phone backup, and many more. Plus, it can be used for both iOS and Android devices!
Data loss or performance issues such as screen unresponsiveness will no longer be a problem as this is all the tool that you will need. It is very efficient and a money-saver since you don’t need to use various software for every type of actions.
Did we also say that it is really easy to use? You can probably compare it to iTunes, but this is definitely way better than iTunes.
See it to believe it!
5. FAQ: Help! Putting My iPhone or iPad In Recovery Mode Did Not Fix My Issues.
Why is my iPhone or iPad still having issues even after putting it in ‘Recovery Mode’? There can be different possibilities as to why this is happening, but one of the most common reasons is that it can be a hardware issue.
If it is an issue with the structure or physical build of your iPhone or iPad, putting your iPhone or iPad in ‘Recovery Mode’ will not really work in this scenario. This will be difficult to troubleshoot by yourself, so it is best to reach out to Apple Support and go to your nearest Apple Store.

Always ensure that you have a backup of all your data before going to the nearest Apple Store as Apple support may proceed with restoring your iPhone to its factory setting, which will delete all your data. However, you are also free to ask for a refund or an exchange if you no longer wish to go through all of this.

Now, this wraps up our article. If you have any questions or concerns, you can comment down below. We are eager to hear your feedback!
If this guide helped you, please share it. 🙂
