

Do you see a media offline error on Adobe Premiere Pro?
Adobe Premiere Pro is a premium video editing software developed by Adobe Inc. Premiere Pro was released in 2003 and has established itself as one of the best video editing tools in the world.
While Adobe Premiere Pro is undoubtedly one of the best, this doesn’t mean that the software is flawless.
Like any application, Adobe Premiere Pro can suffer from bugs and errors.
One issue you might face on Adobe Premiere Pro is the ‘media offline’ error. Usually, this issue occurs whenever you rename a file that is linked to one of your projects. What happens is that Adobe Premiere Pro can’t locate the file you’re working on since its name was changed.
However, the ‘media offline’ error on Adobe Premiere Pro can also occur due to corrupted files and outdated software.
Today, we will show you how to fix the ‘media offline’ error on Adobe Premiere Pro.
Let’s get started!
Locate the Missing or Offline Clips
Whenever Adobe Premiere Pro can’t find a media asset on your storage, you’ll see the ‘media offline’ screen. To fix this, you’ll need to identify which clips are currently offline on your project.
Simply navigate to the project panel or hit SHIFT + 1 on your keyboard. In the project panel, the offline clips will have a small question mark to the left of their name.
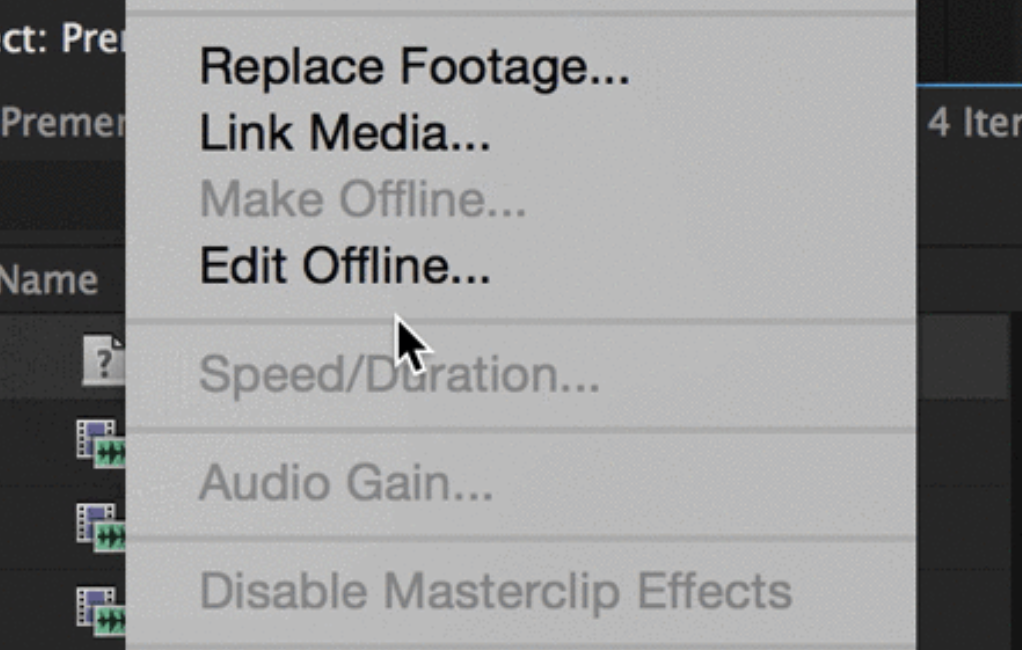
Now, highlight all the missing clips on your project, right-click on them, and choose the Link Media option.
Locate the Original Files
After clicking the Link Media option, Adobe Premiere Pro will show a new window called “Media Browser”. This works similarly to a regular file explorer like the Finder on Mac and Explorer on Windows.
Choose the file you want to link and click on Locate. Now, find the clip that is missing from your project and click OK afterward.
If you encounter the ‘media offline’ error after moving a project folder to a new location, your missing clips might get automatically linked. Continue linking your files until you’ve linked all the clips on your project.
Verify Your Project Files.
After linking all the clips on your project, it’s good to verify them before continuing on your project. This way, you’ll know immediately if your video clips are working or the files got corrupted.
That ends our guide for fixing this error on Adobe Premiere Pro. If you have questions or other concerns, leave a comment below, and we’ll do our best to answer them.
If this guide helped you, please share it. 🙂
