

Want to password protect a folder in Windows 11?
If you’re someone who is concerned about their privacy, then you must know the importance of password protection. Particularly if you share a PC with a group of people or have allowed access to a shared device, it is likely that other individuals can access your data.
In order to protect your personal files and documents from unauthorized access or lurkers snooping into your information, you should password-protect specific folders. In Windows 11, you can password-protect a folder by using the built-in encryption method, Bitlocker technology, and other third-party apps to protect your data.
So, if you’re looking for possible methods to protect a folder in Windows 11, you’ve landed on the right page. We’ll provide you with the basic steps to safeguard essential files and documents using encryption features or virtualization through this guide.
So, let’s begin!
1. Create a Virtual Drive.
Data protection is essential to prevent data theft and exposure to loss. Fortunately, you can do so by various methods. One way to password protect a folder in Windows 11 is by using the BitLocker technology, which is an encryption feature embedded in all Windows systems starting from Vista. It provides encryption for entire volumes by using the AES algorithm.
But before doing so, you’ll need to create a virtual drive on your Windows 11 computer, which is an isolated storage component that behaves like a physical disk drive. Creating it might seem like a difficult task, but we’ve provided detailed step-by-step instructions below for your maximum ease.
Carefully follow through with them:
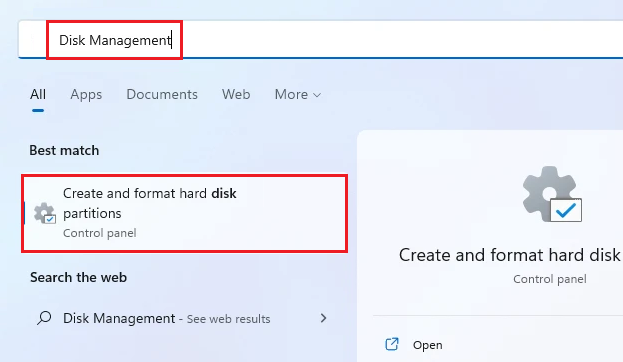
- Go to the Start menu and type out ‘disk management’ in the search bar.
- From the results, click on Create and format hard disk partitions.
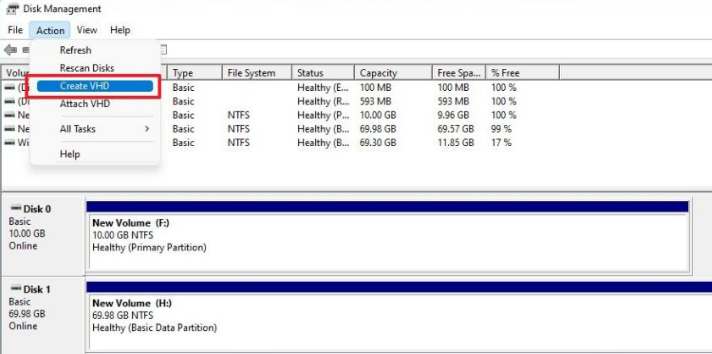
- A Disk Management window will open up. From there, click on the Action tab from the top.
- Now, select Create VHD.
- A dialog box of Create and Attach Virtual Hard Disk will appear. Now, tap on the Browse button next to Location.
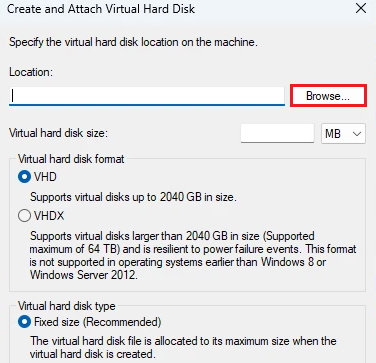
- Pick a location where you wish to save the folder.
- Now, select VHD under the Virtual hard disk format section.
- Type in the size of the folder that you want to make in the box provided for Virtual hard disk size.
- Under Virtual hard disk size, select Dynamically expanding.

- Now, click on OK to finish creating a virtual drive on your computer.
- From the Disk Management window, right-click on the second disk and choose Initialize Disk.
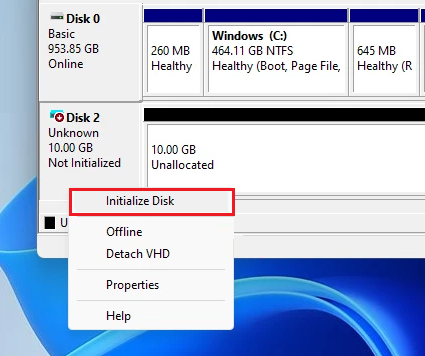
- A new window for Initialize Disk will open. Check the box for Disk 2 and select the GPT (GUID Partition Table).

- Then, click on OK.
- After that, right-click on the black bar and select New Simple Volume.
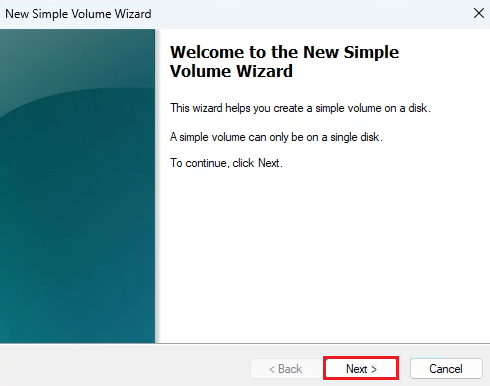
- A wizard window will appear. Click Next to continue.
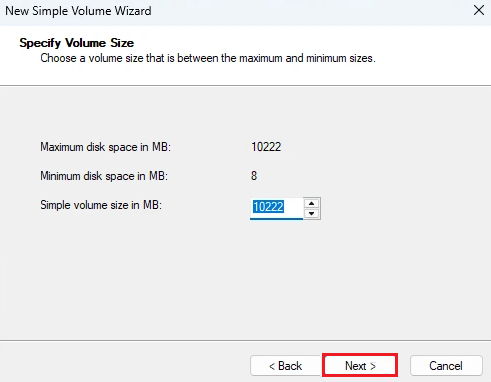
- Click on the Next button again from the next page.
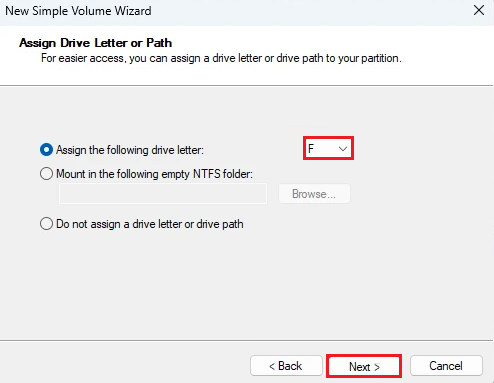
- Now, select an option from the drop-down menu next to Assign the following drive letter. Choose Next to proceed.
- Select Format this volume with the following settings and choose NTFS from the drop-down menu options for File System.
- Afterward, check the box for Perform quick format and choose Next.
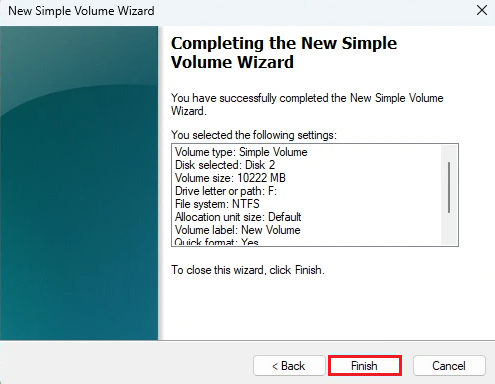
- Finally, click on Finish.
2. Use BitLocker to Set Up Virtual Drive.
Once you’ve successfully created a Virtual Drive on your computer, it’s time to password protect it using the BitLocker technology. Note that this will encrypt the entire virtual drive, so you should only place the folders inside that need additional protection.
Below are the steps you must follow:
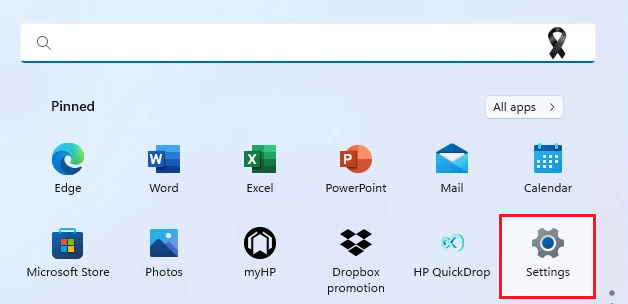
- Launch the Start menu and click on Settings. You may also access Windows Settings by pressing Win + i keys from your keyboard.
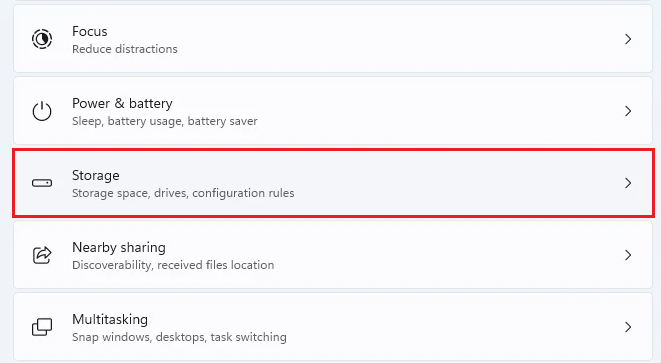
- From the System tab, click on the Storage tile from the right side of the screen.
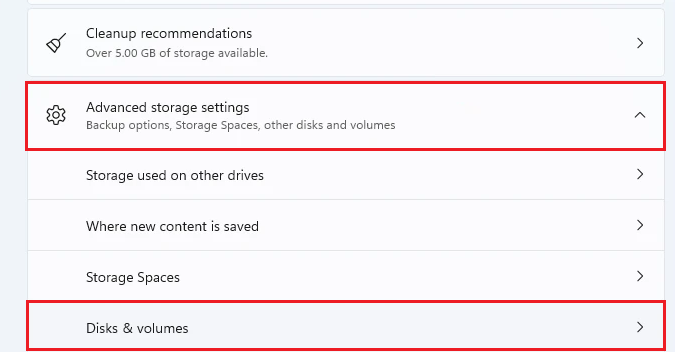
- Expand the Advanced storage settings by clicking on it.
- Now, select Disks & volumes.
- Click on the volume you created in the previous method and select the Properties button next to it.
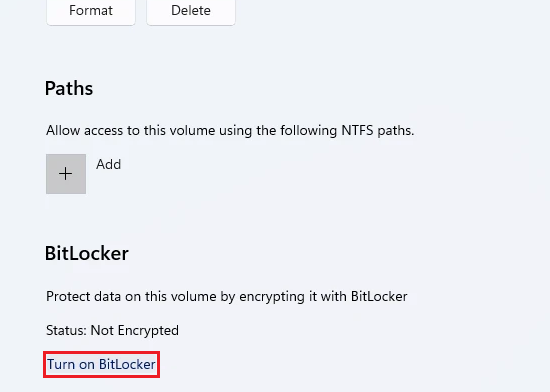
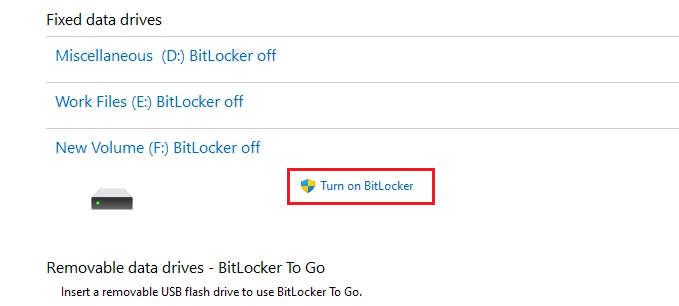
- Under the BitLocker option, click on Turn on BitLocker.
- A new window will appear. From it, click on the Turn on BitLocker option next to the new file you created earlier.
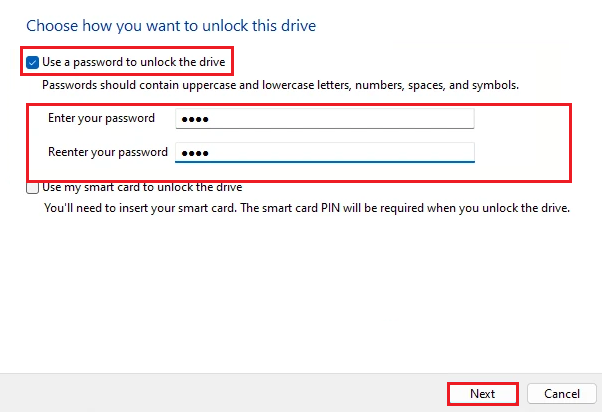
- From the new window that opens, check the box for Use a password to unlock the drive.
- Now, type in the password you want to use in Enter your password and Reenter your password boxes. Then, click on Next.
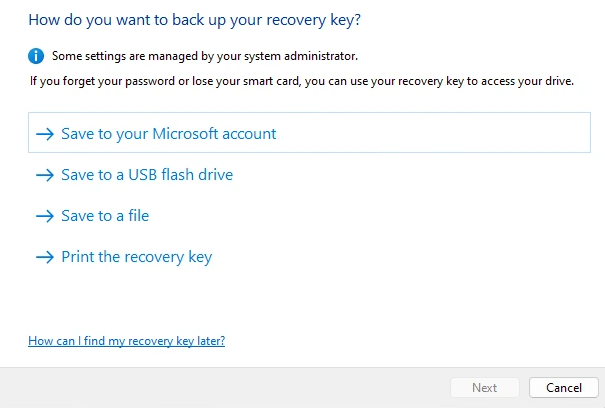
- A new window for How do you want to backup your recovery key will appear. From there, choose a suitable option.
- Next, either select Encrypt used disk space only or Encrypt entire disk and click on Next.
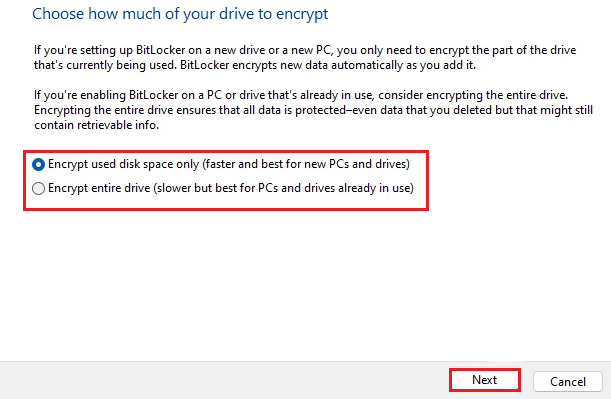
- Lastly, click on the Start encrypting button to start the procedure.
3. Lock and Unlock the Password-Protected Drive.
After creating a password for your encrypted virtual drive, you need to know how to access the encrypted data within. Below, we’ve explained how to unlock the password-protected drive and what you’ll need to do to lock it again.
Simply follow through:
- Start by going to the directory where you saved the virtual hard drive files while setting up the virtual drive.
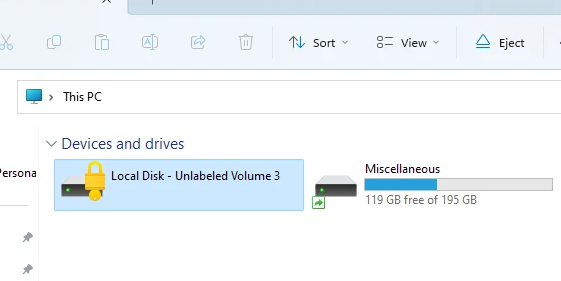
- Next, open the file containing .vhd by double-clicking on it. If you can’t access it, head to the This PC tab from the left sidebar.
- Under the Devices and drives section, click on the BitLocker drive.
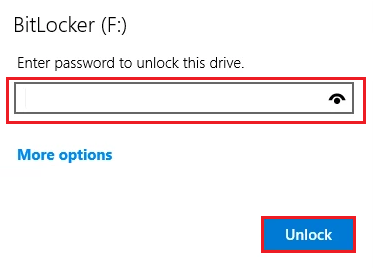
- You will be asked to enter your passcode to unlock the drive. Simply type in your password and select Unlock. This folder will now appear under Devices and drives, and you can access it easily from there.
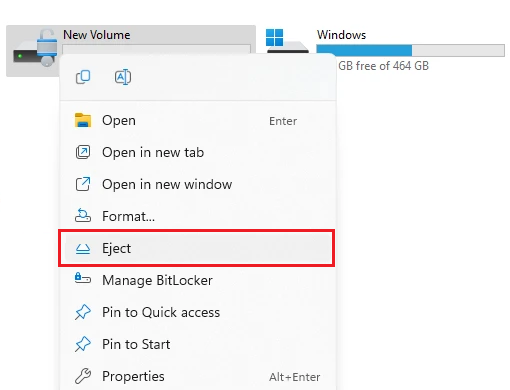
- To lock this folder again, right-click on it and choose Eject.
4. Use Built-in Encryption.
If you prefer only encrypting selected files and folders, you can use the in-built encryption tool that Windows 11 fortunately offers. The EFS or Encrypted File System allows you to encrypt or decrypt files and folders in the NTFS drives.
Follow the steps below to use this feature:
- Start by right-clicking on the file or drive that you wish to protect.
- Then, choose Properties.
- Click on the Advanced button, and from the new window that appears, check the box for Encrypt contents to secure data.
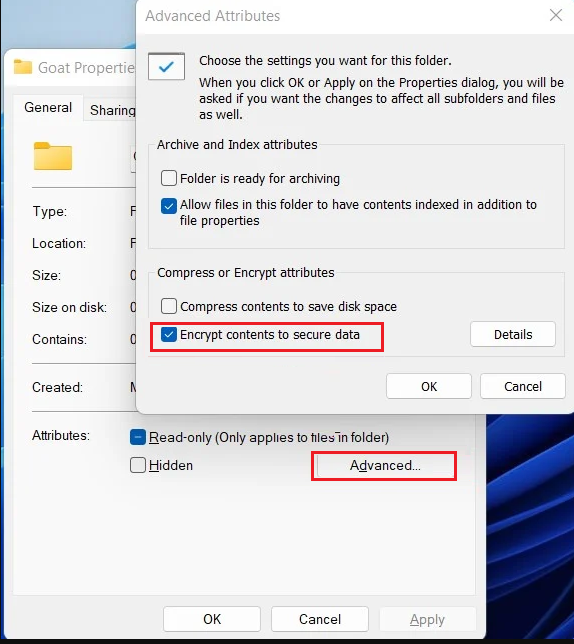
- After that, click on OK.
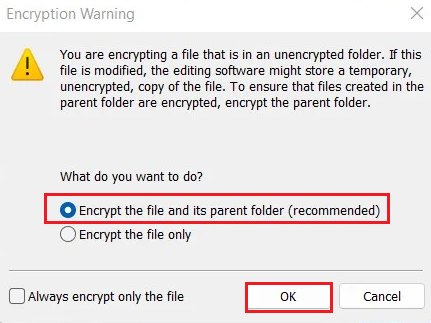
- An Encryption Warning window will open. From there, choose Encrypt the file and its parent folder (recommended) and select OK to password-protect a folder in Windows 11.
- If you’re utilizing this feature for the first time, you will come across a screen asking you to back up your encryption key. Select Back up now (recommended) and follow the on-screen instructions.
5. Use WinRAR to Lock Folder.
If you don’t prefer any of the methods mentioned above or are experiencing issues with them, you can refer to any other third-party service for data encryption. But be sure to use reliable utilities like WinRAR to password-protect a folder in Windows 11.
After installing WinRAR on your computer, use the steps below to lock a folder:
- Right-click on the file or folder that you want to protect and choose WinRAR.
- After that, click on Add to archive.
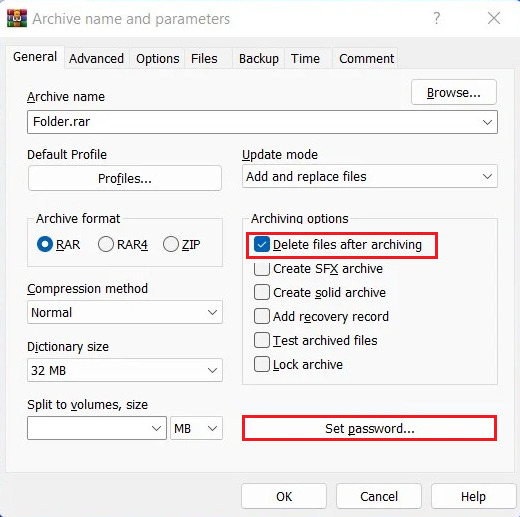
- From the new window that appears, check the box for Delete files after archiving under the Archiving options section, then select Set password.
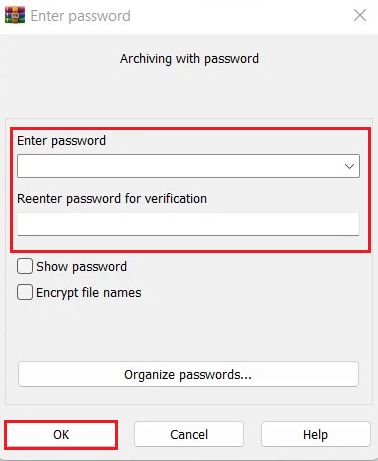
- Now, type in the password in the Enter password box. Reenter the same password in the Reenter password for verification box.
- Lastly, click on OK.
This brings us to the end of our guide on how to password protect a folder in Windows 11. For more queries, do not hesitate to communicate with us through our comment section below. We’ll get back to you as soon as we can.
If this guide helped you, please share it. 😊
