

Want to remove system junk on Windows 11 for an optimal experience?
Your system performance largely depends on the available device storage and clean drives. That means the accumulation of unnecessary files and data may result in your PC becoming slow and sluggish. Hence, cleaning your computer on a regular basis becomes mandatory so you can have the experience you signed up for when installing Windows 11.
Thankfully, Microsoft ensures you have all the required tools and provides you with several in-built features that enable you to remove system junk on Windows 11. These may include temporary files of installed applications, software leftovers, cache, updated logs, junk internet files, and more.
How to get rid of them, you ask? Well, we’ve brought you this detailed guide to inform you of all the different methods to get your storage back and enhance the overall performance.
So, what’s the delay for? Let’s get going!
1. Delete Temp Files.
Initially, temp files created by installed programs provide a smooth experience. But over time, these data files accumulate and take up unnecessary storage in your system. Some programs you may not even use or have removed may have left a huge number of temp files. Hence, it is necessary that you delete these files in order to clear some space.
Now Windows provides quite a few methods through which you can delete the temp files in your computer. Let’s go through each one in detail.
To use Windows Settings to delete temp files, follow the steps below:
- Go to Windows Settings by pressing Win + i keys on your keyboard.
- On the System tab, click on Storage from the right side of the screen.
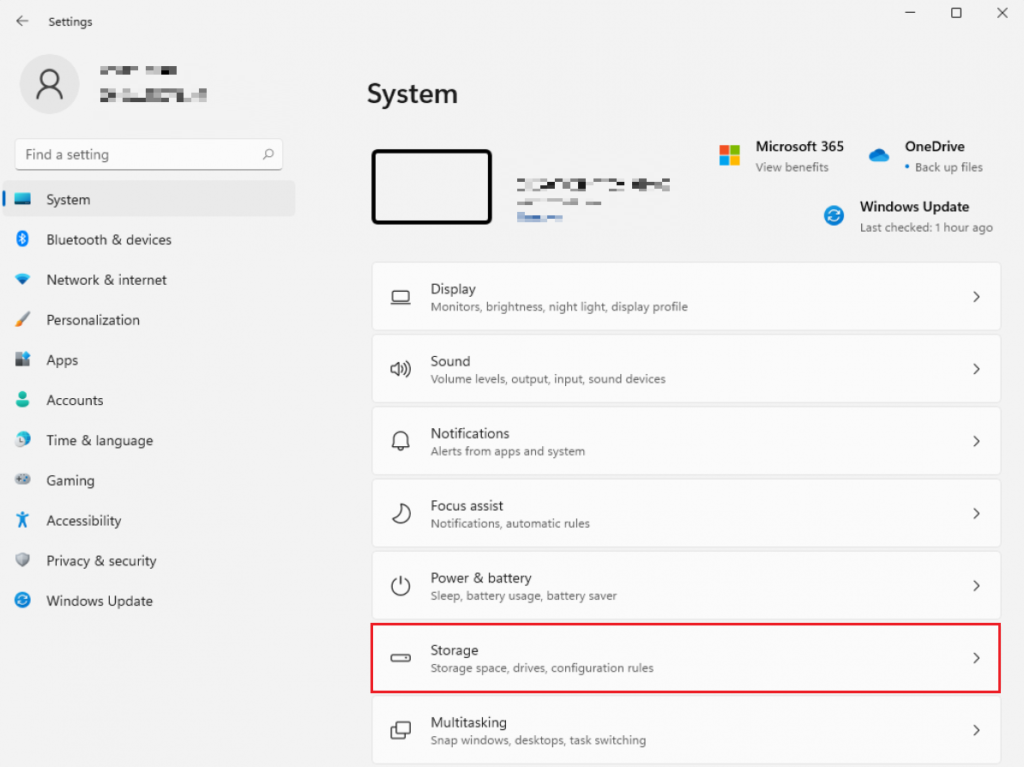
- Scroll down and locate Temporary files. Then, click on it.
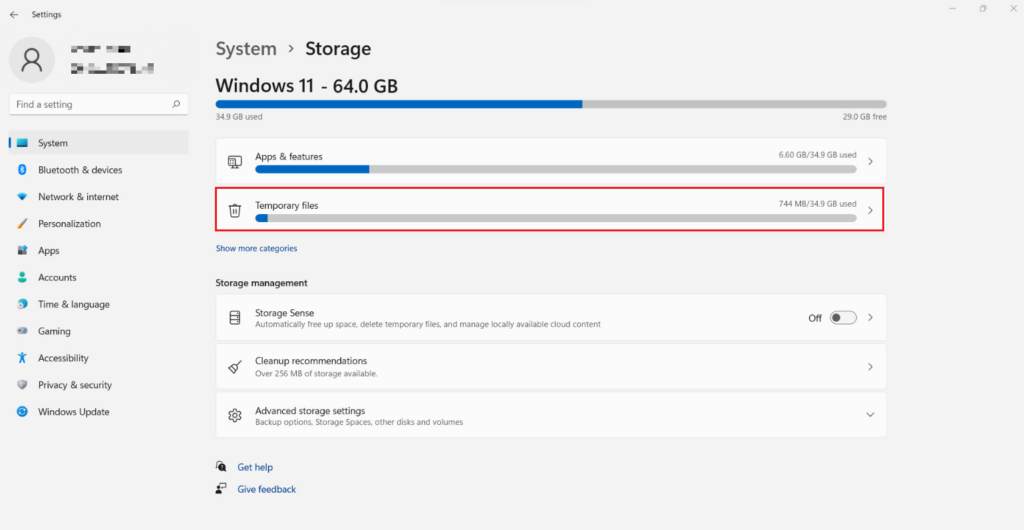
- Now, wait for Windows to scan the temporary files within your PC and show you a complete list.
- Afterwards, click on the boxes next to the ones you wish to remove and uncheck the boxes for the files you want to keep.
- Lastly, choose Remove files from the top to remove the selected temporary files.
You can also delete temp files from Command Prompt. Here’s how:
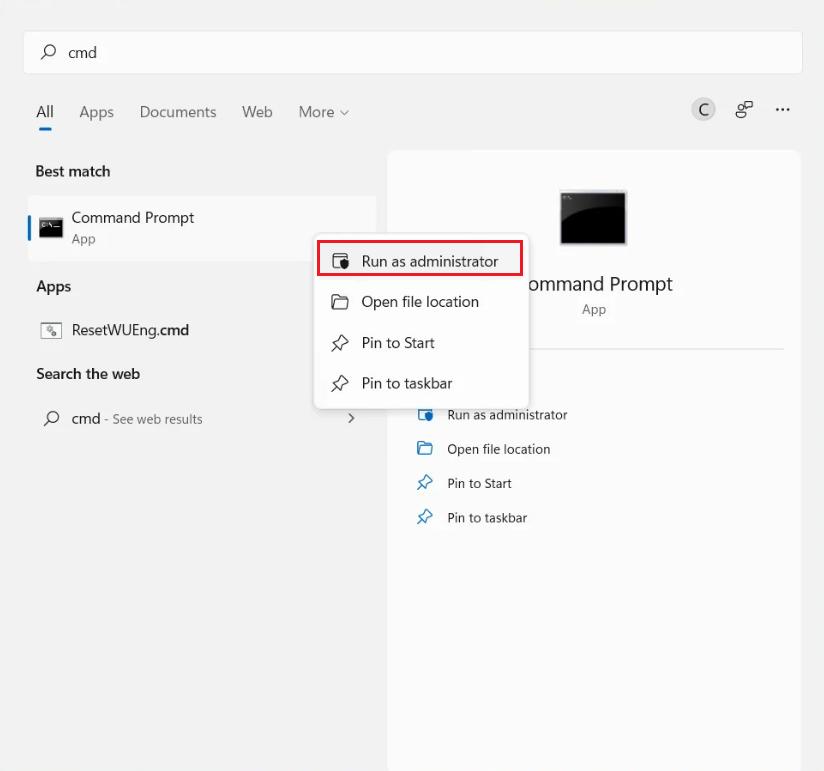
- Go to the Start menu from the taskbar and type in ‘cmd’ in the search bar at the top.
- From the right pane of Command Prompt, click on Run as administrator.
- Finally, copy and paste the following command and hit the Enter key:
del /q/f/s %TEMP%\*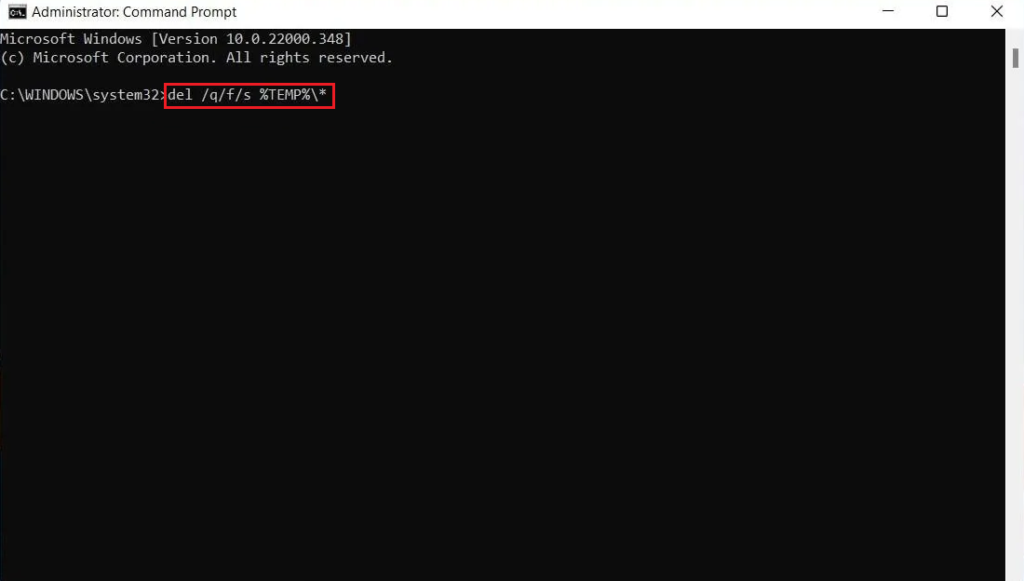
File Explorer can also be used to manually delete the temp files. Here’s how to do it:
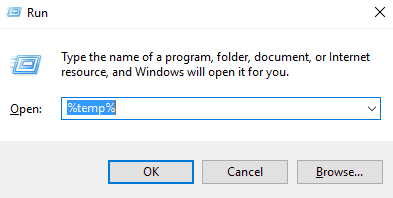
- Press the Win + R keys from your keyboard to open the Run box.
- Next, type in ‘%temp%’ in the search bar and click on OK.
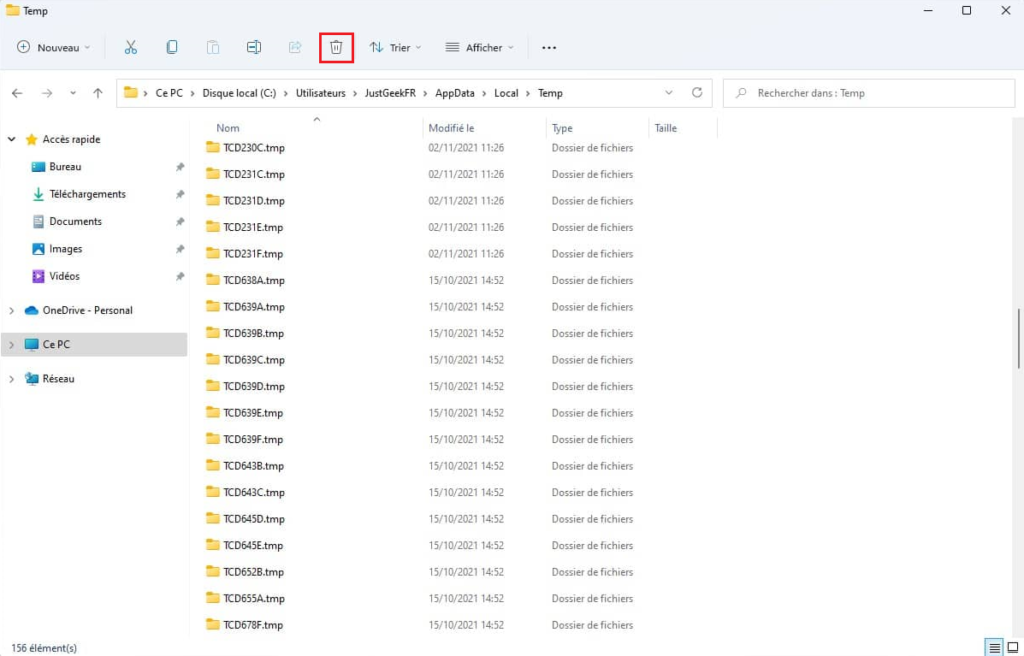
- This will open the Temp folder in File Explorer. Go through the files and select the ones you wish to remove.
- Finally, click on the Recycle Bin icon from the top to delete the chosen files.
2. Use Storage Sense to Automatically Delete Temp Files.
If you don’t want to deal with the temp files in your PC manually, you can simply enable Storage Sense and make the entire process automatic. It is a cleanup utility that was introduced in Windows 10 and is also available in Windows 11.
Here’s how to enable the feature:
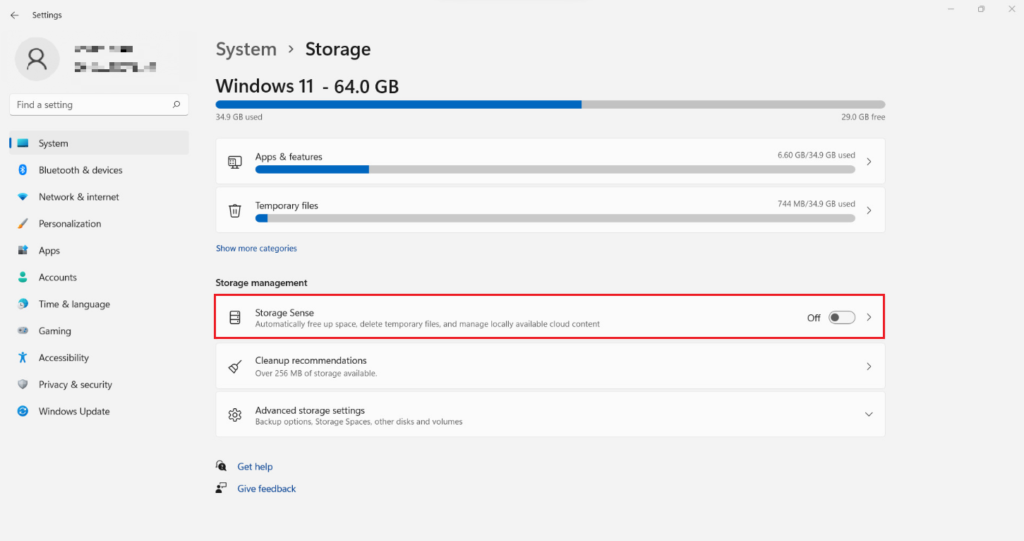
- From the Settings window, click on System from the left pane.
- Now, choose Storage from the right side and click on Storage Sense.
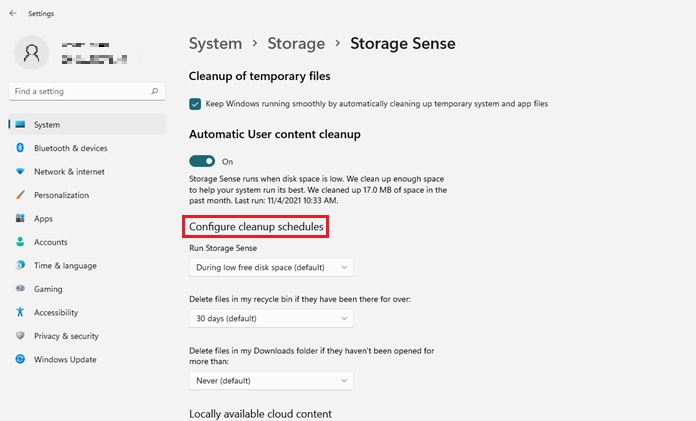
- Under Cleanup of temporary files, check the box next to Keep Windows running smoothly by automatically cleaning up temporary system and app files.
- Next, turn the toggle on for Storage Sense under Automatic User content cleanup.

- After that, change the settings according to your preferences under the Configure cleanup schedules section.
3. Empty Recycle Bin.
When you delete a file from the computer, it goes into the Recycle Bin. From there, you can recover the file in case you need it back. But when you don’t, the deleted files are just taking up unnecessary space on your drive. So, it’s best to empty the Recycle Bin whenever you have the chance.
For that, below are the steps you need to follow:
- Locate the Recycle Bin on your desktop and right-click on its icon.
- Afterwards, choose Empty Recycle Bin from the context menu.
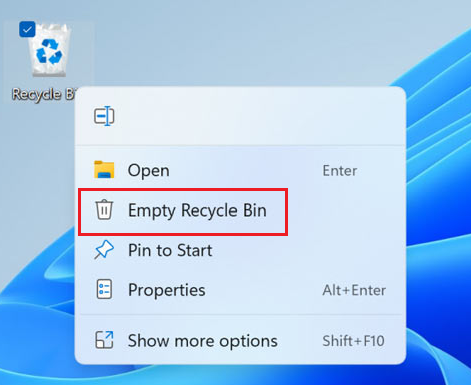
- Lastly, click on Yes to confirm your action.
4. Delete Large Folders.
If there are old folders on your PC that you no longer need, it’s best to get rid of them to make some space. But finding these folders can be pretty tiresome. Fortunately, Windows 11 offers a built-in feature that automatically finds such folders.
Below are the steps you should follow:
- Launch the Settings by pressing the Win, and i keys simultaneously from your keyboard.
- From the System tab, click on Storage from the right pane.
- Now, select Other from the storage breakdown.
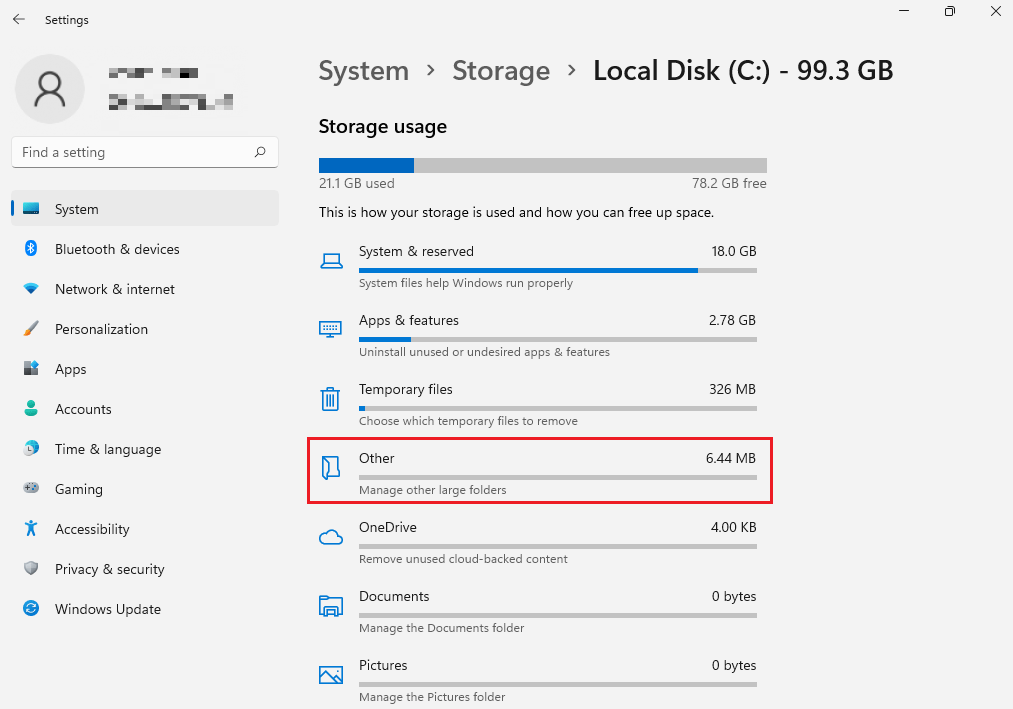
- You will come across all the large folders taking up your storage space. Choose the folders you want to remove to open it in File Explorer. Then, delete it manually from there.

5. Use Disk Cleanup.
Disk Cleanup is a built-in tool in almost all Windows systems that automatically files unnecessary files and temporary data on your system. These may include setup log files, internet files, cache, and so on.
To use it, follow the steps below:
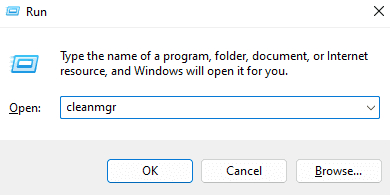
- Launch the Run command box by pressing Win + R keys.
- After that, type in ‘cleanmgr’ and press the Enter key.
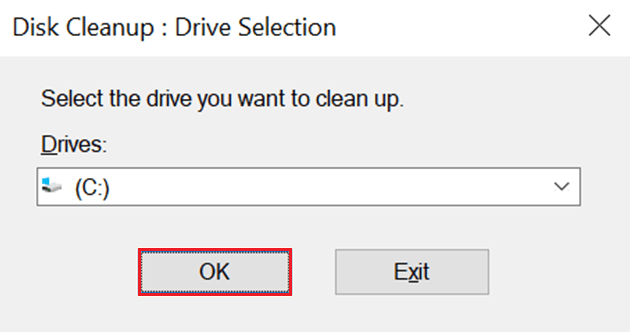
- Next, click on the drop-down icon under Drives and choose New Volume (C:). Then, click OK to proceed.
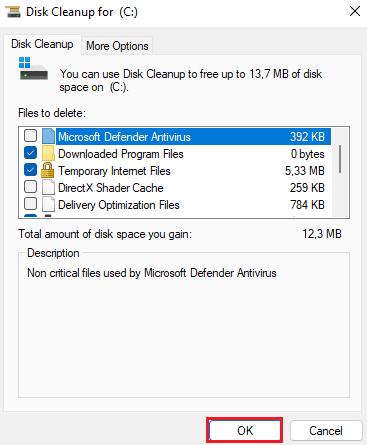
- From the next window, click on Clean up system files.
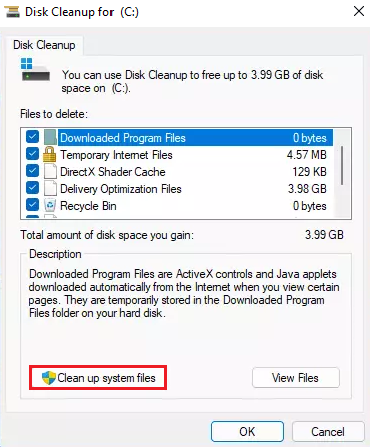
- Under the Files to delete section, go through the files and keep everything checked if you wish to free up storage space.
- Click on OK once done.
6. Remove Junk Files With Cleanup Recommendations.
Cleanup Recommendations is another one of the OS’ useful features that helps you to remove system junk on Windows 11. It gives recommendations on all the unnecessary data that can be removed from the system to make some disk space.
Follow the steps below to use it:
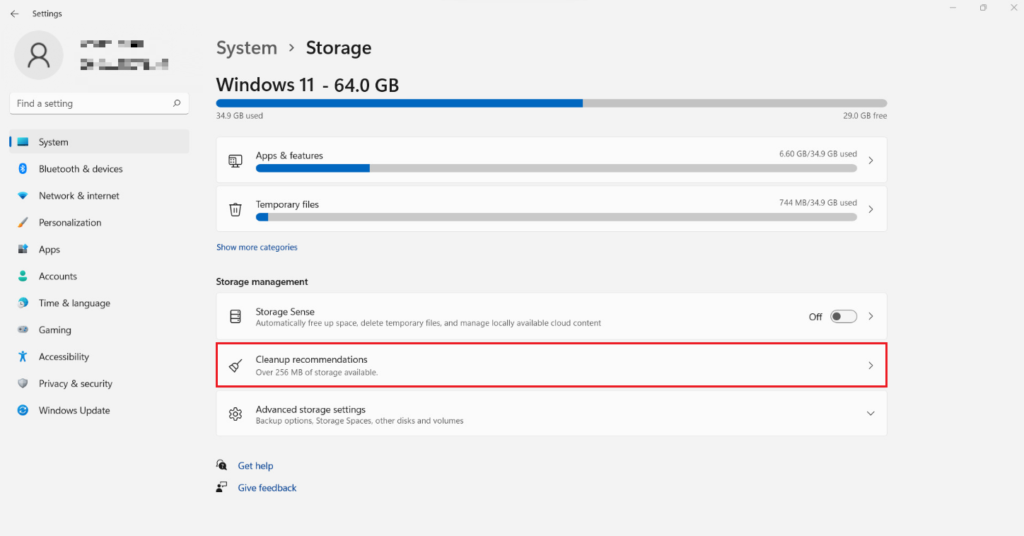
- Press the Win + i keys on your keyboard to open Settings.
- This will open up the System tab. Then, select Storage from there.
- Scroll down under the Storage management section, and choose Cleanup recommendations.
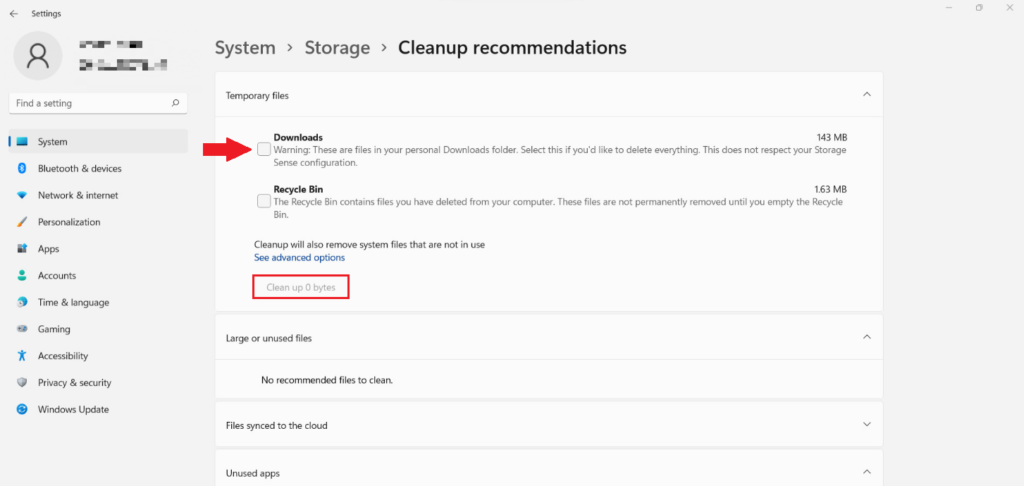
- It will take some time to scan all the files within your PC and display the unused and temporary files.
- At last, click on the Clean up button at the bottom to delete these files.
7. Remove Unwanted Installed Applications.
If you have some old applications on your PC that you no longer use, we advise you to uninstall them. This will also help in freeing up some disk space. If you need them in the future, there’s always an option to reinstall them.
Here’s how to remove apps on Windows 11:
- From Settings, click on Apps from the left pane.
- Next, click the unwanted app that you want to delete.
- Select Uninstall from the section that appears under the app.
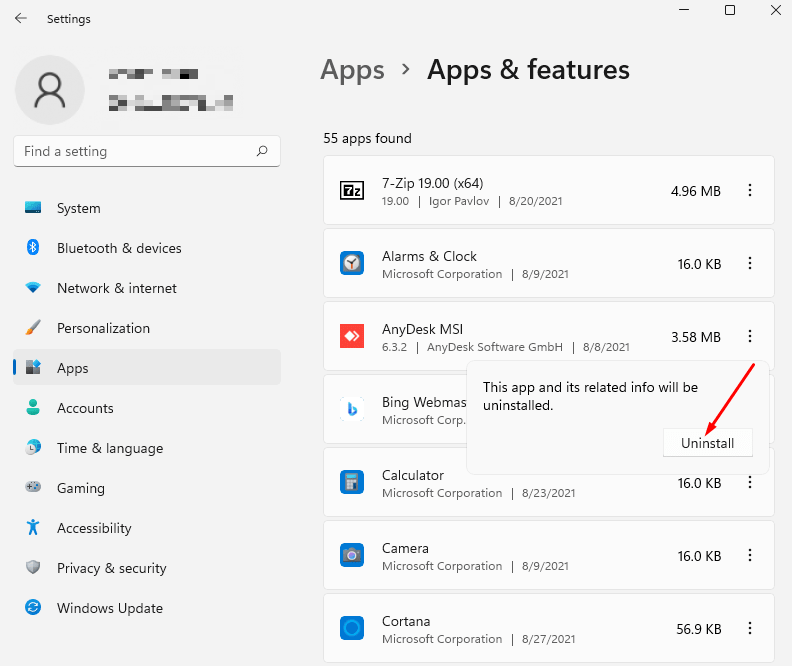
- Finally, choose Uninstall to confirm.
8. Uninstall Built-In Applications.
Windows 11 comes with several built-in applications, most of which you don’t even use. The good thing is you can delete such programs from your system. This will help clear some space that you may utilize elsewhere.
Here’s how to do it:
- Click on the Search bar and type the name of the app you’d like to remove.
- Next, right-click on the app and choose Uninstall.
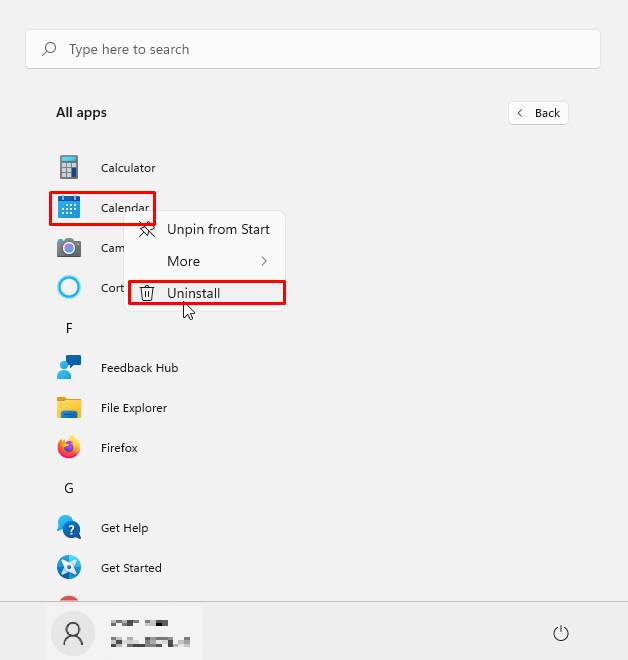
- Click on Uninstall on the pop-up box for confirmation.
9. Use CCleaner.
If you don’t prefer following several methods to remove system junk on Windows 11, you can install third-party software and let them do the job. Several tools are available, like CCleaner. All you need to do is install CCleaner, run a scan, delete the detected junk files from your system, and you’re good to go.
This brings us to the end of our guide on how to remove system junk on Windows 11. Hopefully, you’ve successfully freed up storage space from your PC by following the methods mentioned in this guide. If you have further queries, utilize the comments section below. We’ll be more than happy to assist.
If this guide helped you, please share it. 😊
