

Trying to fix the Wireless Display feature not working on Windows 11?
It’s foolish to expect technology to work seamlessly, no matter how advanced it gets. When Microsoft announced the Wireless Display feature on Windows 11, we expected freedom from tangled wires and the errors that came with it. However, that was not the case at all.
Though the Wireless display feature enables you to increase functionality by extending the visual workspace, it occasionally encounters issues. While some deal with failed installation, for others, the feature is entirely inoperable.
Luckily, we bring you this guide to help you look into the matter and resolve it on your own. We’ve covered various solutions for the Wireless Display feature not working on Windows 11 below. Just follow this guide, and you’ll be able to get back additional screen coverage in no time.
So let’s get started right away!
1. Ensure Your Devices Are Miracast Compatible.
The first and foremost reason the Wireless Display feature may not work on your computer is the lack of compatibility. All wireless connections on Windows systems require Miracast.
It is a standard technology that helps establish connections between the sending device and the receiving display. If either of the devices does not support Miracast, you will not be able to display multimedia content on the second screen.
Here’s how to check for Miracast support on Windows 11:
- From the Windows 11 taskbar, click on the Search icon.
- In the search bar, type out Windows PowerShell.
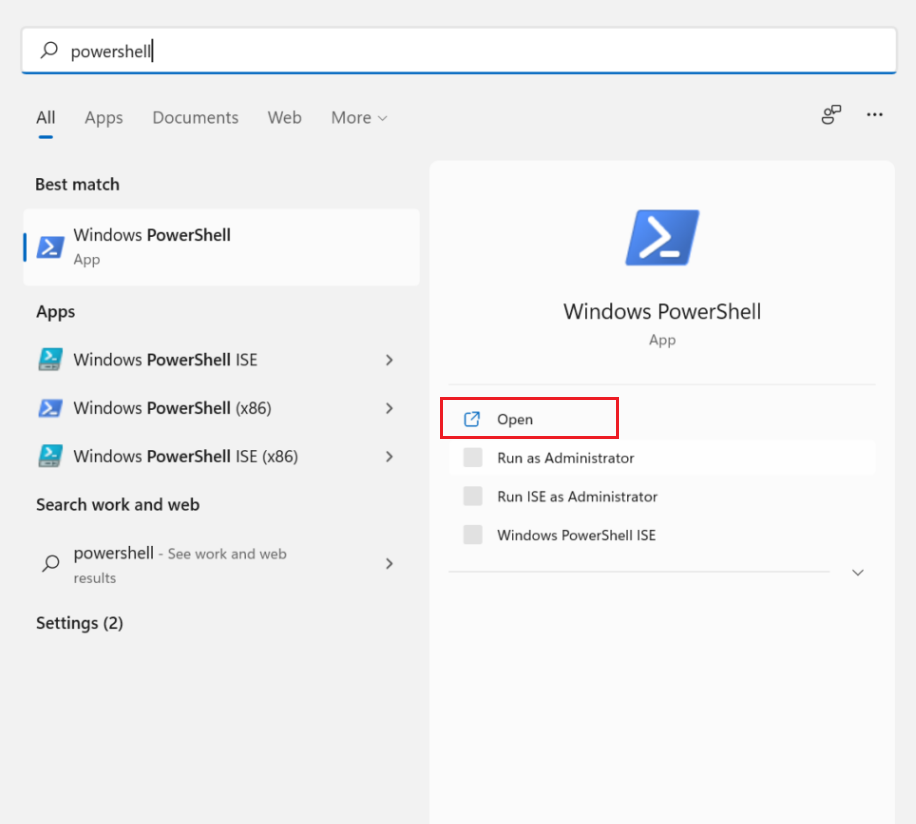
- Then, from the result that appears below, click on the Open option.
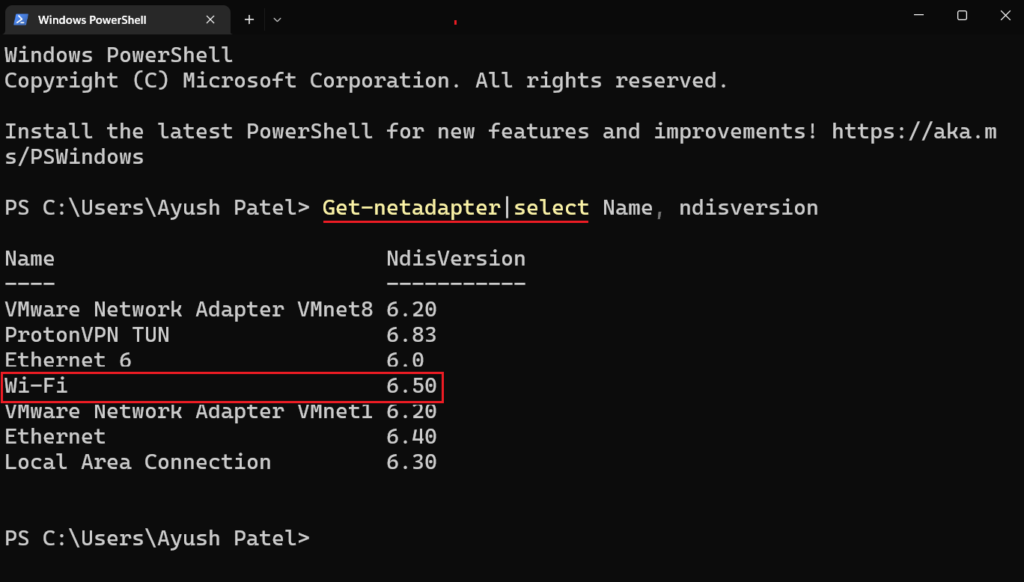
- Once the Windows PowerShell window opens, type in the following command:
Get-netadapter|select Name, ndisversion- Next, press the Enter key.
- Under the Name section, look for Wi-Fi and check its NdisVersion number next to it. If the NdisVerison number reads 6.30 or higher, your system is Miracast compatible.
If you want to cast the Windows 11 PC screen on a Smart TV, you should look at the user manual. If anything related to Miracast or Wi-Fi Direct is listed, it means that you can use the Wireless Display feature with it. You can also head over to the Smart TV’s settings menu and look for the same options.
2. Ensure Your Devices Are Connected to the Same Wi-Fi.
The Wireless Display feature depends on Miracast, which relies upon the Wi-Fi Direct protocol to mirror files and content on other screens. Wi-Fi Direct requires the same centralized network nearby to connect both the devices to that enabled device-to-device communication.
That means if either device does not have a stable internet connection or both devices are connected to different networks, there will be no common path to transmit data. Hence, you will face the issue of the Wireless Display feature not working on Windows 11. For this reason, check if your devices are connected to the same Wi-Fi.
3. Enable Wi-Fi Direct Driver.
As mentioned, the Wireless Display feature depends on Wi-Fi Direct. If you’ve verified both the requirements explained above, it’s possible that the Wi-Fi Direct driver is disabled on your computer. This may also result in the Wireless Display feature not working on Windows 11.
In this situation, ensure the driver for Wi-Fi direct is enabled by following the steps below:
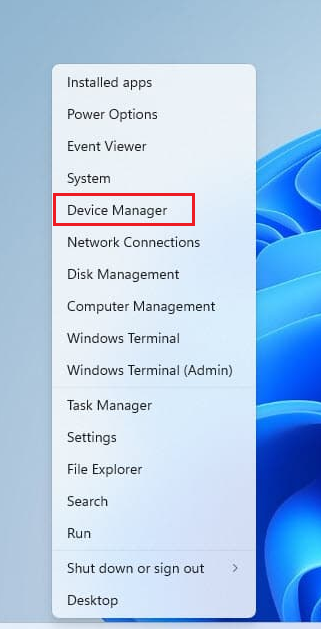
- Go to the Start button and right-click on it.
- From the options that appear, select Device Manager.
- Once the Device Manager window opens, locate Network adapters and expand the entry by double-clicking on it.
- From the option below Network adapters, then right-click on your particular driver.
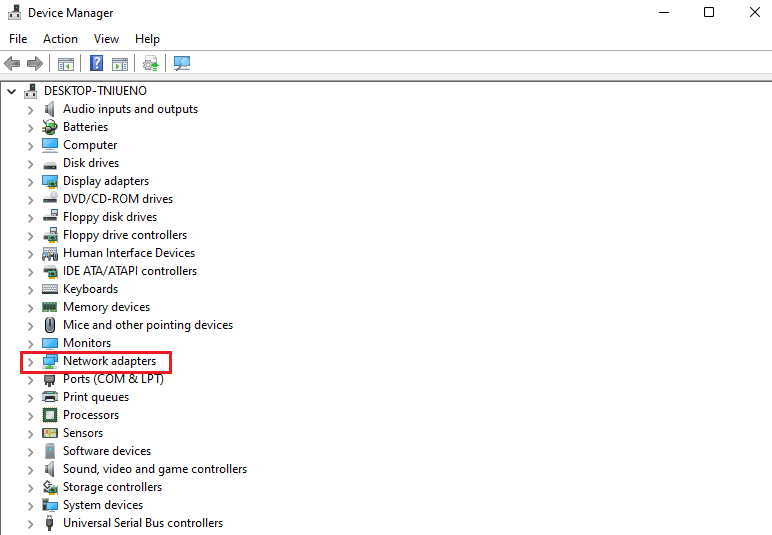
- Then, click on Enable device.
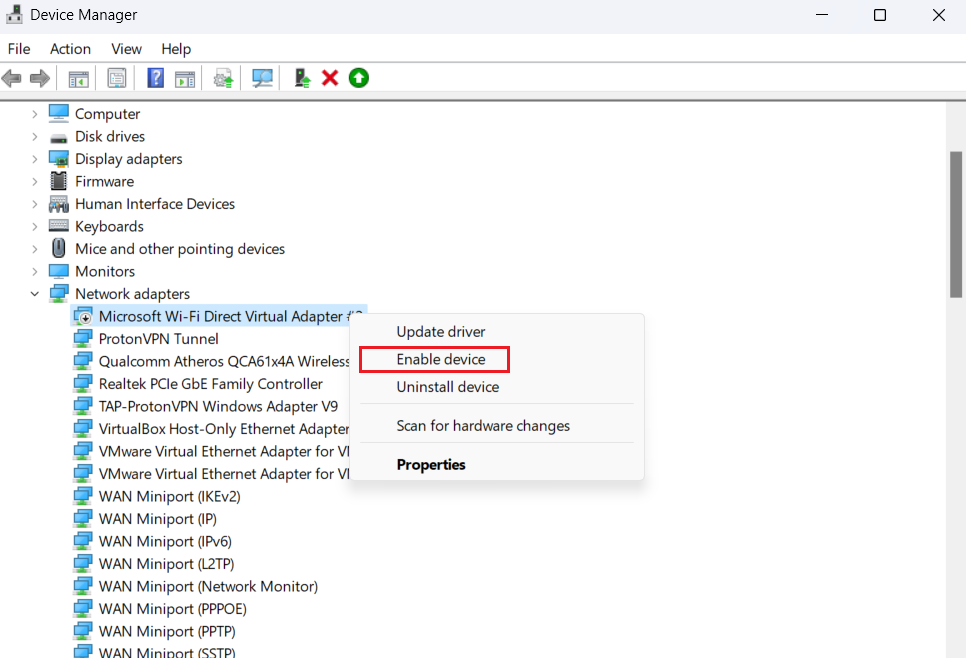
Once the device has been enabled, use the Wireless Display Feature to see if the issue is fixed.
4. Update/Reinstall Wi-Fi Direct Driver.
If all the above checks are verified, there may be a possibility that part of your computer’s software is outdated or damaged. The main component for this is the drivers, which enable the operating system to communicate with the device.
To make your PC function smoothly, you need to keep all drivers, including network, audio, graphics, etc., updated at all times. They may also get damaged or corrupted due to malware attacks. In these cases, you need to reinstall them on your system.
To do so, follow the steps below:
- Start by right-clicking on the Start menu.
- Then, select Device Manager from the list of options.
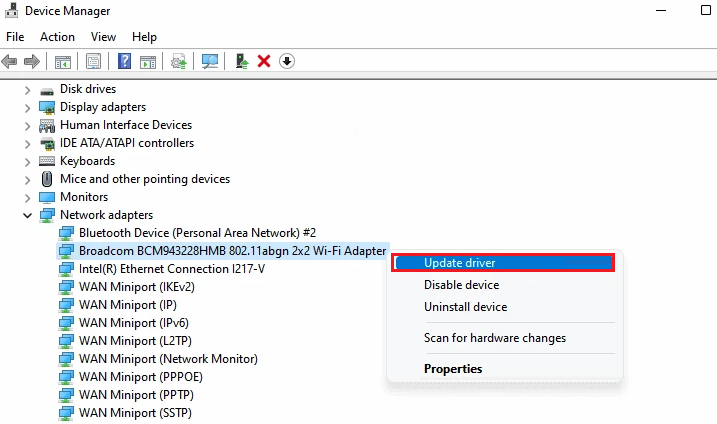
- This will open the Device Manager window. From there, scroll to find the Network adapters entry and double-click on it.
- Once the entry expands, right-click on your Wi-Fi driver and select the first option that reads Update Driver.
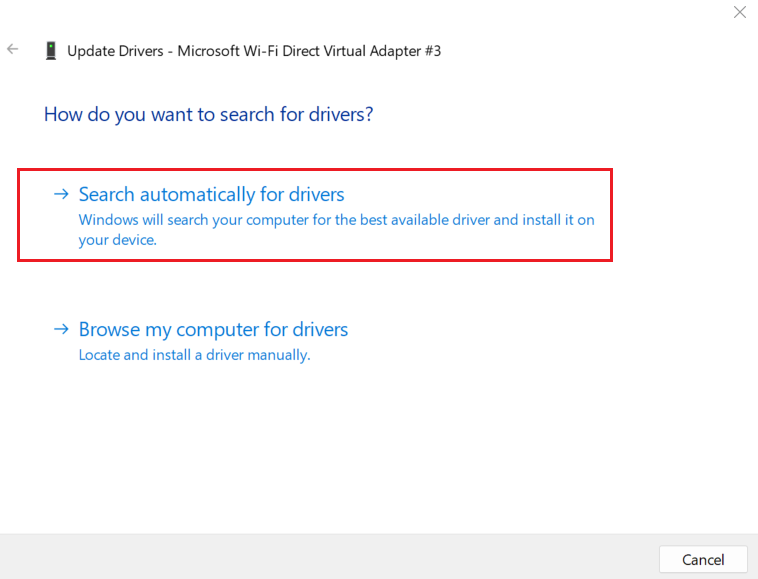
- In the Update Drivers window, select Search automatically for drivers to let Windows find the latest Wi-Fi drivers and install them.
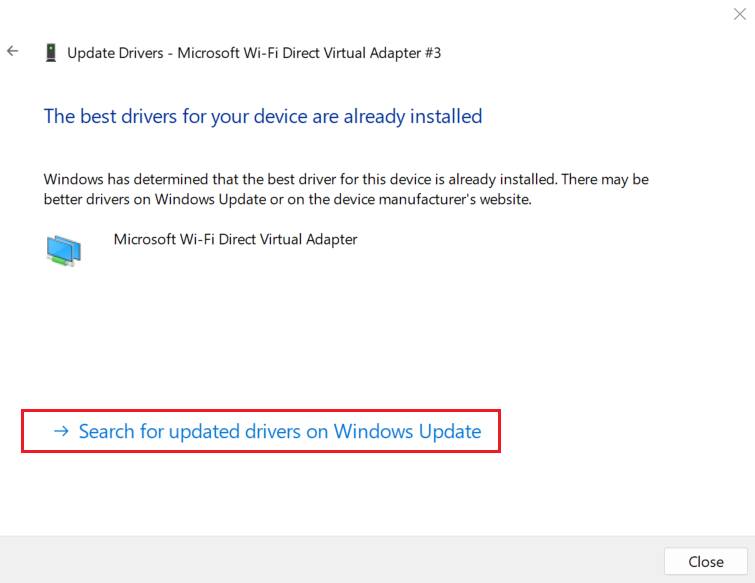
- Once the drivers have been installed, a window on your screen will read The best drivers for your device are already installed. Click on the Search for updated drivers on Windows Update option below.
- However, if you’re unable to find new drivers, right-click on your Wi-Fi Direct driver, and select the Uninstall device option.
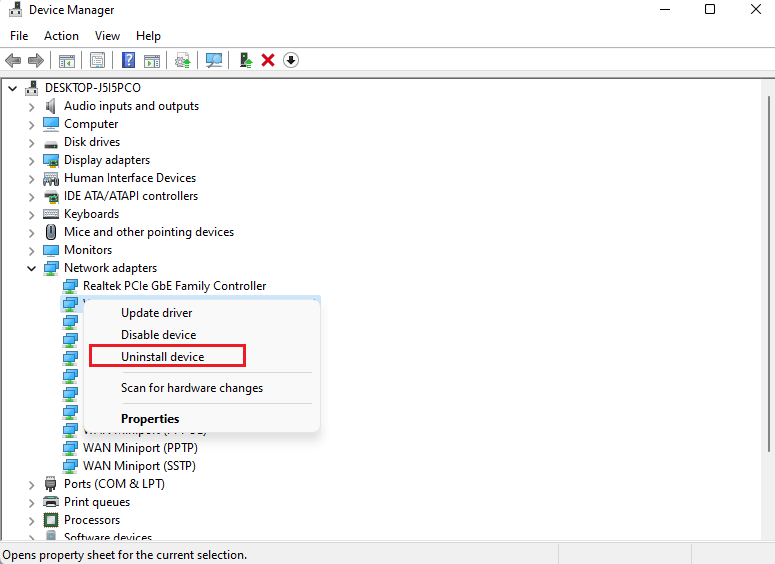
- A confirmation dialog box will then appear on your screen. Click on the Uninstall button to confirm. Then restart your computer.
5. Allow Wireless Display From Windows Defender Firewall.
Windows Firewall is a program developed by Microsoft to protect your system by permitting or denying the installed applications to access the internet connection. If you still have the Windows Display feature not working on Windows 11 issue, it may be because the Firewall isn’t allowing it to connect to the internet.
Therefore, you need to fix certain permissions by following the steps below:
- From the taskbar, click on the Start menu.
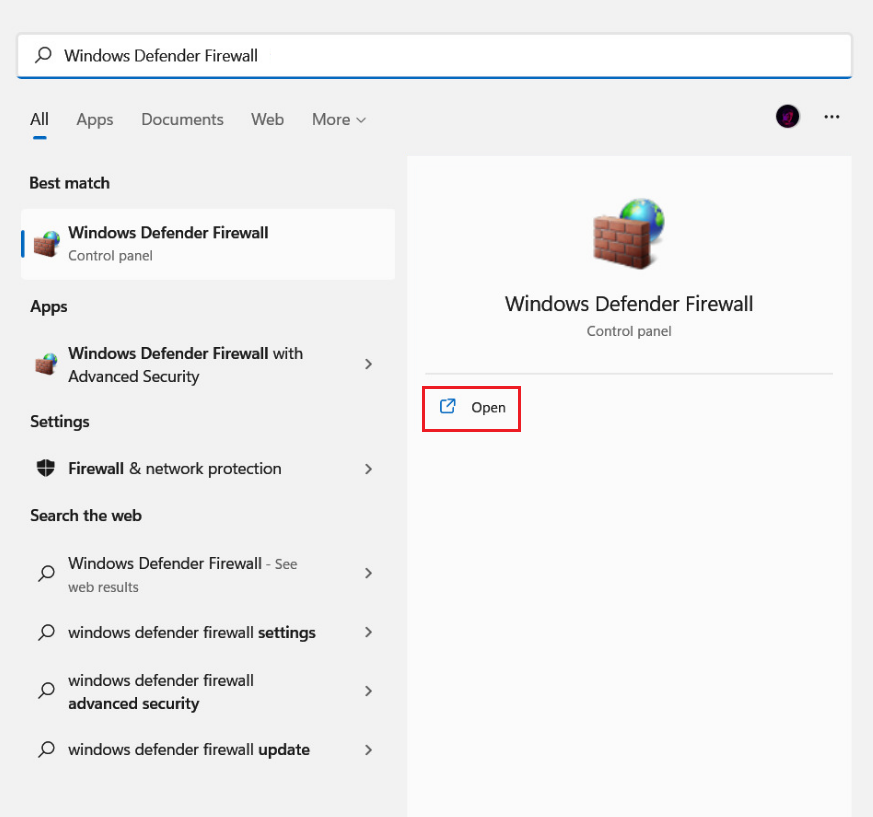
- Type in Windows Defender Firewall in the Search bar.
- Click on Open next to the results that appear.
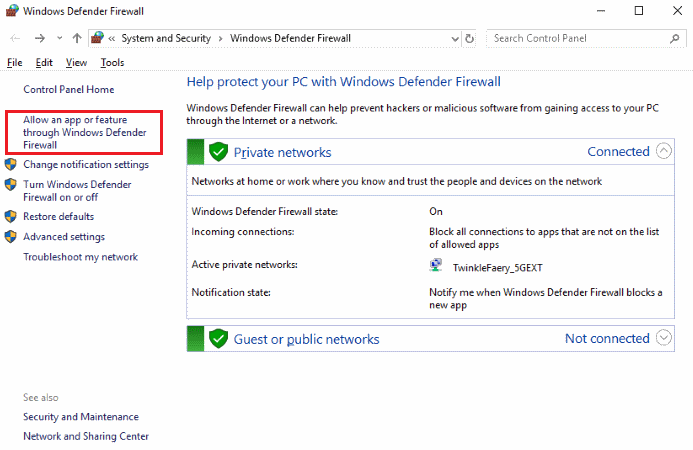
- This will open the Windows Defender Firewall settings in the Control Panel window on your screen.
- From the left pane, select Allow an app or feature through Windows Defender Firewall.
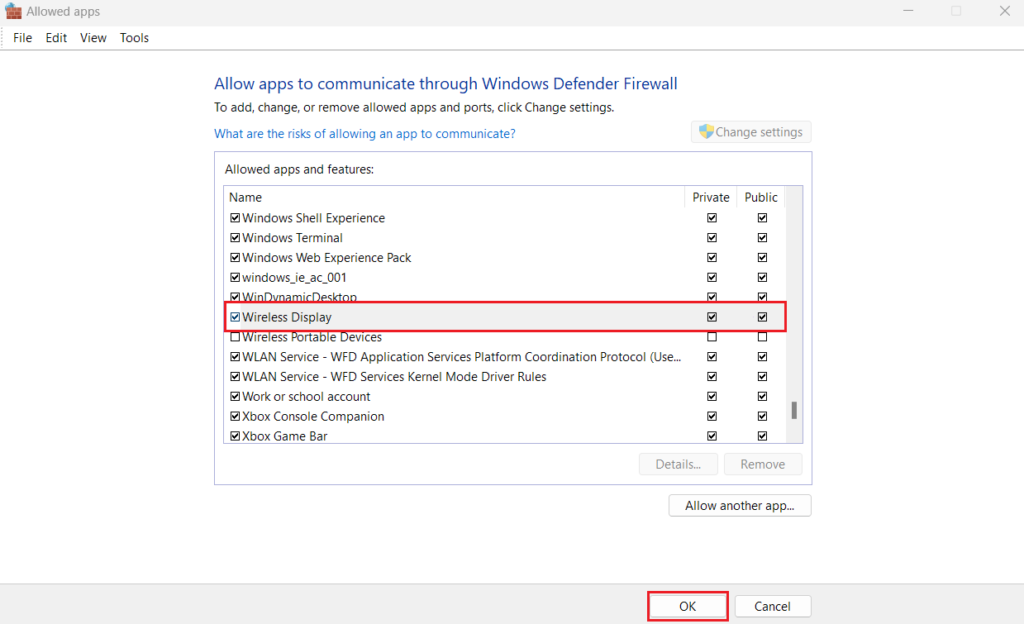
- Next, click on the Change settings button situated at the top-right area of the window.
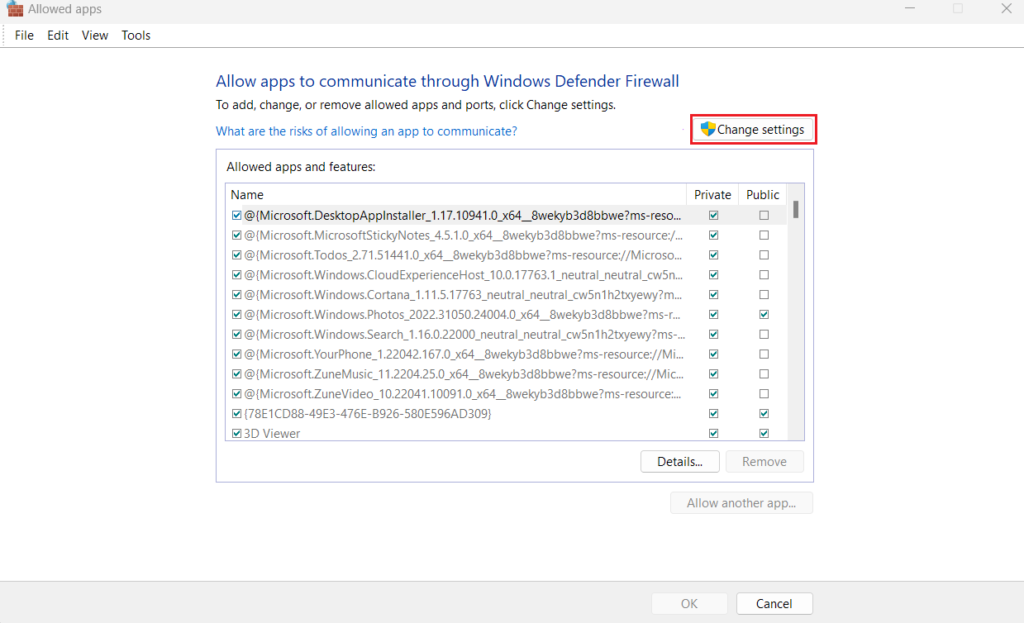
- Then, scroll down the list of apps and locate Wireless Display. Make sure all the boxes are checked on the left and right side of the Wireless Display, then click OK.
Here, we bring our guide on how to fix the Wireless Display feature not working on Windows 11 to an end. We hope we were successful in helping you resolve the matter quickly by the detailed methods mentioned above. If you still have more questions, do not hesitate to leave a comment below. We’ll get back to you as soon as possible.
If this guide helped you, please share it. 😊
