

Wondering why you’re seeing a “This number is registered to your Apple ID but not associated with this iPhone” error?
This problem occurs when you switch carrier providers but retain the same phone number.
You need to address this issue immediately to stop your iMessage and FaceTime numbers from expiring.
Let’s get right into it!
TL;DR Version
You can address the “this number is registered to your Apple ID but not associated with this iPhone” error by doing the following:
1. Check Your Settings
The first thing you need to do is check whether your new carrier retained your old number and that it reflects on iMessage on FaceTime.
Here’s what you need to do:
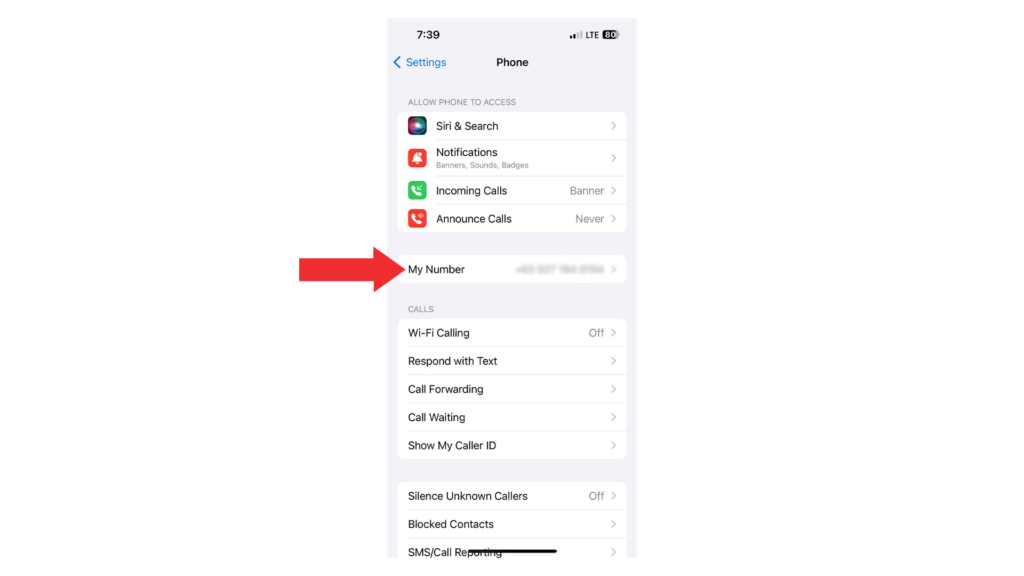
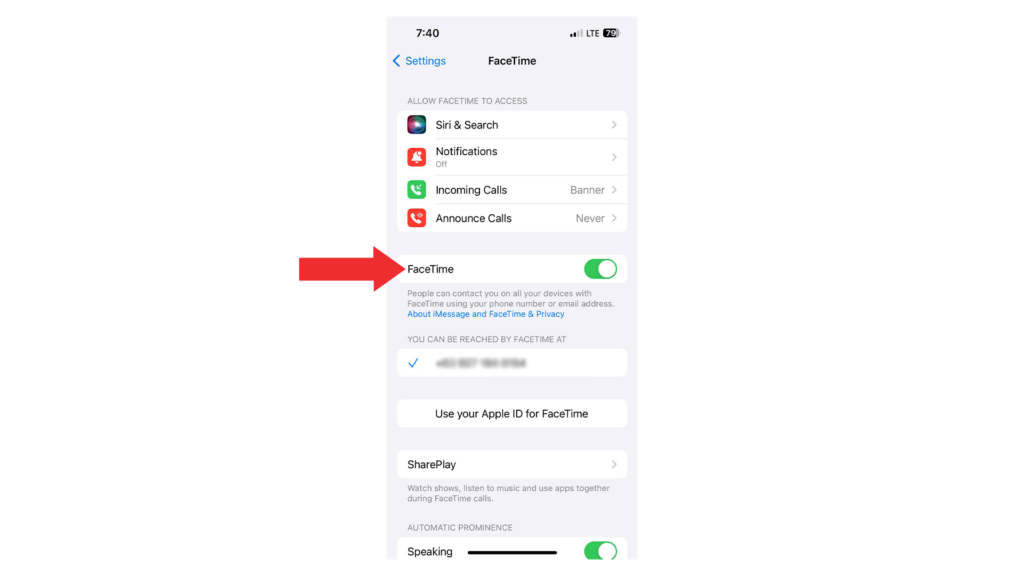
- Open the Settings app on your iPhone.
- Go to Phone > My Number.
- Make sure that your number is the same with iMessage and FaceTime.
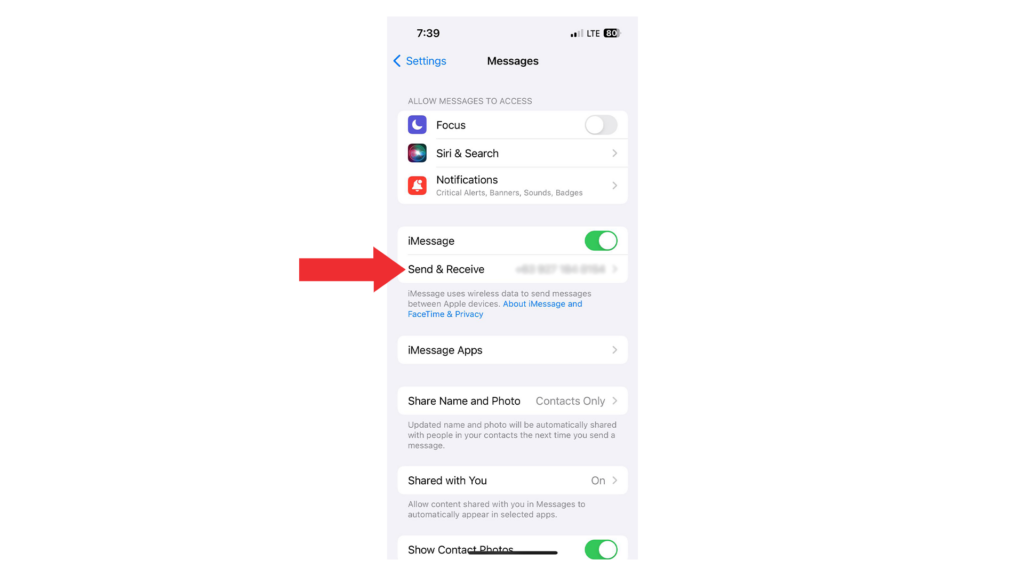
- Now, go back to Settings and tap on Messages.
- Access the Send & Receive tab.
- Ensure that your number is there and selected.
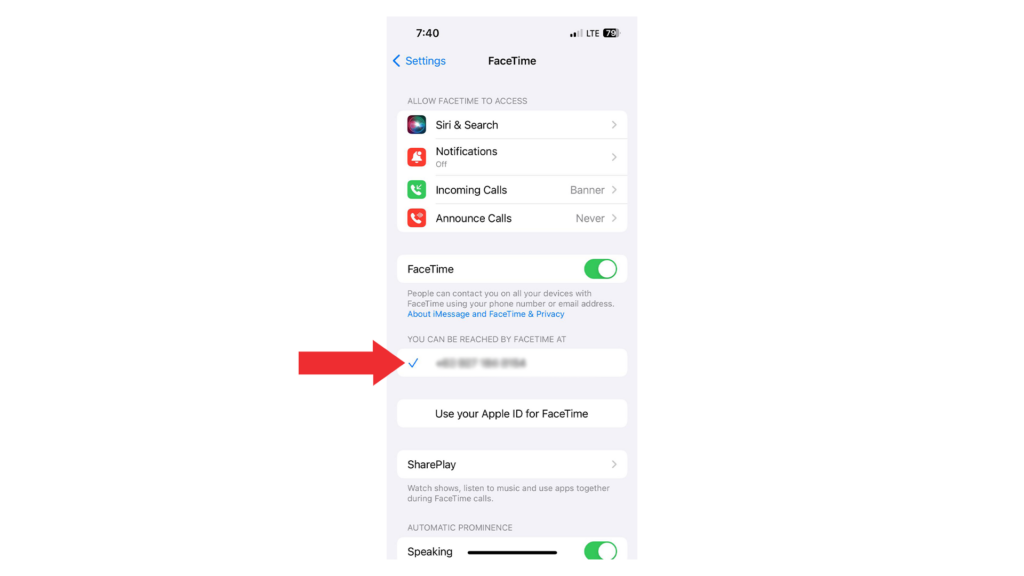
- Go to Settings > FaceTime and do the same thing.
If your current number doesn’t match your old one, contact your carrier to update it.
2. Restart iMessage and FaceTime
After asking your carrier to update your number, you need to restart iMessage and FaceTime to force it to update your information.
Follow the steps below to guide you through the process:
- Go to Settings on your iPhone.
- Next, tap on Messages.
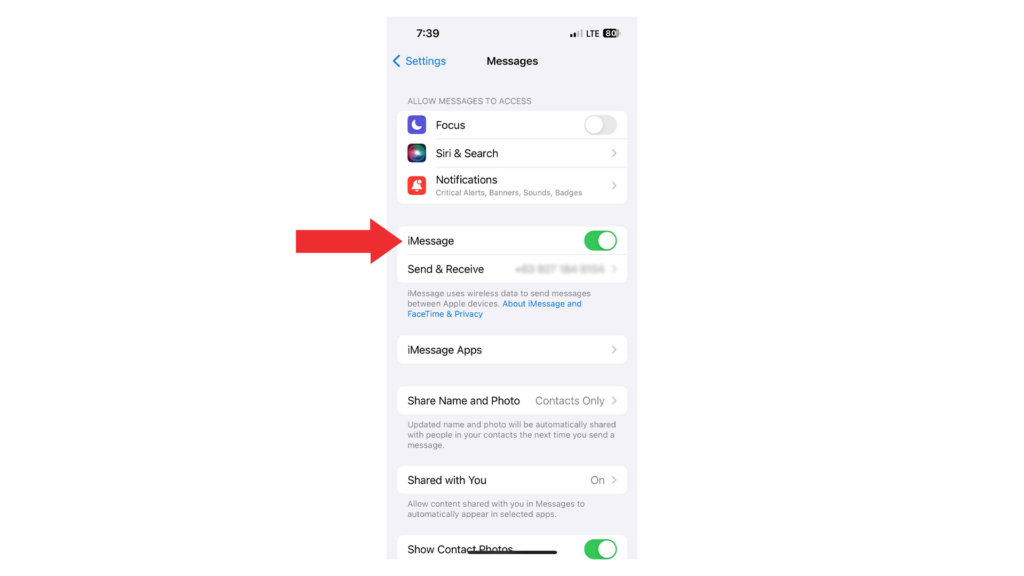
- Tap the toggle switch next to iMessage to turn it off.
- Go back to the main page and tap on FaceTime.
- Tap the toggle switch beside FaceTime to disable it.
- Restart your iPhone.
- Go back to Settings and enable FaceTime and iMessage.
3. Refresh Your Apple ID
Once you’ve refreshed FaceTime and iMessage, you need to log out of your Apple ID and log back in again.
This will force your device to reload your account information with the updated phone number:
- Open the Settings app on your iPhone.
- Tap on your Profile.
- Scroll down and tap on Sign Out.
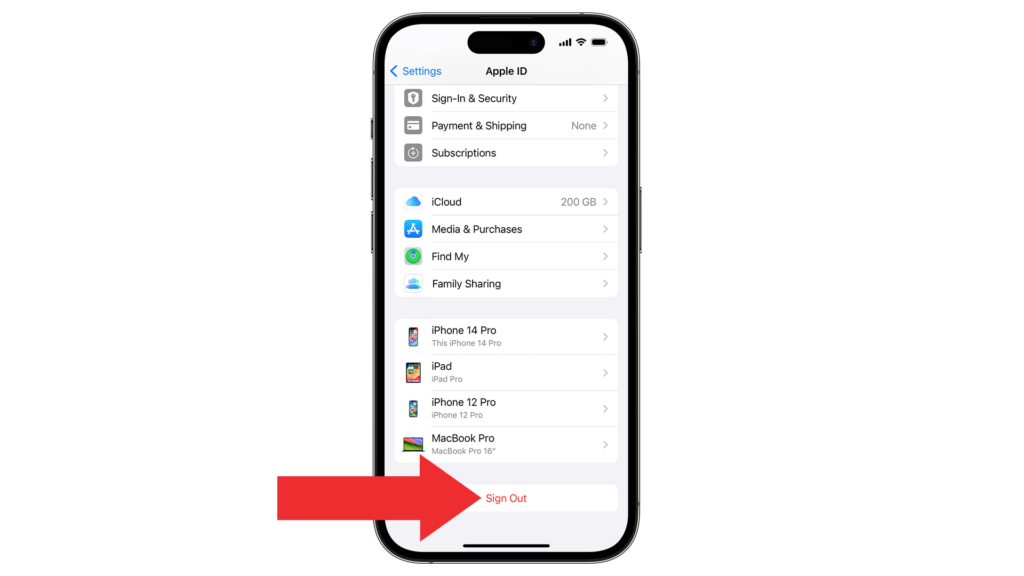
- When prompted, provide your Apple ID password.
- Follow the instructions to continue.
4. Reset Your Network Settings
In case you still see the error on your iPhone, I recommend resetting your network settings.
This should roll back any changes to your network preferences, which include phone numbers, iMessage information, and FaceTime.
Here’s how you can reset your network settings:
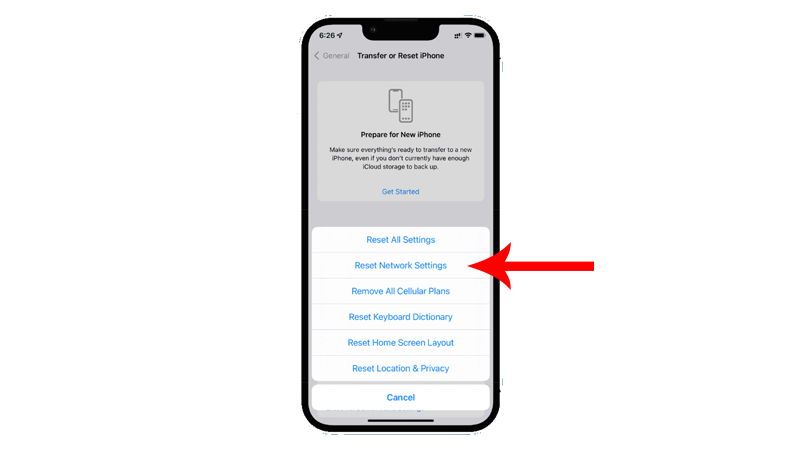
- Open the Settings app on your iPhone.
- Go to General > Transfer or Reset iPhone.
- Tap on Reset.
- Select Reset Network Settings and follow the prompts.
Note
- Your iPhone will immediately restart upon resetting your network configurations.
- It may be stuck in the Apple logo. Wait for the process to complete, which usually takes 5 to 10 minutes.
FAQs
2. Next, remove the SIM tray from your iPhone.
3. Place your SIM in the tray and make sure it’s oriented correctly.
4. Put back the SIM tray into your iPhone.
5. Wait for the SIM-detected prompt and follow the instructions to continue.
1. Go to Settings on your iPhone.
2. Tap on Cellular > Set Up Cellular or Add eSIM.
3. Choose the number with the physical SIM.
4. Tap Convert to eSIM and follow the prompts.
